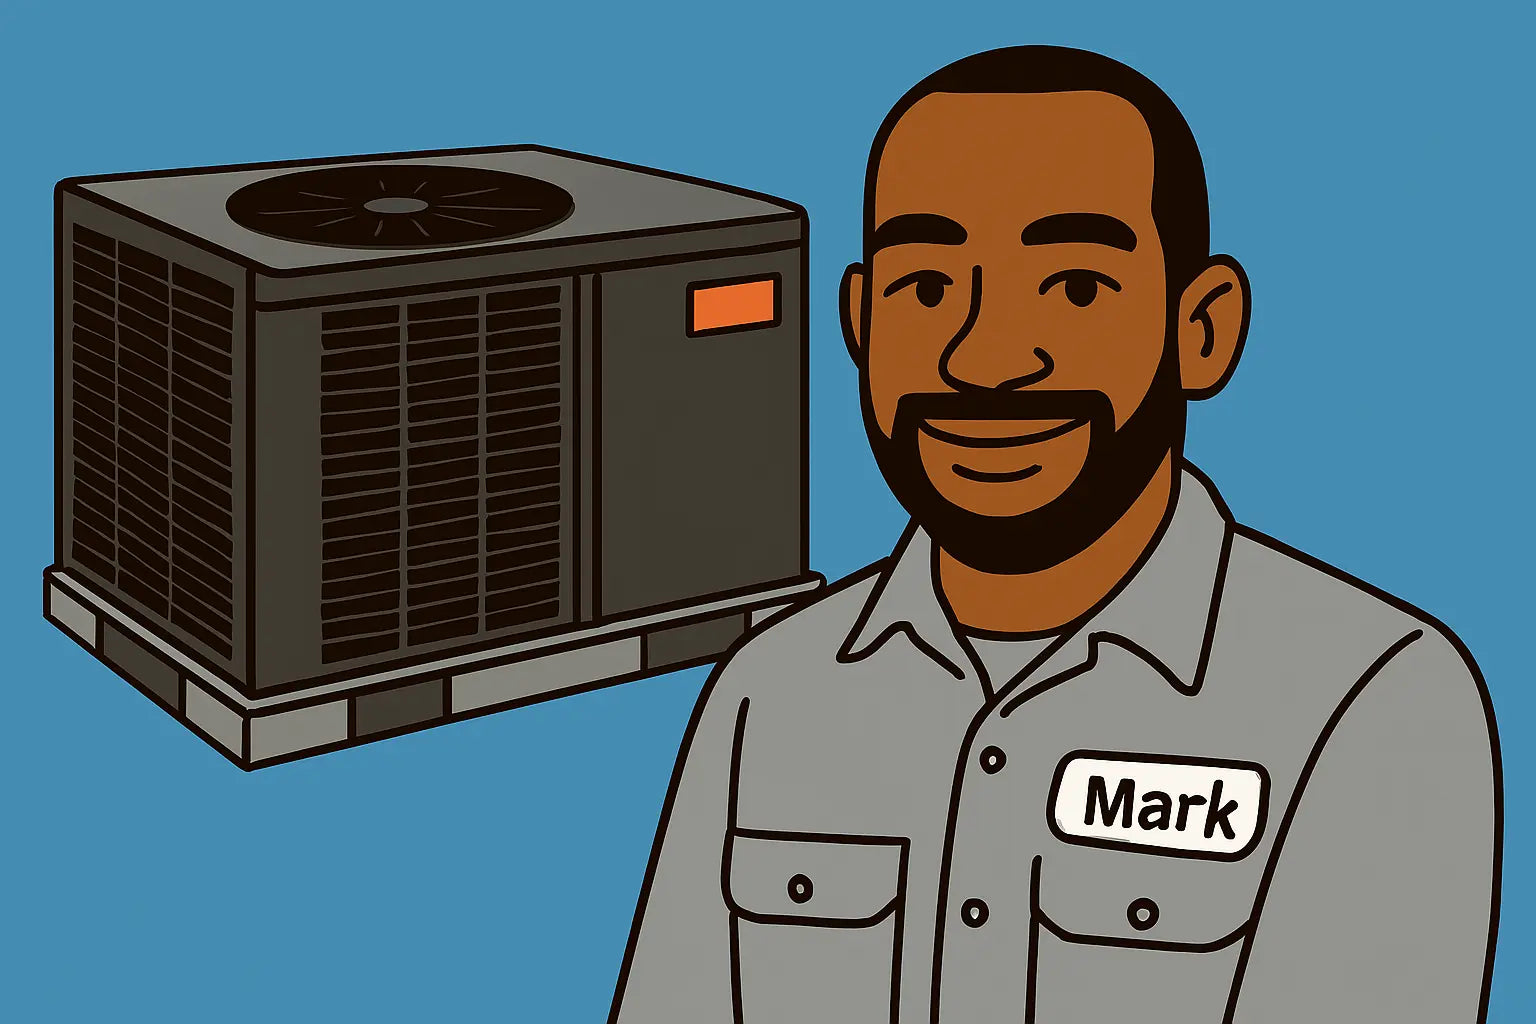
Hello Friends!
Hey, Mark here! You’ve decided on the Goodman GPCH33631—a 3-ton horizontal powerhouse—but before the installation crew (or your DIY efforts) start, it’s smart to prep your home. 🏡 Proper preparation makes the installation safer, faster, and more efficient. Today, I’ll guide you through the steps to get your space ready so your AC can shine from day one.
Step 1: Choosing the Right Location
Before installing, pick a level, well-ventilated spot with enough clearance around the unit:
-
Clearance: Leave at least 2 feet around the unit for airflow and maintenance.
-
Avoid obstructions: Keep it away from walls, shrubs, or heat sources.
-
Stable base: Use a concrete pad or level platform to reduce vibration and noise.
For more on proper placement, see Energy.gov’s HVAC installation tips.
Mark Tip: Proper placement now saves you headaches with airflow and efficiency later.
Step 2: Preparing Your Electrical System
The GPCH33631 operates on 208/230V single-phase 60Hz, so proper electrical prep is essential:
-
Ensure your circuit breaker can handle the load.
-
Verify proper grounding is available.
-
Clear the area around your electrical panel for access.
For a full overview of electrical requirements and safety, check HVAC.com’s electrical guide.
Step 3: Clearing the Installation Area
Before installation, clear the space where the AC will sit:
-
Remove furniture, debris, or stored items nearby.
-
Trim plants or shrubs if the unit will sit outside.
-
Protect flooring or surfaces inside the home if ducts or lines pass through living spaces.
Step 4: Inspecting Your Ductwork
Proper ductwork ensures the GPCH33631 can deliver cool air efficiently:
-
Check ducts for leaks or damage.
-
Make sure vents are clear and unobstructed.
-
Verify that airflow paths are correct for horizontal AC installation.
For more on duct inspection and optimization, check Energy.gov’s duct system tips.
Mark Tip: Sealing leaks now can improve energy efficiency and comfort immediately.
Step 5: Gathering Tools and Materials
Even if a pro is installing your unit, having tools and materials ready makes the process smoother:
-
Screwdrivers, adjustable wrenches, and levels
-
Electrical tape and connectors
-
Refrigerant line accessories (if DIY prep is needed)
-
Condensate drain materials
For a full checklist of installation prep tools, see HVAC.com’s guide.
Step 6: Planning for Smart Controls
If you plan to pair your GPCH33631 with a smart thermostat or home automation system:
-
Ensure Wi-Fi coverage is adequate near the thermostat location.
-
Verify compatibility with 208/230V AC systems.
-
Decide on sensor placement for optimal temperature monitoring.
For more on smart thermostat planning, see CNET’s smart thermostat guide.
Conclusion from Mark
Preparing your home properly before installing the GPCH33631 ensures a smoother, faster, and more efficient setup. From choosing the right location and prepping your electrical system to clearing space, checking ducts, and planning for smart controls, these steps set you up for success.
For full specs, installation manuals, and detailed guidance, visit the Goodman GPCH33631 product page.
Need more installation and troubleshooting tips for this unit? Visit my guide right here!
Stay prepared, stay cool,
Mark 😎


