Key takeaways
-
Common issues: dead batteries, blocked line-of-sight, pairing glitches.
-
Fixes: clean remote, reset, power-cycle unit.
-
Check control-board jumpers/dip switches for remote setting.
-
Test with a second remote to confirm bad receiver board.
-
If not worth repair: use sizing guide, choose efficient replacement.
Why Your PTAC Remote Stops Responding

Here’s the common story: you press Power, nothing happens, or the unit beeps but won’t change temperature. In most homes, the cause is simple dead or backwards batteries, dust over the IR window, or a pairing hiccup after a power flicker. These problems are annoying, raise energy use, and make rooms uncomfortable. The good news is that simple steps fix most issues fast. In this article you’ll learn a clear, expert-level sequence and how to avoid the same problem later with light maintenance. If you like do-it-yourself HVAC help, bookmark the HVAC Tips for more how-tos
Problem Statement or Common Concern
The top concern we hear is, “My PTAC used to work with the remote, and now it doesn’t.” That matters because a stuck setpoint wastes energy and comfort, especially during hot afternoons or cold nights. The usual culprits are: low batteries, poor battery contact, an obstructed IR signal (curtains and décor do this), grime on the remote face or PTAC sensor window, a remote that needs a reset, or a PTAC control board set to the wrong mode. Less often, the receiver board fails. The goal is to fix quick wins first so you don’t pay for a service call you don’t need. We’ll move in order: power for the remote, clear path to the sensor, clean and reset, power-cycle and re-pair, then check control-board settings. If those don’t work, we’ll test with another remote to isolate the fault.
Step 1 Install Fresh Batteries Correctly

Start with brand-name alkaline AA or AAA cells as your manual specifies. Open the battery door, match the + and – symbols, and press the cells firmly against the springs so contacts seat fully. Close the door until it clicks; a loose door can interrupt power during button presses. Avoid mixing old and new cells, and skip rechargeables unless the remote specifically supports them. After swapping, try Power → Mode → Fan and watch the display. Dim screens or sluggish buttons usually mean weak batteries or poor contact. Pro tip: if the battery terminals look dull, lightly roll each cell to help them seat. Keep a spare set in a labeled bag near the unit so nighttime failures don’t turn into comfort emergencies. If the remote still doesn’t respond, move on—line-of-sight and pairing are next.
Step 2 Restore Clear Line-of-Sight to the IR Sensor
Most PTAC remotes use infrared, which travels like a flashlight beam. Stand 6–10 feet from the unit, aim directly at the small dark sensor window on the front panel, and press a button. Remove anything in the path: curtains, bedspreads, plants, picture frames, or piles on nightstands. Wipe both the PTAC’s sensor window and the remote’s LED with a soft, dry cloth—no sprays. Dust and films scatter IR and can make the range feel “short.” If your space layout always blocks the sensor, consider placing furniture so the remote has a clear shot, or plan for a model with better control options when you upgrade (browse hotel-style options at Hotel Heat & AC Units). If aiming and distance checks don’t help, continue to cleaning and resets.
Step 3 Clean, Reset, and Re-Pair the Remote

Sticky keys or grime can keep buttons from making contact. Gently wipe the face and keypad edges with a microfiber cloth slightly dampened with water, then dry. Many remotes include a tiny RESET button or pinhole inside the battery door; press it with a paper clip and wait about 10 seconds. Some models also need a PAIR press after reset to sync with the PTAC. Follow the order: reset the remote, power-cycle the unit (next section), then pair. For visual learners, check brand how-to clips and homeowner explainers on The Furnace Outlet’s HVAC video library. One more expert tip: some remotes won’t pair if any button is stuck, so verify each key “clicks” cleanly after you wipe it down.
Step 4 Power-Cycle the PTAC and Check Board Settings
Shut the PTAC off, unplug it (or switch the breaker), wait 60 seconds, then restore power to clear minor control-board glitches. Next, enter pairing mode if your model requires it; this can be a front-panel button combo or a PAIR key on the remote. If pairing fails, open the front panel (unit unplugged) and inspect the control board. Many boards have dip switches or jumpers that select control source: front-panel only, remote, or a wired wall thermostat. If it’s set wrong, the PTAC ignores the remote no matter what you do. Reseat any loose low-voltage plugs and look for corrosion on terminals. After changes, restore power and test again. If you need parts like filters or wall sleeves during this process, browse The Furnace Outlet’s accessories.
Is It the Remote or the Receiver? Simple Tests

A fast isolation check is to try a second compatible remote (borrow one from a neighbor with the same brand or use a known-good spare). If the PTAC responds, your original remote is failing. If neither remote works, the issue is likely the PTAC’s IR receiver or board configuration. Another handy test: point the remote at your smartphone camera and press a button—many cameras show the IR LED as a faint flicker, proving the remote is sending. This doesn’t guarantee correct code, but it helps you rule out “dead remote” quickly. Also check whether the PTAC responds to its front-panel buttons; if not, you may have a control-board problem, not a remote problem. At this point, you can decide between replacing the board or moving to a newer, more efficient unit.
When Repair Isn’t Worth It: Choose the Right Replacement
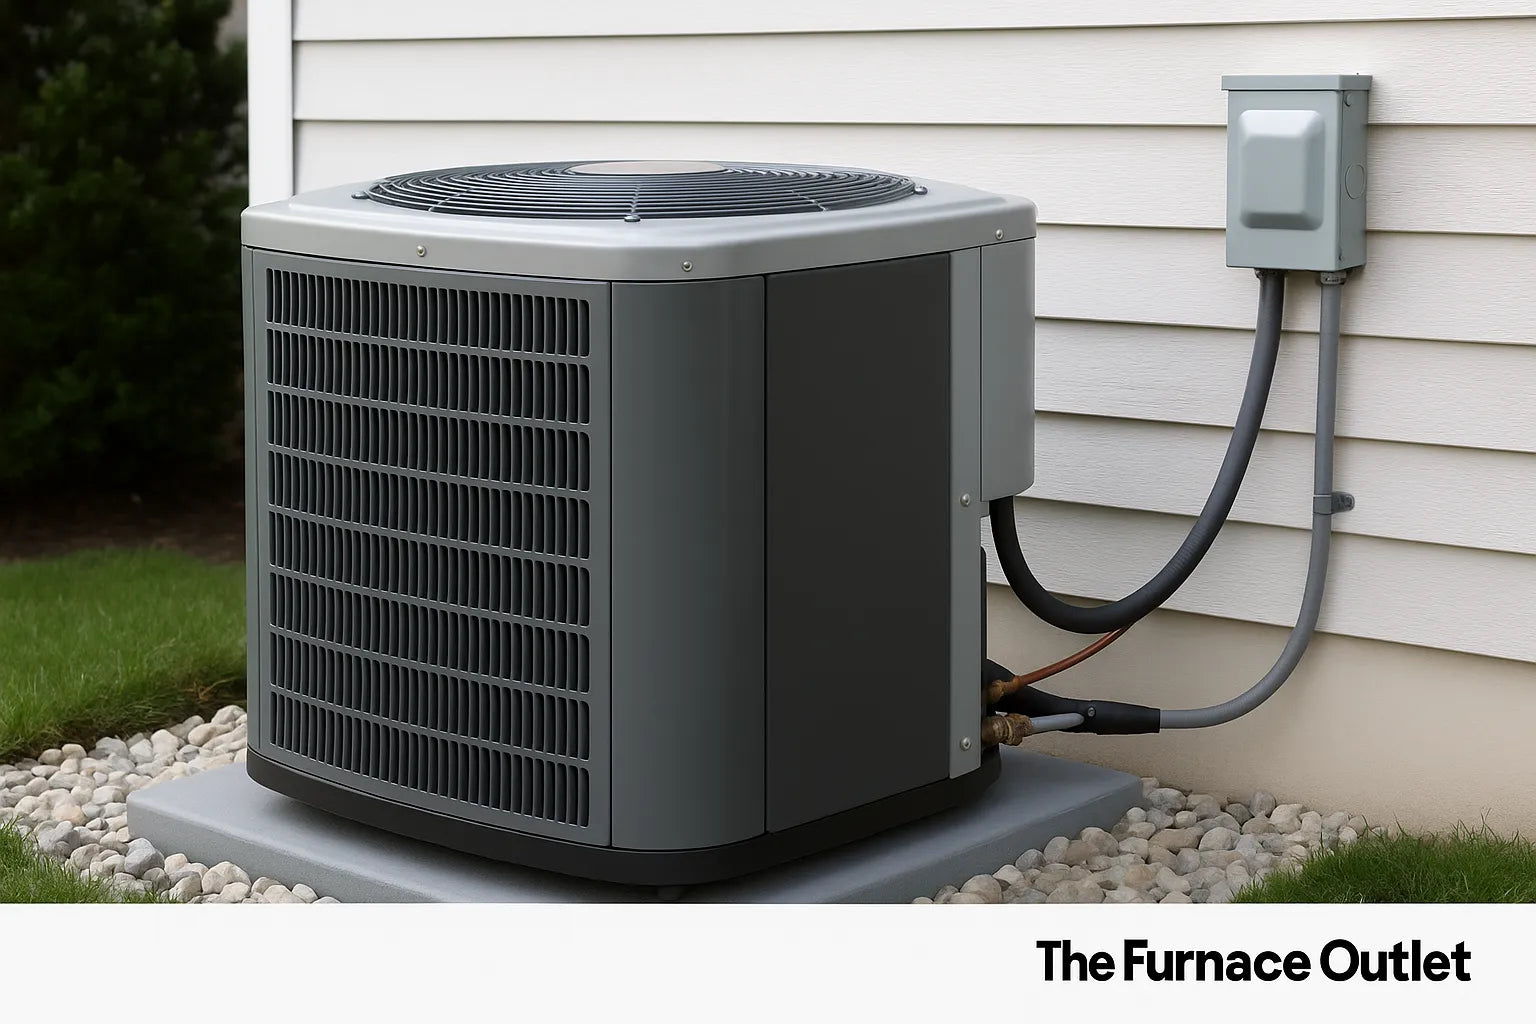
If fresh batteries, clear line-of-sight, cleaning, resets, power-cycling, and board checks don’t restore control, the receiver board may be bad. Replacement boards for older units can be hard to find and pricey, so compare the cost and age of your PTAC with a new, efficient model. Start with room size and climate, then pick BTU and heat type. The PTAC sizing chart and guide explains how to match capacity to your space in plain language. If you need heating and cooling, consider a modern PTAC heat pump that’s efficient and easy to service (browse PTAC heat pumps). Upgrading reduces noise, improves comfort, and gives you a fresh remote and receiver often the simplest long-term fix.
Frequently Asked Questions
How do I reset a PTAC remote?
Look for a small RESET button or pinhole inside the battery door. Press with a paper clip for about 10 seconds, then try pairing if your model requires it.
Where is the PTAC’s IR sensor?
On the front panel, usually a small dark window near the display or grille. Aim directly at it from 6–10 feet.
What batteries should I use?
Fresh alkaline AA or AAA, as the manual lists. Match the + and – marks and don’t mix old and new cells.
How do I know if the board is bad?
If two known-good remotes fail, front-panel buttons act odd, or pairing won’t start even with correct jumper/dip settings, the receiver/control board is likely failing.
Can I prevent remote problems?
Yes. Keep filters clean, dust the grille and sensor window monthly, and store a spare battery set nearby. Power-cycle the unit after outages to clear minor glitches.


