A full HVAC replacement can cost anywhere from $5,000 to $15,000 depending on your home size and system type. For many homeowners, that’s not an expense you can easily absorb—especially if your system fails sooner than expected.
If replacement isn’t financially possible right now, the next best step is to prioritize HVAC repairs. The goal isn’t just to keep the system running—it’s to make smart repair decisions that maximize safety, maintain comfort, and stretch your budget until you can plan for a replacement.
In this guide, we’ll walk through which repairs should come first, which ones you can weigh carefully, and how to build a long-term strategy that avoids unnecessary costs.
Why Repair Prioritization Matters When Replacement Isn’t Possible
Your HVAC system plays a critical role in both home safety and comfort. Putting off replacement doesn’t mean ignoring problems—it means making informed choices about which repairs are worth doing and which may not pay off.
-
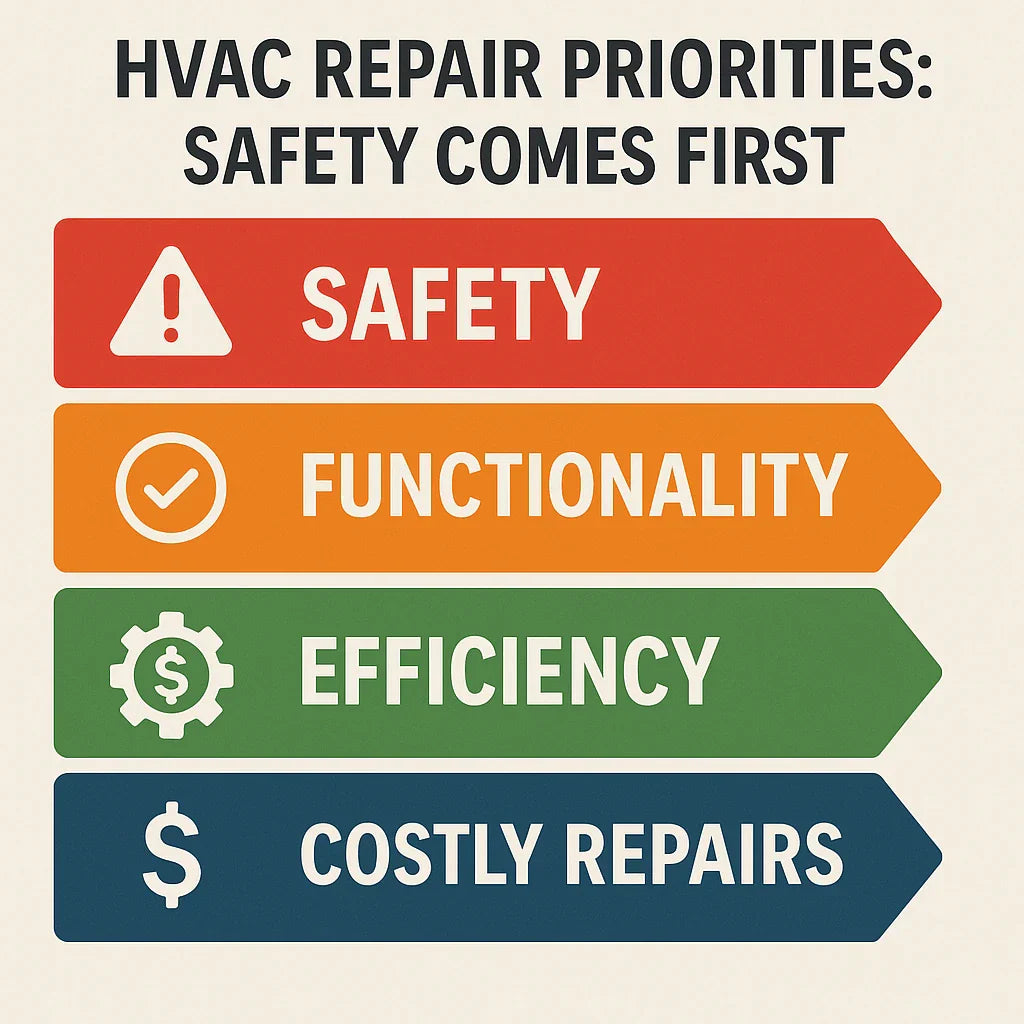
Safety must always come first. Certain issues can put your family at risk if ignored.
-
Functionality is next. Even if efficiency isn’t perfect, your system should at least heat or cool reliably.
-
Efficiency saves you money month-to-month. Small maintenance steps can lower bills.
-
High-cost repairs need scrutiny. Sometimes replacement makes more sense than sinking thousands into an old unit.
For an overview of the bigger picture, start with Should You Replace or Repair Your HVAC System? —it explains the factors contractors weigh when advising you.
Step 1 – Address Immediate Safety Risks First
When your budget is tight, safety-related repairs are non-negotiable. These include:
-
Carbon monoxide leaks: Often tied to cracked heat exchangers in furnaces.
-
Electrical hazards: Exposed wiring, short circuits, or overheating components.
-
Gas line issues: Any sign of a leak should trigger immediate attention.
The U.S. Consumer Product Safety Commission (CPSC) warns that ignoring these hazards can result in fires, poisoning, or worse. If a technician flags a safety issue, prioritize that repair immediately—even if it means deferring cosmetic or efficiency upgrades.
Step 2 – Focus on Repairs That Restore Basic Functionality
Once safety is addressed, the next priority is making sure your system actually turns on and provides heating or cooling. Some of the most common functional repairs include:
-
Thermostat replacement: Often less than $200 and restores temperature control.
-
Blower motor or capacitor repairs: Typically $300–$1,500 and essential for airflow.
-
Ignition or control board fixes: Critical for furnaces, usually under $600.
According to Energy.gov, these kinds of repairs can extend system usability by several years, giving you time to budget for full replacement.
Step 3 – Improve Energy Efficiency Where You Can
Even if your system isn’t brand new, small efficiency improvements can reduce your monthly bills and prevent extra strain on the equipment. Affordable upgrades include:
-
Replacing air filters regularly. ($10–$30) This alone can improve airflow and efficiency.
-
Cleaning coils. Dirt buildup forces the system to work harder.
-
Sealing ducts. Prevents 20–30% of conditioned air from being lost through leaks.
-
Scheduling seasonal tune-ups. Professional maintenance reduces the risk of breakdowns.
The ENERGY STAR maintenance checklist highlights these low-cost steps as essential for extending HVAC lifespan.
Step 4 – Weigh Costly Repairs Carefully
Some repairs can cost thousands of dollars—and at that point, it may not make sense to move forward. The two biggest culprits are:
-
Compressor replacement: $2,000–$4,000.
-
Heat exchanger replacement: $1,500–$3,500.
Here’s where the $5,000 Rule comes in: multiply your system’s age by the repair cost. If the number exceeds $5,000, replacement is usually the smarter option.
For example:
-
12-year-old system × $600 repair = $7,200 → Replacement is more practical.
-
8-year-old system × $400 repair = $3,200 → Repair may still make sense.
Cost breakdowns from Angi confirm that repair bills rise steeply with age, so be strategic when investing in older equipment.
Step 5 – Create a Long-Term Replacement Plan
Even if you’re focusing on repairs now, it’s important to plan ahead for the day when repairs aren’t enough. Steps to take include:
-
Track your system’s age and repairs. Keep records so you know when it’s no longer cost-effective.
-
Explore financing options. Many HVAC companies offer 0% interest promotional periods.
-
Look for rebates and tax credits. Programs listed in the DSIRE database or through your utility provider can shave thousands off the cost.
-
Plan for offseason replacement. Installing in spring or fall often costs less than during peak demand.
A proactive plan means you’ll never be caught off guard by a total system failure.
Final Thoughts
When replacement isn’t financially possible, prioritizing repairs is the key to staying safe and comfortable without overspending.
-
Fix safety hazards immediately.
-
Restore core functionality with essential repairs.
-
Boost efficiency with small, cost-effective upgrades.
-
Think twice before investing in major repairs on older systems.
-
Build a replacement plan early so you’re prepared when the time comes.
This balanced approach lets you stretch your HVAC system’s lifespan without putting your home at risk.
👉 Next in this series: Can You Replace Only Part of an HVAC System? (Blower, Condenser, Coil, etc.)
Alex Lane
Your Home Comfort Advocate


