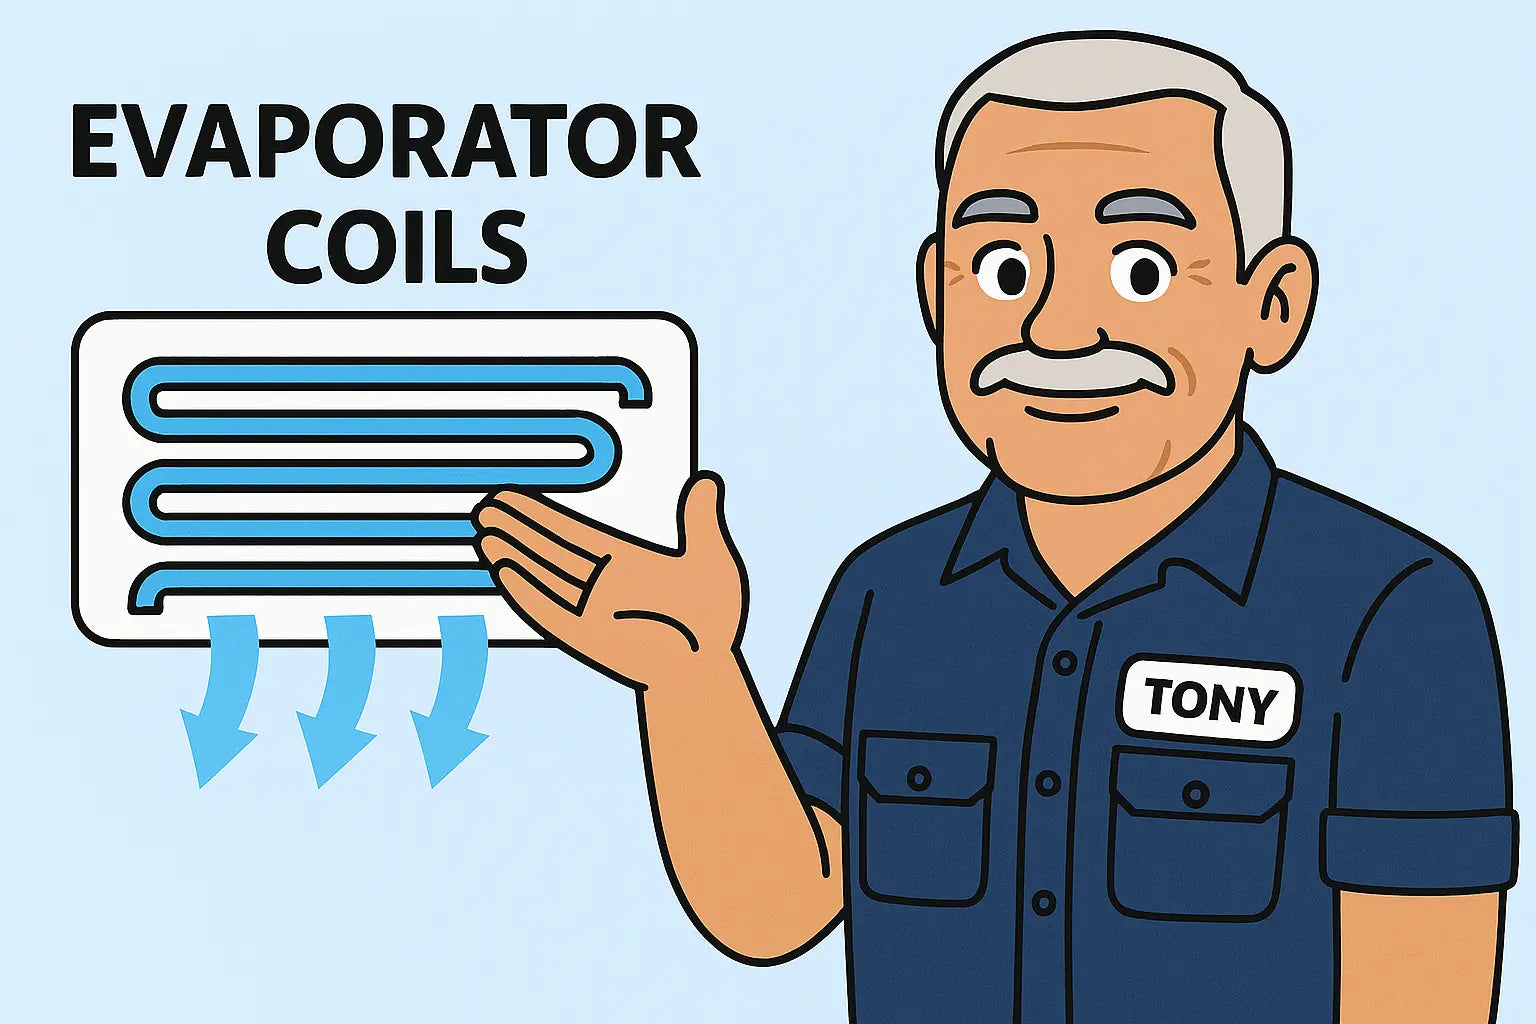
Let’s Get Into It: When (and Why) You’d Replace an Evaporator Coil
Alright — Tony here. If your HVAC system’s cooling power has taken a nosedive, or you’ve got refrigerant leaks that just won’t quit, chances are the evaporator coil is to blame. And let me tell you — if it’s cracked, leaking, or caked in corrosion, no amount of duct tape or praying is gonna save it. It needs to go.
Evaporator coil replacement is one of those jobs that people either fear or ignore — and neither option is good. Whether you're doing it yourself (and know your limits) or hiring a licensed pro, you should at least know the process so no one’s cutting corners on your dime.
Let’s break it down — step by step — the right way to replace a coil.
Step 1: Confirm That the Coil Actually Needs Replacing
Not every coil problem means total replacement. Some issues, like minor dirt buildup or a loose line, can be fixed with maintenance. But here’s when you know it’s time to call it:
-
Refrigerant leaks (especially if the leak is in the coil body or U-bends)
-
Frozen coil problems that keep coming back, even after cleaning and filter changes
-
Visible corrosion or rust across the coil
-
Poor cooling performance, despite a fully charged system
If you’re not sure, a pressure test with nitrogen or UV leak detection dye can confirm leaks. Check out this great HVAC School video on leak detection methods if you want to learn the real deal.
Step 2: Choose the Right Replacement Coil
Here’s where most DIY folks mess up — buying the wrong coil. You’ve got to match:
-
Tonnage/BTUs to your condenser
-
Refrigerant type (R-410A, R-32, etc.)
-
Coil type (A-coil, N-coil, slab, etc.)
-
Line set connection sizes
-
Airflow orientation (upflow, downflow, horizontal)
If any of that’s off, your system won't run right — or at all. Use coil specs from your existing unit, or find a compatible one using the manufacturer’s pairing guide.
Sites like The Furnace Outlet do a good job listing those specs clearly.
Step 3: Shut Everything Down (Power & Refrigerant)
Before you so much as look at the coil, turn off power to the air handler and safely recover the refrigerant. This part isn’t optional — it’s an EPA requirement.
Warning: Releasing refrigerant into the air is illegal, dangerous, and could wreck your compressor.
You’ll need:
-
Recovery machine
-
Recovery tank
-
Manifold gauges
-
EPA 608 Certification if you’re doing this legally
If you’re not certified, do yourself a favor and let a pro recover the refrigerant. Here’s the EPA’s full guide on why this step matters.
Step 4: Disconnect the Old Coil
Once your system’s safely depressurized and powered down:
-
Disconnect refrigerant line connections using wrenches
-
Detach the TXV (thermostatic expansion valve) or metering device, if accessible
-
Remove screws or brackets securing the coil
-
Slide the coil out carefully — avoid bending fins or snagging on the cabinet
If you’re lucky, it comes out clean. If not, brace yourself — I’ve pulled out some coils that looked like fossilized swamp creatures. 🦖
Step 5: Prep the New Coil
Before installing the new coil:
-
Inspect for shipping damage
-
Make sure line set fittings match
-
Install a new TXV or piston, based on your system
-
Flush the line set if needed (especially after a burnout)
Most manufacturers include instructions — don’t wing it. Take 5 minutes to read them.
Step 6: Install and Secure the New Coil
Slide the coil into the cabinet, align it with airflow direction, and secure it using brackets or screws. Make sure the drain pan is sloped correctly toward the outlet to avoid water backing up.
Pro Tip: Use mastic or foil tape to seal any gaps around the coil housing. Air leaks = energy loss and dirt buildup.
This Comfort Bros piece on airflow explains why proper airflow and sealing around the coil make such a big difference.
Step 7: Braze or Connect Refrigerant Lines
This is where you reconnect the liquid and suction lines to the new coil:
-
Clean copper pipe ends
-
Use nitrogen while brazing to avoid oxidation
-
Don’t overheat the TXV or valve assemblies
-
Use the correct fitting sizes — don’t “make it fit”
Once you’ve made solid connections, it’s time to leak check.
Step 8: Pressure Test and Evacuate the System
Test the system with nitrogen (usually at 200–300 psi) and check all brazed joints for leaks. If it holds for 15–30 minutes, you’re good.
Now pull a vacuum using a micron gauge and vacuum pump. Get it down to at least 500 microns before releasing refrigerant.
If you're not familiar with this part, check out this Direct AC How-To guide on vacuuming a system. This step makes or breaks your install.
Step 9: Recharge the System with Refrigerant
Use a digital scale and manufacturer charge specs to get your refrigerant amount just right. Don’t guesstimate.
After charging, check superheat and subcooling readings to verify the system is running properly.
Step 10: Test Operation and Check for Leaks
Once your system is running again:
-
Check for good airflow
-
Confirm correct temperature split (supply vs. return air)
-
Inspect the coil for condensate draining
-
Recheck refrigerant pressures and listen for any strange noises
Congrats — if everything checks out, you’re done! 👏
Final Thoughts: Know When to DIY and When to Call a Pro
If you're a confident DIYer with tools, experience, and EPA certification? You can replace your coil. But if you're missing any of those, this is not the time to wing it.
Get it wrong and you risk:
-
Compressor damage
-
Refrigerant leaks
-
Voiding your manufacturer warranty
-
Getting fined by the EPA
Play it smart. When in doubt, get a licensed tech to do the heavy lifting and ask to see their install checklist. Don’t let anyone rush or skip the vacuuming step.
The Last Word from Tony
Replacing an evaporator coil ain’t glamorous — but it’s necessary. Done right, it gives your system a fresh start and better performance for years to come.
If you need a legit replacement coil that won’t let you down, check out The Furnace Outlet’s evaporator coil selection. They carry the specs, brands, and options you need without the markup.
Need to know the signs it's time for repair or replacement? Visit: 5 Red Flags You Shouldn’t Ignore.
Stay cool, keep it tight, and remember — good HVAC work is never rushed 🔧❄️
— Tony the Trusted Tech


