Hey there, I’m Samantha 👋
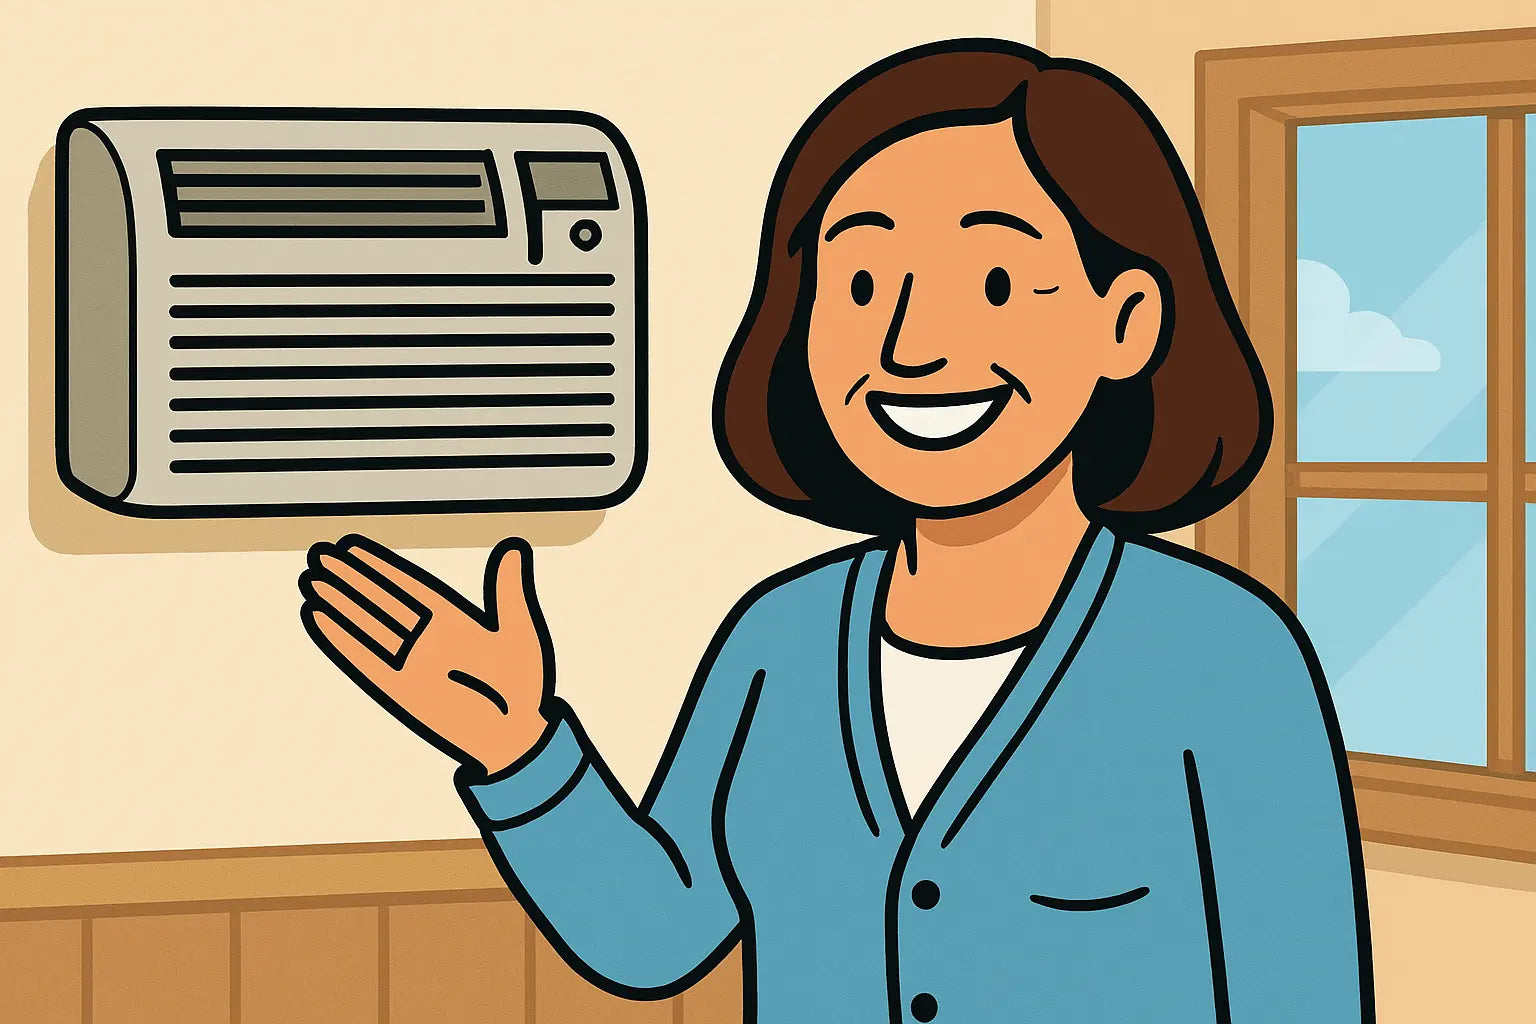
If you’ve got your eye on the Amana 11,800 BTU 115 V Through-the-Wall Air Conditioner with Remote, congratulations—you’re about to upgrade your summer comfort game. But before you even think about sliding that unit into a wall sleeve, we need to talk prep.
Improper wall prep can lead to leaks, drafts, rattles, or even worse—an electrical nightmare. Trust me, measuring your wall correctly and preparing the space is where 90% of installation success happens. Let’s break it down step by step.
1. Choosing the Perfect Wall
Location is everything. Here’s what to consider:
-
Avoid direct sunlight: West-facing walls will make your AC work overtime.
-
Stay clear of moisture zones: Bathrooms, kitchens, or laundry areas often create condensation issues.
-
Accessibility: You need room to clean, adjust, and maintain the AC without climbing through furniture or contorting yourself like a pretzel.
For an in-depth guide to location choices and common mistakes, check out HomeBuilding’s wall AC placement guide.
2. Measure Wall Thickness and Space
Before cutting, know your wall like the back of your hand.
-
Wall thickness: The sleeve on the Amana unit typically fits walls between 6–12 inches thick. Double-check the specs to avoid leaks.
-
Height from floor: The bottom of the unit should be 36–42 inches from the floor for optimal airflow.
-
Width and height: Mark the exact opening. “Measure twice, cut once” is non-negotiable.
Use a level, pencil, and tape measure to mark all edges carefully. A crooked cut = rattling, leaking AC—trust me, your sanity will thank you.
If you want a visual guide, House & Home offers a great walkthrough.
3. Locate Studs, Wires, and Pipes
Safety first, folks. You don’t want to slice through a wire or hit a hidden pipe.
-
Studs: Use a stud finder. Anchor the sleeve securely without splitting wood.
-
Electrical wiring: A dedicated 115 V outlet is required for the Amana unit. If in doubt, call an electrician.
-
Plumbing: Check for water pipes, especially in shared walls with kitchens or bathrooms.
This is one of the trickiest steps, and Alpine Air’s AC installation guide provides excellent tips for avoiding hidden hazards.
4. Inspect and Prepare the Wall Structure
Once you’ve mapped everything, inspect your wall:
-
Check for rot or mold: Any weak or damp spots should be repaired before installation.
-
Level the surface: A slightly uneven wall can cause rattles and poor sealing.
-
Remove obstacles: Shelves, pictures, or molding in the way need to be temporarily removed.
A quick, thorough inspection now saves hours of frustration later.
5. Insulation and Weatherproofing
You want cold air in and hot, humid air out.
-
Insulate around the sleeve: Minimal foam or fiberglass prevents drafts.
-
Exterior sealing: Caulk or weather-stripping keeps rain, bugs, and heat out.
-
Check exterior siding: Some siding types require additional flashing to prevent water leaks.
For best practices, The Spruce has a practical guide on sealing and weatherproofing for wall ACs.
6. Prep the Tools and Materials
Before you cut, gather everything:
-
Stud finder, level, tape measure, pencil
-
Drill, screws, screwdriver
-
Exterior-grade caulk and weather-stripping
-
Safety gear: gloves, goggles, dust mask
Nothing slows down an installation like missing tools mid-project. Keep everything close!
7. Common Wall Prep Mistakes to Avoid
-
Cutting before measuring: Always double-check dimensions.
-
Ignoring studs: Anchoring to drywall alone is a recipe for rattles and damage.
-
Overlooking wiring or plumbing: Safety first—this is not the time for “winging it.”
-
Neglecting insulation and sealing: Leaks = wasted energy, humidity, and a noisy AC.
For a visual reference of these mistakes, check Carrier's AC installation tips.
8. Extra Samantha Tips
-
Take photos of wall layout, wires, and studs—future you will thank you.
-
Consider a helper for measuring, cutting, and leveling.
-
Keep a notebook of your measurements and sketches for reference.
Ready to Grab Your Amana AC?
If you’re prepped and ready, check out the exact model here: Amana 11,800 BTU 115 V Through-the-Wall Air Conditioner with Remote and start planning your wall prep today. ❄️
With your wall measured, inspected, insulated, and cleared, you’re officially ready for a smooth installation—no rattles, no leaks, no panic.
Samantha’s Outro 🌸
There you have it! Wall prep might sound intimidating, but with careful measurement, stud checking, insulation, and a touch of patience, your Amana 11,800 BTU unit will slide in like a dream. Remember: careful prep now = long-term comfort, fewer headaches, and serious bragging rights when your friends see how chill your summer space is. 😉
Need more advanced installation tips for this unit? Visit: Slide, Seal, Chill.
Stay cool, stay confident, and enjoy that sweet, sweet AC breeze!
— Samantha, Home Comfort Advisor


