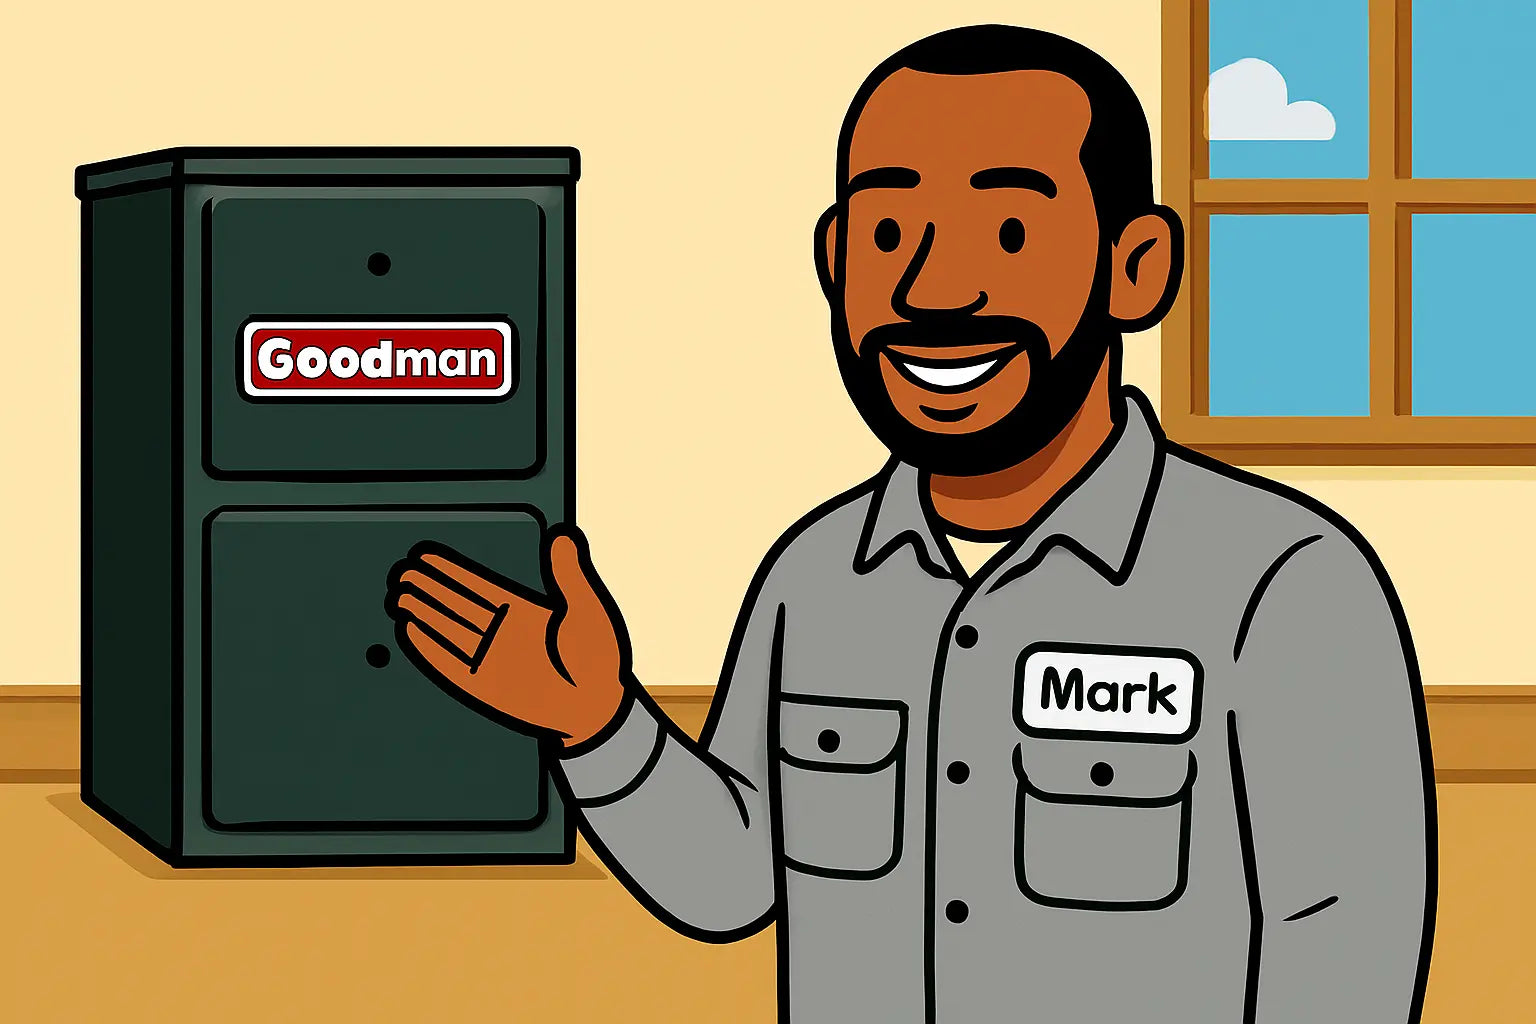
Intro from Mark!
Hey, Mark here 👋. Installing a furnace might sound like rocket science, but trust me—it’s more like following a recipe. The Goodman GR9S960803BN is a beast of a unit: 96% AFUE, 80,000 BTU, and flexible enough for upflow or horizontal installation. Today, I’ll walk you through the process like a pro, but in plain English—and maybe a little sarcasm for flavor. Think of it as DIY HVAC with personality. 🔧🔥
Section 1: Preparing for Installation
1.1 Gather Your Tools & Materials
Before touching the furnace, make sure you have:
-
Screwdrivers, wrenches, nut drivers
-
Level and tape measure
-
Pipe sealant or approved Teflon tape for gas connections
-
Sheet metal screws and duct tape (for venting)
-
Electrical tester / multimeter
1.2 Check Your Work Area
-
Ensure proper clearances around the unit (manualslib.com installation specs)
-
Clean floor area and make sure no debris blocks airflow
-
Verify the furnace location matches your duct layout
1.3 Safety First
-
Turn off power and gas
-
Keep a soap solution handy for leak testing
Section 2: Positioning Your Furnace
2.1 Upflow vs Horizontal
-
Upflow: Air rises through ducts above; common in basements
-
Horizontal: Air flows sideways; used in tight crawlspaces
-
Confirm your home layout supports chosen orientation (Energy.gov guide to furnaces)
2.2 Level & Clearance
-
Place furnace on a stable surface
-
Use a level to make sure it sits evenly
-
Maintain recommended clearance from walls, combustibles, and ductwork (manualzz.com)
Section 3: Venting Installation
-
Attach the proper vent pipe for exhaust and combustion air
-
Seal joints with UL-approved tape or sealant
-
Ensure vent slope is correct for condensate drainage
-
Reference Energy Star duct sealing guide for proper practices
-
Double-check for obstructions or leaks before power-up
Section 4: Gas Connection
-
Use approved materials: black iron pipe or approved flexible gas connectors
-
Apply pipe sealant or Teflon tape on threads
-
Perform a soap-bubble test after connections
-
If converting from natural gas to propane, follow the manufacturer’s instructions exactly (Goodman official manuals)
Section 5: Electrical Hookup
-
Ensure power is off at the breaker
-
Wire the furnace per the schematic in the manual
-
Check that blower motor, limit switches, and control board connections are secure
-
Test voltage with a multimeter to confirm proper connections
Section 6: First Power-Up & Commissioning
-
Reattach cabinet doors
-
Turn on power and gas
-
Observe ignition sequence
-
Check flame for proper color and stability
-
Verify blower operation and temperature rise
-
Confirm all safety switches and sensors are functional
Pro tip: Keep a notebook handy—jot any observations, error codes, or unusual noises for future troubleshooting.
Section 7: Common Installation Pitfalls & How to Avoid Them
-
Incorrect venting slope → water pooling → premature corrosion
-
Loose gas fittings → leaks → dangerous
-
Ignoring clearances → inefficient airflow or safety hazards
-
Skipping the test run → missing early warnings
Reference: HVAC.com Goodman furnace troubleshooting guide for insight into errors that often stem from installation issues.
Section 8: Maintaining Your New Furnace
-
Replace filters regularly (monthly or quarterly depending on usage)
-
Check for dust or debris around vents and blower
-
Annual inspection by licensed tech ensures long-term efficiency (The Spruce: furnace maintenance)
-
Keep a log of any service or cleaning performed
Mark's Wrap Up
And there you have it—a full step-by-step installation guide for the Goodman GR9S960803BN. Follow these steps, respect safety rules, and your furnace will reward you with years of reliable heat.
If you haven’t snagged one yet, check out the Goodman 96% AFUE 80,000 BTUs GR9S960803BN here.
Need help with error codes on this system? Visit: Decoding Your Goodman GR9S960803BN.
Stay warm, stay safe, and remember: a smooth install now saves a ton of headaches later. 🔧🔥✌️
- Mark, your go-to HVAC guide!


