Jake’s Take on Installing a Furnace
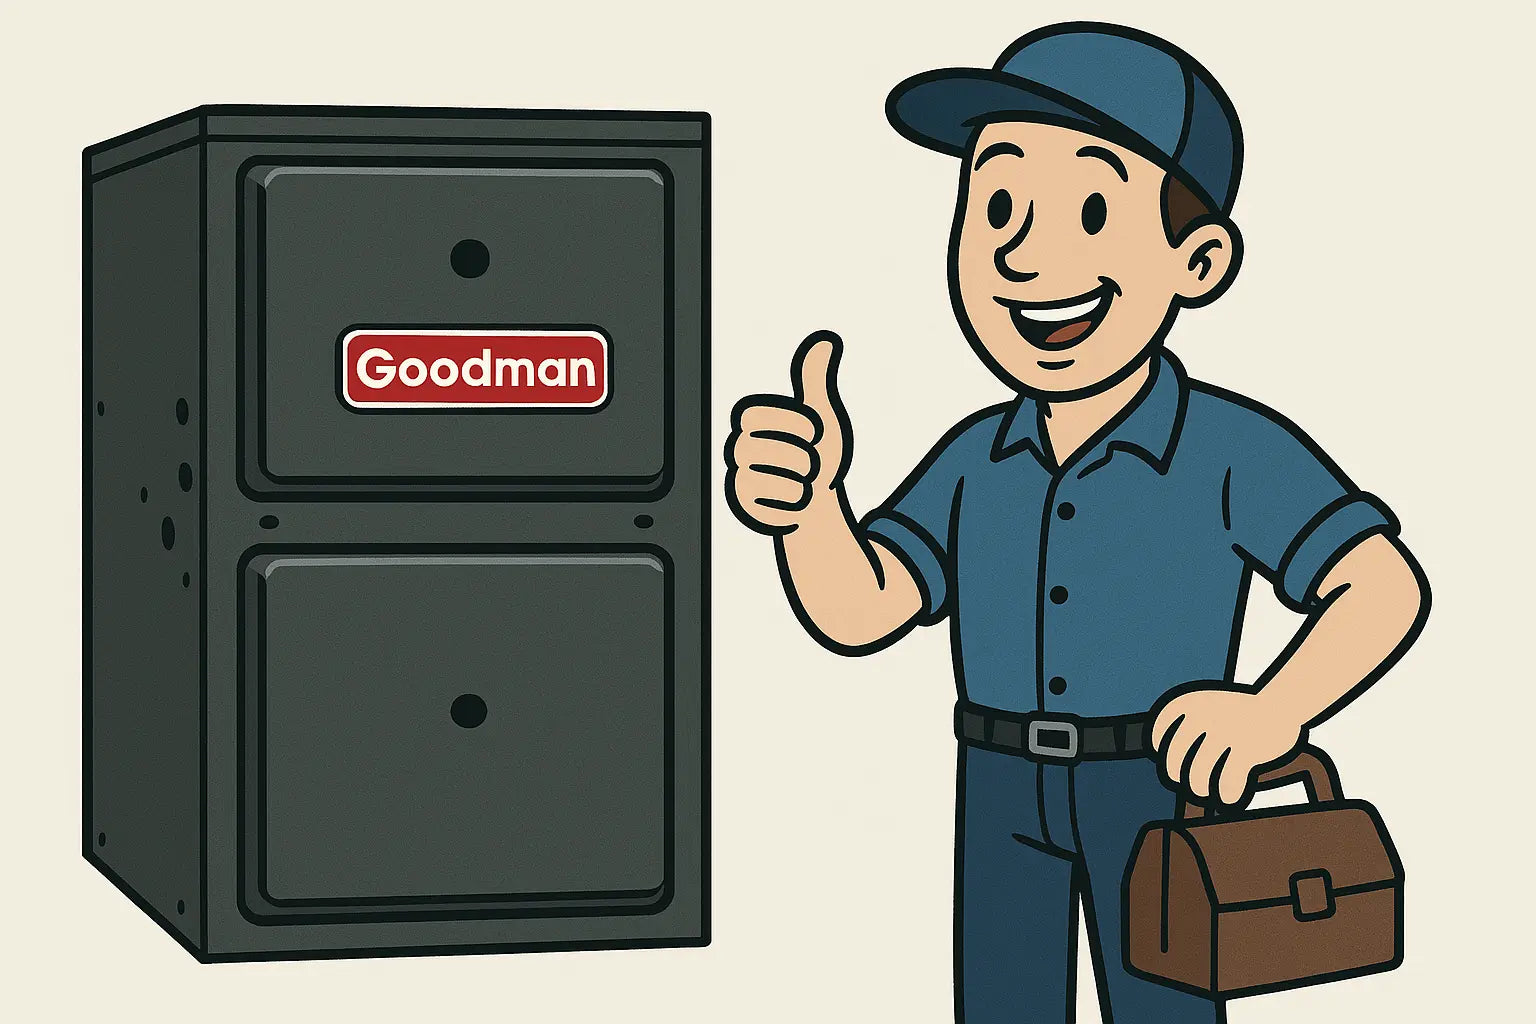
Hey, Jake here! 🛠️ Installing a furnace can feel intimidating, but with the right plan and a little patience, you can get your Goodman GR9S920603BN up and running like a pro. This unit is a single-stage, 9-speed ECM blower furnace with 92% AFUE efficiency and 60,000 BTUs, capable of handling upflow or horizontal installations.
I’ve installed plenty of furnaces over the years, and I can tell you—preparation is everything. In this guide, I’ll cover placement, venting, ductwork, gas connections, electrical hookups, first startup, and common pitfalls to avoid. And yes, I’ll sprinkle in some pro tips that save time and prevent headaches.
Step 1: Prepare the Installation Area
-
Measure your space carefully. The GR9S920603BN comes in a 17.5-inch cabinet, so clearances are tight for horizontal installations.
-
Ensure the surface is level and can support the weight of the furnace.
-
Keep all tools and hardware within reach to avoid interruptions.
Tip: For homes with limited space, think ahead about how ducts, gas lines, and electrical connections will fit.
Step 2: Unboxing and Inspecting the Furnace
-
Open the box carefully and verify all components: furnace cabinet, blower assembly, hardware, and manuals.
-
Inspect for shipping damage. Any dents or loose parts can affect performance and may need a replacement before installation.
-
Familiarize yourself with the blower assembly and the control board locations.
For detailed specs and a breakdown of each component, check the Goodman GR9S920603BN product page.
Step 3: Positioning the Furnace
-
For upflow installation, make sure the return duct aligns with the blower inlet.
-
For horizontal installations, ensure there’s proper clearance on both sides per Goodman’s guidelines.
-
Check that all flooring and surfaces are level—even small tilts can affect blower operation.
Pro tip: Mark the exact outline on the floor before moving the unit. This helps align ductwork and venting later.
Step 4: Venting the Furnace
-
Proper venting is essential for safety and efficiency. Use approved materials and follow local codes.
-
Keep runs as short and straight as possible. Every elbow or extension reduces efficiency.
-
Seal all joints with UL-approved duct sealant to prevent leaks.
For extra guidance, review a detailed furnace installation guide to understand venting tips and airflow optimization.
Step 5: Gas Line Connections
-
Turn off the gas supply before you start.
-
Use flexible connectors approved for gas, and always test for leaks using a soap solution.
-
Ensure the gas pressure is correct per the manufacturer’s specifications.
Safety first! Improper gas connections can create dangerous situations, so don’t rush this step. For best practices on natural gas safety, check out this energy efficiency and safety guide.
Step 6: Electrical Connections
-
The GR9S920603BN uses 120V electrical connections. Make sure the circuit is off before working.
-
Check the wiring diagram in the manual, confirm the ground connection, and secure all terminals.
-
Double-check ECM blower connections—they’re sensitive and can fail if wired incorrectly.
Step 7: Ductwork Alignment
-
Align supply and return ducts carefully. Use UL-approved duct tape or mastic to seal connections.
-
Ensure there’s no sagging or tension on the ducts, which can reduce airflow.
-
Verify all joints are sealed and insulated if running through unconditioned spaces.
Step 8: Installing the Filters and Blower Access Panel
-
Slide the filter into place—this prevents debris from entering the system immediately.
-
Reinstall the blower access panel. Make sure all screws are snug but not over-tightened.
Step 9: First Startup
-
Turn the gas back on and restore electrical power.
-
Set the thermostat to heat and raise the temperature above room temp.
-
Listen for smooth blower startup, ignition, and steady operation.
If you hear unusual noises (bangs, hissing, rattling), shut the furnace down immediately and inspect the system. For reference on error codes and troubleshooting, consult the GR9S920603BN manual or this HVAC troubleshooting guide for step-by-step fixes.
Step 10: Post-Installation Checks
-
Confirm airflow from each vent.
-
Check venting for leaks or unusual condensation.
-
Verify thermostat operation.
-
Schedule an inspection if this is your first installation to ensure everything meets local codes.
Pro Tips from Jake
-
Keep a checklist: Make sure every step is completed before moving to the next.
-
Use quality tools: A good level, pipe wrench, and screwdrivers make a huge difference.
-
Plan your workspace: Lay down a drop cloth to protect floors and catch debris.
-
Document your connections: Take photos for reference during troubleshooting.
-
Know when to call a pro: Gas connections, ignition issues, or complex electrical hookups should be handled by licensed technicians if you’re not confident.
For long-term maintenance and efficiency tips, this Energy.gov furnace guide is a solid resource.
Outro: Wrapping It Up
There you have it—your step-by-step guide to installing the Goodman GR9S920603BN furnace. 🔧🔥 Take your time, follow the steps, and double-check every connection. With proper installation, this furnace will keep your home cozy and efficient for years to come.
If you need to reference specs, manuals, or grab replacement parts, head over to the Goodman GR9S920603BN product page.
Need more advanced troubleshooting tips for this unit? Visit my guide: Solving Problems with Your Goodman GR9S920603BN.
Remember: safety first, tools ready, and confidence on full blast.
- Jake out! 🛠️🔥


