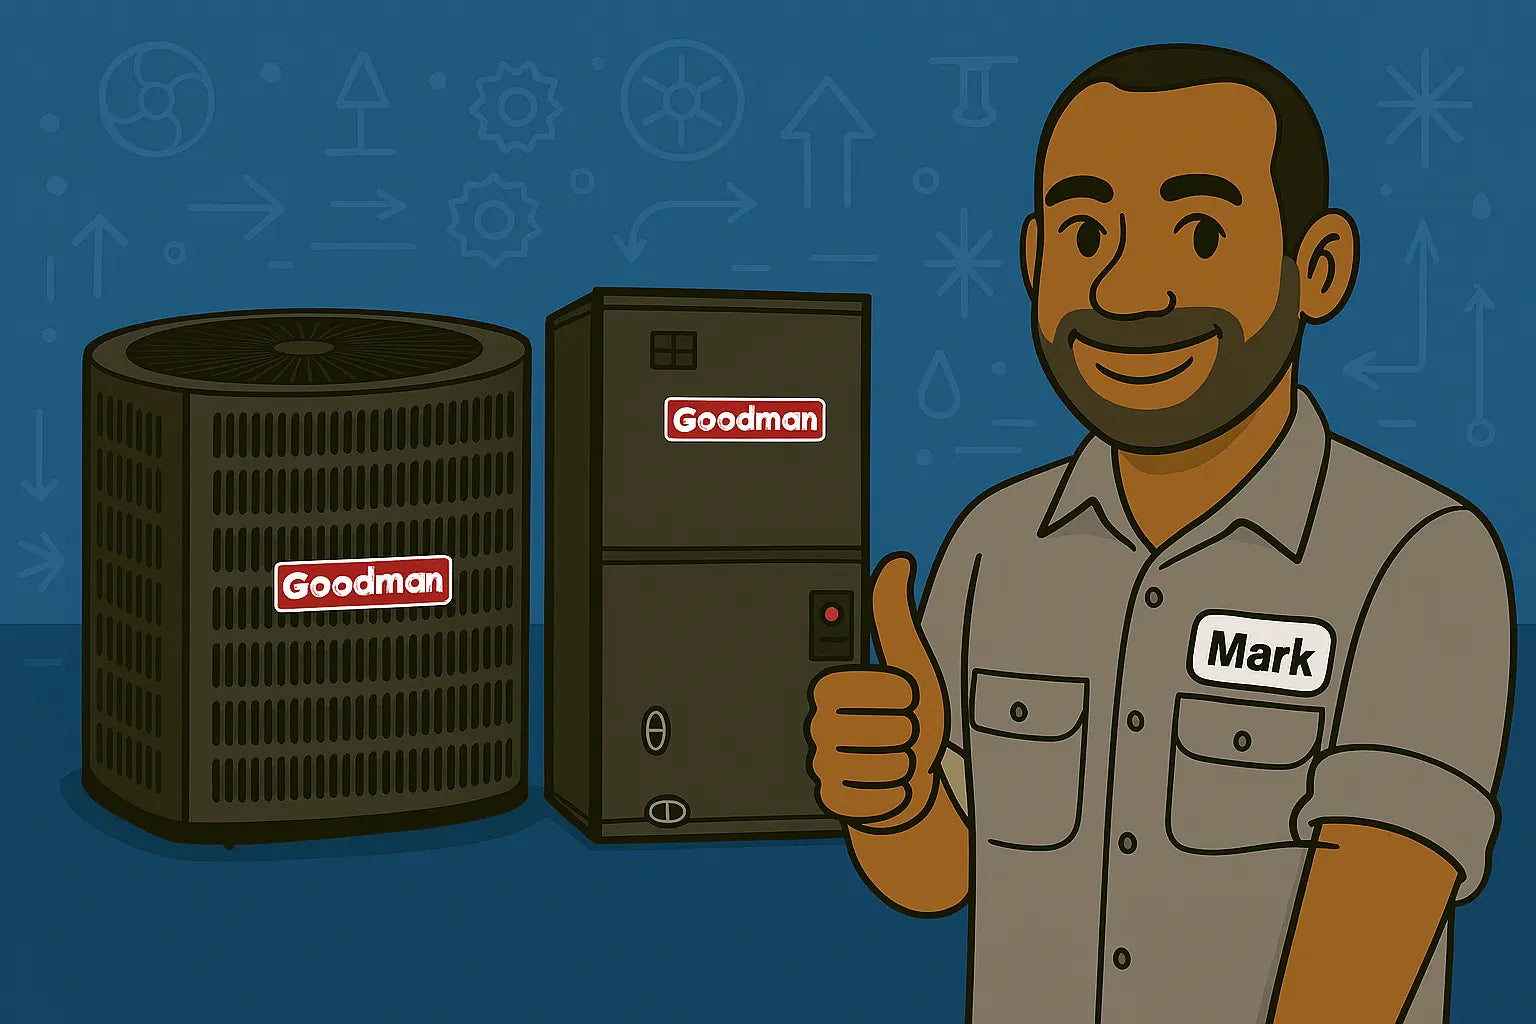
Introduction from Mark
Upgrading your HVAC system is a big investment, and knowing what to expect can help you feel confident in your decision. The Goodman 2-Ton 14 SEER2 R-32 bundle is designed to deliver efficient cooling and reliable performance, but the installation process is just as important as the product itself. In this article, we’ll walk through the key stages of installing your new system, highlight the role of professionals, and share what you should look out for as a homeowner.
Step 1: Pre-Installation Preparation
Before installation even begins, your HVAC contractor will perform a site assessment. This includes evaluating ductwork, measuring airflow requirements, and determining the best location for both the condenser unit and the indoor coil.
-
Home load calculation: A Manual J calculation ensures that the 2-ton system is the right size for your space. According to the U.S. Department of Energy, improperly sized units can waste energy and compromise comfort.
-
Electrical readiness: Your electrical panel and wiring must meet code and handle the system’s power requirements.
-
Refrigerant safety: Since the Goodman bundle uses R-32 refrigerant, installers will verify proper safety clearances for this mildly flammable, environmentally friendly refrigerant.
Step 2: Removing the Old Equipment
If you’re replacing an older system, the existing AC and air handler will be carefully removed. Contractors must follow EPA refrigerant guidelines to recover any refrigerant safely. This step is critical for environmental safety and compliance.
Step 3: Installing the Outdoor Condenser
The exterior unit (also called the condenser) will be mounted on a stable, level pad outside your home. Installers will:
-
Ensure proper clearance for airflow.
-
Connect the unit to the home’s electrical supply.
-
Run refrigerant lines between the indoor and outdoor components.
Good airflow around the condenser is vital. The Air Conditioning Contractors of America recommends leaving at least 2 feet of clearance around the unit to maximize efficiency and lifespan.
Step 4: Installing the Indoor Coil and Air Handler/Furnace
The Goodman 2-ton bundle includes a matched indoor coil, which is typically installed with an air handler or furnace. This part of the installation includes:
-
Securing the coil in the air handler/furnace.
-
Sealing connections to prevent air leaks.
-
Hooking up the condensate drain to safely remove moisture.
Ductwork may also be inspected and sealed. As the Energy Star program points out, leaky ducts can reduce system efficiency by up to 20%.
Step 5: Refrigerant Charging and System Testing
Once all components are installed, the technician will vacuum the refrigerant lines, charge the system with R-32 refrigerant, and perform testing. This includes:
-
Checking refrigerant levels.
-
Verifying proper airflow.
-
Ensuring the thermostat communicates correctly with the system.
According to ASHRAE standards, accurate charging and airflow testing are critical to achieving the rated 14 SEER2 efficiency.
Step 6: Final Walkthrough and Homeowner Education
After installation, your contractor should give you a complete walkthrough. This includes:
-
Demonstrating thermostat settings.
-
Reviewing maintenance tasks like filter changes.
-
Explaining warranty coverage and registration.
You’ll also receive documentation, such as the warranty and installation checklist, to keep for your records.
Mark's Final Thoughts
The installation of your Goodman 2-Ton 14 SEER2 R-32 system is a multi-step process that requires precision and professional expertise. From careful preparation to post-installation testing, every detail matters for ensuring efficiency, safety, and long-term reliability.
If you’re considering an upgrade, the Goodman 2-Ton 14 SEER2 R-32 system offers an affordable, efficient option that can keep your home comfortable for years to come.
Curious about efficiency with this bundle? Visit my guide: Efficiency in Action.
Until next time,
- Mark, your go-to HVAC tech!


