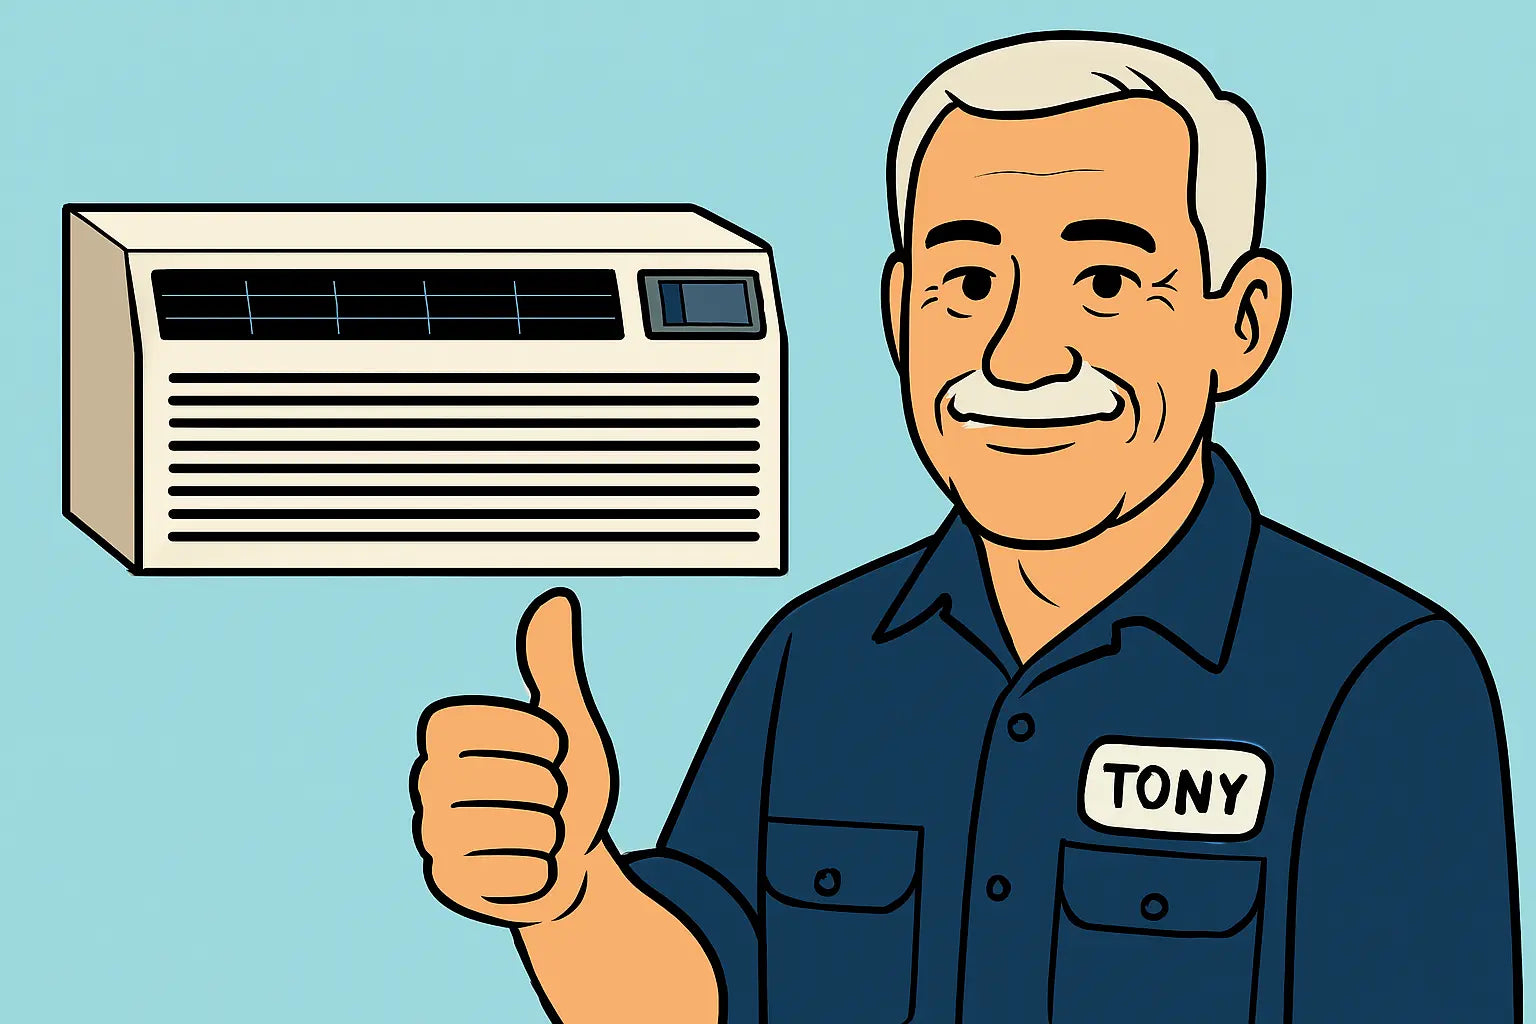
🛠️ Tony’s Take on PTAC Installation
Hey there, Tony Marino here! If you’ve got your eyes on the Amana Distinctions 14,700 BTU PTAC unit with heat pump and 3.5 kW electric heat backup, you’re probably wondering how to get it installed without breaking a sweat—or worse, breaking the unit.
Installing a PTAC can feel intimidating, but I’ve done this thousands of times in my career, and I promise, with the right approach, it’s very doable. Today, I’m going to guide you through each step like a seasoned pro, sprinkle in some tips to avoid rookie mistakes, and make sure your PTAC is running smooth and strong. Let’s jump in! 💪
🔹 Section 1: Preparing for Installation
1.1 Gather Your Tools and Materials
Before you start fiddling with screws and wires, make sure you’ve got everything ready. Here’s your toolkit:
-
Screwdriver set (Phillips and flathead)
-
Drill and bits
-
Measuring tape
-
Level
-
Sealant and insulation tape
-
Gloves and safety glasses (safety first!)
Having these handy will save you a lot of frustration. Also, double-check that your PTAC unit hasn’t suffered any shipping damage. Nothing ruins a Saturday like discovering a dented condenser coil.
1.2 Choose the Right Location
Picking the perfect spot is crucial for performance and longevity:
-
Height Matters: Your unit should be high enough for proper airflow, but not so high that you can’t reach the filters.
-
Easy Access: You’ll need to swap filters, clean coils, and occasionally troubleshoot. Don’t hide it behind a couch!
-
Clearances: Keep the recommended space around the unit for ventilation. Check the Amana PTAC Installation Instructions for specifics.
Tony tip: Avoid spots where furniture or drapes block airflow—you want your unit breathing freely.
1.3 Prep the Wall and Window
For most installations, the PTAC either sits in a sleeve through a wall or in a window bracket. Here’s what to consider:
-
Wall Sleeve: Ensure it’s level, securely mounted, and properly sealed to avoid drafts.
-
Window Bracket: Make sure the window can support the unit’s weight and the bracket is anchored solidly.
A solid, level base is non-negotiable. A crooked PTAC can leak, make noise, and shorten the lifespan of the unit.
🔹 Section 2: Mounting the PTAC Unit
2.1 Positioning the Bracket
Most PTAC units come with a mounting bracket. Here’s how to set it up:
-
Mark where the bracket will go using a level.
-
Drill pilot holes into studs or a solid surface.
-
Secure the bracket firmly with the provided screws.
2.2 Lifting and Seating the Unit
This is where a helper comes in handy. PTAC units are heavy, and a dropped unit is a guarantee for bad vibes.
-
Lift the unit carefully and place it onto the bracket.
-
Slide it fully into the sleeve or frame until it’s snug.
-
Secure the unit according to the instructions.
Tony tip: If it feels like it’s catching, stop and check alignment. Forcing it can bend the casing or damage the internal components.
2.3 Check Level and Seal
Once in place:
-
Double-check that the unit is level.
-
Seal any gaps around the sleeve or window using weather-resistant caulk or insulation tape.
Proper sealing improves efficiency and prevents drafts—your utility bills will thank you.
🔹 Section 3: Electrical Connections
⚠️ Safety first: If you’re not comfortable working with electricity, call a licensed electrician.
-
Turn off the breaker that powers your PTAC circuit.
-
Connect the wires according to the PTAC Service Instructions.
-
Secure all connections and double-check for loose wires.
Tony tip: Label the wires as you go—it’ll make troubleshooting way easier later.
🔹 Section 4: First Power-On & Testing
Now comes the fun part—firing it up!
-
Turn on the breaker and power up the unit.
-
Test each mode: cool, heat, fan, and the 3.5 kW electric heat backup.
-
Listen for unusual noises, and check airflow from both intake and exhaust vents.
For reference, here’s a helpful visual guide on How to Troubleshoot & Reset Your Amana PTAC.
🔹 Section 5: Common Installation Pitfalls
Even seasoned pros hit snags sometimes. Watch out for these:
-
Misaligned Sleeves: Can cause rattling and leaks.
-
Loose Wiring: Can trigger tripped breakers or prevent operation.
-
Improper Seal: Reduces efficiency and comfort.
-
Overlooking the Drainage System: Condensation needs an unobstructed path; otherwise, water damage is coming.
🔹 Section 6: Maintenance Prep
Installing your PTAC is just the start. Setting up a maintenance routine will extend its life:
-
Monthly Filter Cleaning: Keep airflow strong and clean.
-
Check Coils Annually: Dust and debris reduce efficiency.
-
Inspect Drainage: Clear clogs before they become a headache.
For detailed instructions, refer to the Amana PTAC Maintenance Manual.
Tony tip: A little maintenance now saves a lot of money and stress later. Trust me. 😎
🏁 Conclusion: Tony’s Installation Wisdom
Alright, champs, Tony Marino signing off! Installing your Amana Distinctions 14,700 BTU PTAC unit doesn’t have to be scary. Follow these steps, check your clearances, seal it right, and don’t cut corners on the electrical side.
Once it’s running, test everything and enjoy the comfort. If any issues pop up beyond the basics, call a pro—but for most homeowners, these steps will get your PTAC humming happily. Stay safe, stay cool (or cozy in winter), and remember—filters are your friends! 🛠️💨
Need advanced troubleshooting tips for this PTAC unit? Visit: The Guide to Troubleshooting the Amana Distinctions 14,700 BTU PTAC.
Until next time,
- Tony the Trusted Tech


