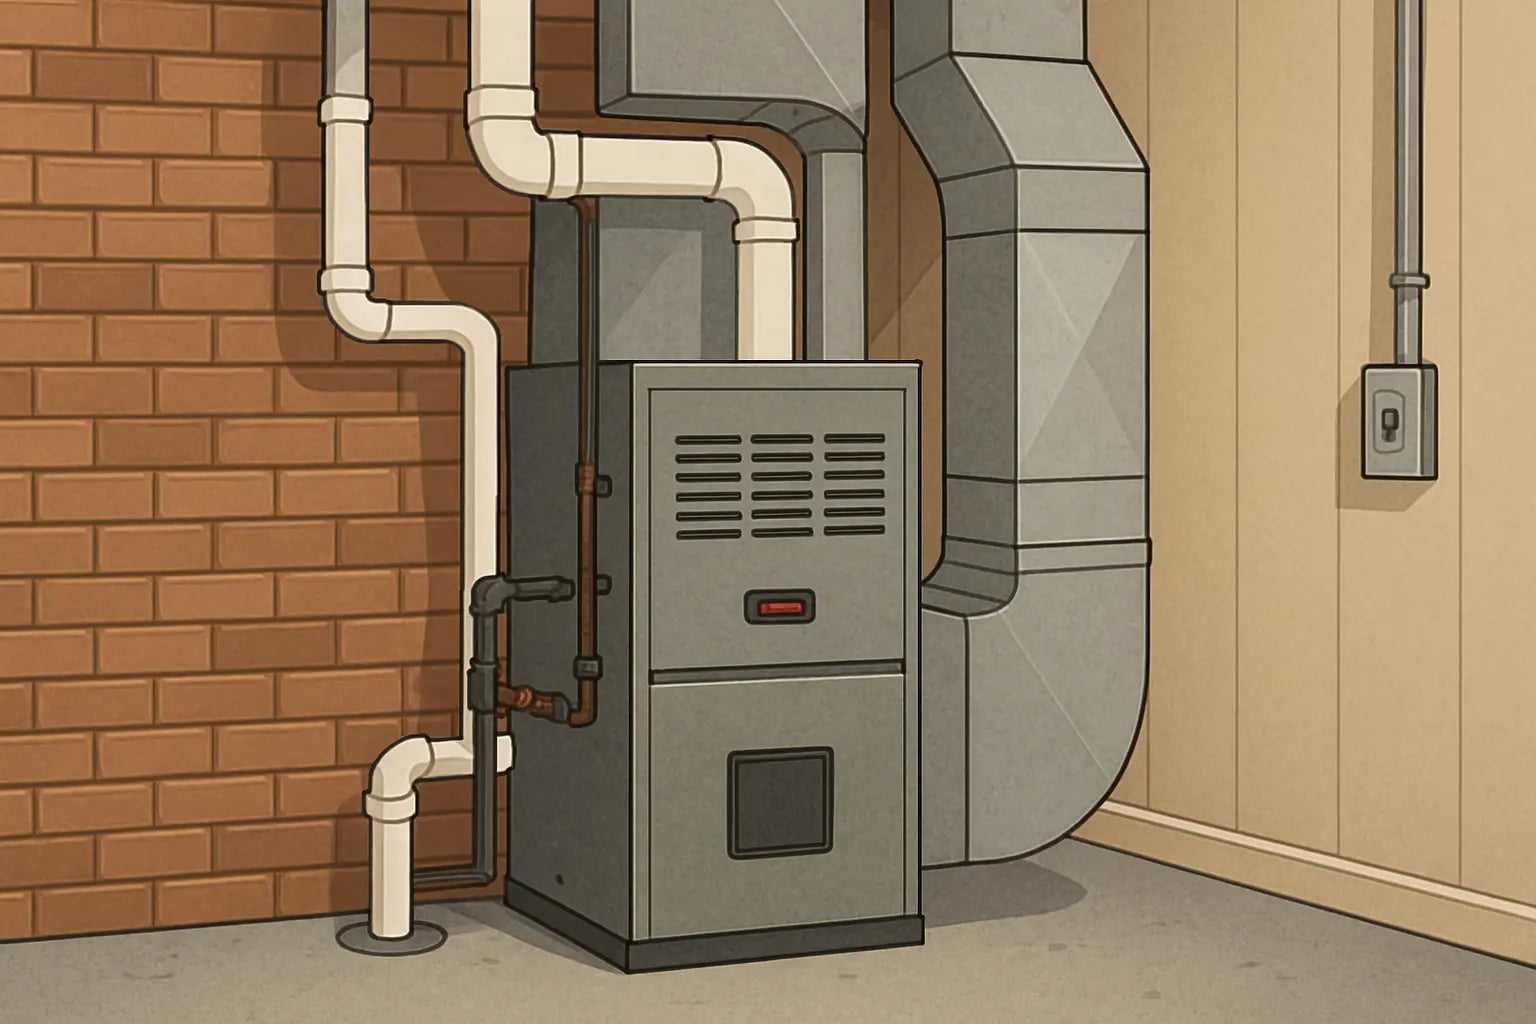
Let’s Get Fired Up—Safely 🔧🔥
So, you're installing or rehabbing a furnace and ready to hook up the gas and power. That’s where it gets real, right? There’s a fine line between “weekend hero” and “that guy who blew up the crawlspace.”
This guide walks you through everything you need to know to safely connect and test your furnace’s gas line and electrical connections, all without calling in a pro—assuming you follow code and common sense every step of the way.
Disclaimer: If you ever feel out of your depth, stop and call a licensed HVAC technician or electrician. Gas leaks and improper wiring are no joke.
Step 1: Know Your Codes and Permits 🧾
Before touching anything, check your local building codes. Many municipalities require a permit for any gas or high-voltage electrical work. Failing to follow code can lead to fines, voided warranties, or worse.
The U.S. Department of Energy provides a general home energy guidelines reference for heating systems, but always double-check with your local inspection office.
Step 2: Shut Off Gas and Power—No Exceptions ⚠️
Before beginning, turn off:
-
The main gas valve
-
The circuit breaker powering the furnace
Use a multimeter to confirm that there’s no voltage in the control board before you touch anything electrical. No sparks today, thank you.
Step 3: Connecting the Gas Line
Materials You’ll Need:
-
Yellow Teflon gas-rated pipe thread seal tape
-
Pipe wrench
-
Flexible stainless steel gas connector
-
Leak detection spray or a soap-and-water solution
Step-by-Step:
-
Attach the connector to the furnace’s gas inlet.
-
Wrap all threaded fittings with gas-rated Teflon tape (yellow).
-
Tighten connections with a wrench—snug, but don’t overtighten.
-
Turn on the gas valve slowly.
-
Test for leaks by spraying your soapy solution or using a UL-listed leak detector. Look for bubbles.
If you see bubbling, shut everything down immediately and re-seat your fittings. Never light the furnace until you’re 100% sure there are no leaks.
Want a more detailed walk-through? Check out this great Fire and Ice furnace installation guide that covers the basics.
Step 4: Wiring the Furnace ⚡
Your furnace may require both low-voltage (typically 24V for thermostats) and high-voltage (usually 120V or 240V) wiring. Make sure your wiring matches your model’s requirements. Refer to the manual or label inside the control panel.
Wiring Steps:
-
Remove the furnace access panel.
-
Connect the high-voltage wires (usually black and white) to the matching wires in the junction box. Secure with wire nuts.
-
Ground the furnace using the green or bare copper ground wire.
-
Connect low-voltage wires to the control board (R, C, W, Y, G terminals for thermostats).
-
Replace the panel before testing.
This is a job where precision matters. If you're unsure about electrical safety, this Family Handyman guide lays out simple diagrams and safety practices you’ll want to follow.
Step 5: Power On and Test 🔍
Now the moment of truth.
-
Turn the circuit breaker back on.
-
Turn the furnace’s gas valve on.
-
Set your thermostat to “heat.”
-
Watch for ignition. You should hear the burner light and feel warm air within a minute.
Check:
-
Is the blower running?
-
Are any lights blinking on the control board?
-
Are there any smells or strange noises?
If the burner doesn’t ignite or the unit cycles repeatedly, you may have a pressure switch or ignition issue. This Carrier troubleshooting article walks through common control board errors and how to read them.
Common Safety Mistakes to Avoid ❌
-
Skipping leak detection – You’d be surprised how often DIYers forget this.
-
Not using a licensed shutoff valve – Required in most codes.
-
Improper grounding – Can cause electrical fires or damage control boards.
-
Running electrical wires too close to gas lines – Dangerous and non-code compliant.
For more code-compliant best practices, check this HVAC School article for a pro-level look at electrical fundamentals.
When to Call in a Pro 🛠️
Even seasoned DIYers run into snags. Call a professional if:
-
You smell gas after installation
-
The furnace keeps tripping breakers
-
The control board is flashing error codes you can’t identify
-
You’re dealing with older homes with aluminum wiring or outdated gas systems
Need help finding a local, licensed HVAC tech? The folks over at Angi make it easy to locate certified pros near you.
Final Thoughts: You’ve Got This 💪
Connecting and testing your furnace’s gas and electrical lines isn’t impossible, but it’s not a casual job either. Be deliberate. Be safe. And when in doubt, loop in a licensed pro to double-check your work. After all, heat is great—but peace of mind is better.
For more tools, tips, and ready-to-install furnace systems, check out the full collection of furnaces at The Furnace Outlet. It’s the perfect starting point whether you’re upgrading or building from scratch.
Trying to decide between repairing or replacing your furnace? Visit: Signs and Cost Considerations.
Until next time,
- Mark, your go-to HVAC guide


