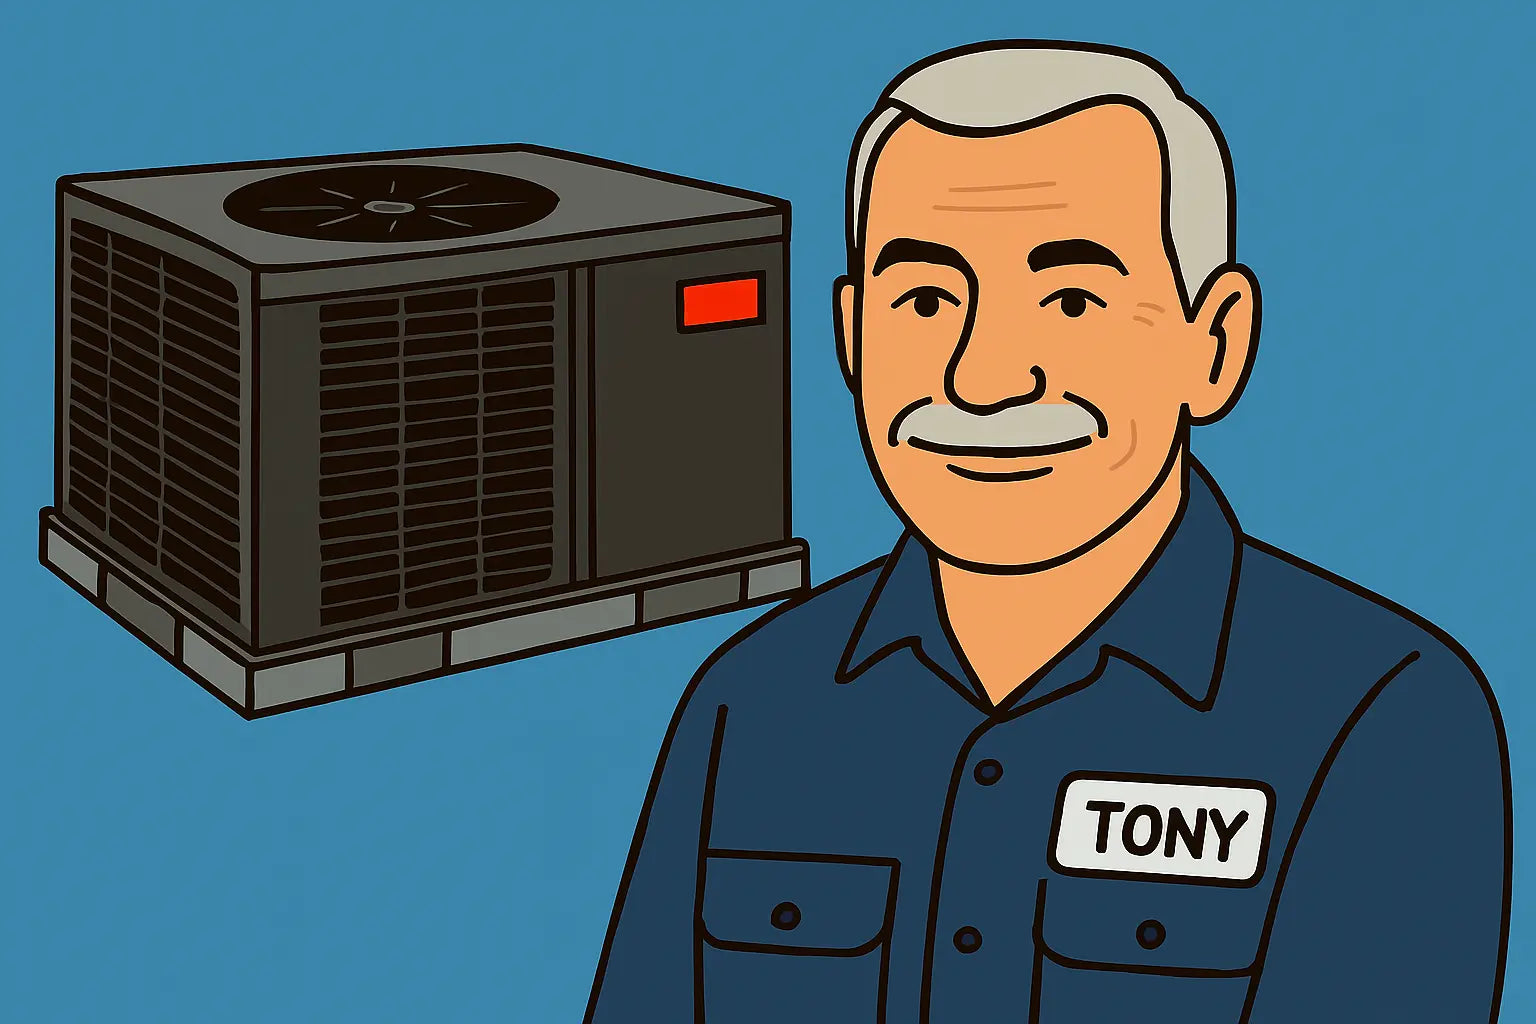
🏗️ Introduction: Tony’s Take on Horizontal Installs
Hey HVAC warriors, Tony Marino here. Horizontal units like the Goodman GPCH33631 aren’t your average wall-mounted AC—they’re 3-ton cooling beasts designed for tight spaces like attics, crawl spaces, or utility rooms. Installing them properly is all about preparation, precision, and respecting the system.
I’m going to walk you through everything from prep and layout to electrical connections and start-up testing. By the end, you’ll feel confident that your GPCH33631 is installed safely, efficiently, and ready to keep your home ice-cold.
🛠️ Know Your Unit Before You Install
Before you touch a single screw or line, get familiar with your unit:
-
Model: GPCH33631
-
Cooling Capacity: 3 tons
-
Voltage: 208/230V, single-phase, 60Hz
-
Refrigerant: R-32
-
Installation Type: Horizontal
If you need the official specs and detailed diagrams, check the HVACDirect GPCH3 Spec Sheet. Knowing the dimensions, weight, and electrical requirements will prevent headaches later.
🧰 Essential Tools & Materials
Gather these before starting:
-
Level
-
Wrenches & screwdrivers
-
Torque wrench
-
Pipe insulation
-
Electrical tape
-
Refrigerant gauges
-
Condensate pump (if needed)
-
Goodman GPCH33631 installation kit
For detailed installation tips and recommended tools, Goodman’s official manual is your go-to reference.
🏠 Step 1: Preparing the Installation Area
-
Choose the Right Location:
Horizontal units require clearance around all sides for airflow and maintenance. Ideal spots include attics, crawl spaces, or dedicated utility rooms. -
Check Electrical Supply:
Make sure the breaker panel can support 208/230V single-phase. No improvising here—safety first. -
Mounting Surface Prep:
Level concrete pads or sturdy platforms work best. A slight tilt backward isn’t allowed; the unit must be perfectly horizontal. -
Drainage Planning:
Condensate drains must slope downward to prevent water pooling. I recommend using PVC or flexible tubing and double-checking slope angles. For some clever visuals and layout suggestions, the Carrier Installation Guide is a lifesaver.
🧩 Step 2: Unboxing & Inspection
-
Carefully remove the GPCH33631 from the shipping crate.
-
Check for dents, scratches, or missing components.
-
Confirm that your installation kit has all necessary brackets, screws, and drain fittings.
A thorough inspection now saves big headaches down the line.
🧩 Step 3: Positioning the Unit
-
Place the AC on your leveled pad or platform.
-
Use a carpenter’s level to ensure exact horizontal alignment.
-
Verify access for future maintenance and airflow clearance.
Tip: Horizontal units are heavier than they look. Enlist a friend or use a dolly for safety.
🧩 Step 4: Connecting Refrigerant Lines
-
Identify suction and liquid lines.
-
Insulate the suction line before attaching it.
-
Use a torque wrench to tighten connections according to the manual.
⚠️ Safety first: Always wear gloves and eye protection when handling refrigerant. R-32 is more eco-friendly than older refrigerants, but it’s still pressurized and flammable. The EPA R-32 safety guide provides certified handling practices.
🧩 Step 5: Electrical Connections
-
Follow the wiring diagram in the GPCH33631 manual.
-
Confirm breaker sizing and ensure all wires are secured.
-
Label connections if needed for future maintenance.
If electrical work isn’t your strength, hire a licensed pro—this step is critical for safety and unit performance.
🧩 Step 6: Installing the Condensate Drain
-
Attach the drain line to the unit’s pan.
-
Verify proper slope to allow gravity drainage.
-
Inspect the pan for cracks or rust before sealing.
Pro tip: A condensate pump may be necessary if the drain can’t rely solely on gravity.
🧩 Step 7: System Start-Up
-
Power up the AC.
-
Monitor for unusual noises, vibrations, or leaks.
-
Confirm airflow, temperature drop, and thermostat responsiveness.
🧪 Troubleshooting During Installation
Even pros hit snags sometimes. Here are some issues you might face:
-
No Cool Air: Check refrigerant, airflow, and thermostat.
-
Unit Won’t Turn On: Check breakers, wiring, and fuses.
-
Leaks: Verify condensate drain slope and inspect pan for damage.
🧼 Maintenance Tips After Installation
-
Replace filters regularly
-
Inspect coils for dust or debris
-
Check refrigerant levels periodically
-
Inspect ductwork and connections
Maintaining your horizontal unit ensures longevity and energy efficiency.
🧠 Final Thoughts from Tony
Alright, friends, here’s the deal: installing a GPCH33631 horizontal AC unit isn’t just about flipping a switch—it’s about setting up a system that runs efficiently, safely, and quietly for years. Take your time during installation, double-check every electrical connection, and respect the R-32 refrigerant handling procedures.
Once installed properly, this unit will keep your home comfortable even during the hottest days, and you’ll have peace of mind knowing it’s done right. If you’re ready to get your hands on one and start the installation process with confidence, check out the Goodman GPCH33631 Horizontal Air Conditioner directly from The Furnace Outlet.
Remember: a proper installation now saves you time, money, and headaches down the line.
Need more advanced troubleshooting tips for this unit? Visit my guide: Troubleshooting the Goodman GPCH33631 Like a Pro.
Stay safe, stay smart, and enjoy the cool, efficient comfort that only a well-installed GPCH33631 can deliver. 🧊
- Tony the Trusted Tech


