Hey There!
If you’ve landed on this guide, chances are you’re either getting ready to install your new Goodman 3 Ton 14.5 SEER2 R-32 AC system or you're a savvy homeowner trying to understand what your HVAC crew should be doing. Either way, I’ve got you covered.
The GLXS4BA3610 condenser paired with the AMST36CU1300 air handler is a solid match. But like any quality system, proper installation is everything. Even the best unit will underperform—or fail early—if the setup’s botched.
Let’s walk through what I consider a textbook install.
Tools & Materials You’ll Need
Before you even pop the box open, gather everything you’ll need:
-
Refrigerant line set (3/8" x 7/8")
-
R-32-compatible vacuum pump and gauge manifold
-
Nitrogen tank and regulator (for pressure testing and purging)
-
PVC piping for condensate drain
-
Electrical disconnect box + whip
-
Sealant and insulation tape
-
Hammer drill, conduit bender, wire strippers, level, and multimeter
-
208/230V single-phase power source
-
Thermostat + control wire
HVAC School has a great checklist if you want to double-check your setup.
Step 1: Site Preparation
Make sure your installation site meets code and provides:
-
A level concrete or composite pad
-
Clearance of at least 18” on all sides of the condenser
-
Adequate airflow (no obstructions like bushes, fences, or walls)
Use a bubble level and shims to ensure the pad is perfectly flat. A tilted condenser can cause compressor oil migration issues—and that’s no joke.
Also, verify that the indoor location for the air handler offers solid anchoring, good drainage slope, and minimal duct resistance.
Step 2: Mount and Position the Air Handler
For the AMST36CU1300, this is typically a vertical install in a closet, attic, or garage. You’ll want to:
-
Anchor it securely to a platform or stand
-
Connect return and supply plenums using mastic or UL-listed tape
-
Ensure the coil slope supports proper condensate drainage
-
Connect the PVC condensate drain line with a trap and air vent
Here’s a solid breakdown of proper condensate drain best practices.
Also, run your thermostat wire now, and leave enough slack for a service loop.
Step 3: Set the Condenser
With the GLXS4BA3610, pay attention to the service valve orientation. Here's what to do:
-
Position the unit with valves accessible from the front or side
-
Use anti-vibration pads if the unit is placed on a deck or wooden surface
-
Connect the whip and disconnect, but do not energize yet
Always double-check manufacturer clearances. The Goodman manual spells out airflow requirements clearly, but it’s often overlooked.
Step 4: Run and Connect Line Set
Use a line set rated for R-32 with the correct sizing—3/8" liquid and 7/8" suction.
-
Braze using nitrogen to prevent oxidation (black flakes in the line will kill the compressor)
-
Pressure test with nitrogen up to 400 psi
-
Vacuum down to 500 microns or below
Want a refresher on pulling a proper vacuum? HVAC School has a great write-up.
Seal the penetration points where the line set enters the wall to prevent air leaks or critters making a home.
Step 5: Electrical & Control Wiring
Wire the system according to the Goodman wiring diagram included in the documentation.
-
Use a 2-pole 30–40 amp breaker for the condenser
-
Verify L1 and L2 match line voltage
-
Connect Y, C, G, and R to your thermostat and board
-
Confirm communication signals (if using advanced controls)
Here’s a handy wiring guide to keep you out of trouble if you’re unsure.
Once all wiring is complete, double-check polarity and make sure your ground is solid.
Step 6: Startup & Commissioning
Once the lines are leak-checked, evacuated, and connected, you’re ready to:
-
Power up the system at the disconnect
-
Set the thermostat to cool mode, drop the temp by 5°F
-
Monitor pressures, amp draw, and airflow
Make sure your superheat and subcooling fall within spec. It’s your best shot at confirming the charge is good and the system is behaving as expected.
HVAC School has a deep dive into what numbers you’re looking for depending on the metering device.
Once you confirm performance, record your data in the install log (pressures, temps, voltage, and amps). It protects both you and the homeowner down the road.
Final Tips from the Field
-
Use insulated hangers for line set support
-
Always slope the suction line toward the condenser
-
Label your breaker, disconnect, and thermostat wires for future techs
-
Confirm airflow with a manometer or at least a decent vane anemometer
A good install is quiet, efficient, and drama-free. If your GLXS4BA3610 + AMST36CU1300 system is set up right, it’ll run for years with just routine maintenance.
Final Thoughts: Make It Count
Whether you’re a DIYer working with a licensed electrician or an installer looking to get it right the first time, this guide gives you the roadmap.
Done right, your Goodman 3 Ton 14.5 SEER2 R-32 Air Conditioner System will run cooler, last longer, and save you from callbacks or sky-high electric bills.
👉 Check out the full system here on The Furnace Outlet to confirm specs, warranty, and compatible accessories.
Need more advanced troubleshooting tips? Visit my guide: Troubleshooting the Goodman GLXS4BA3610 System.
Until next time,
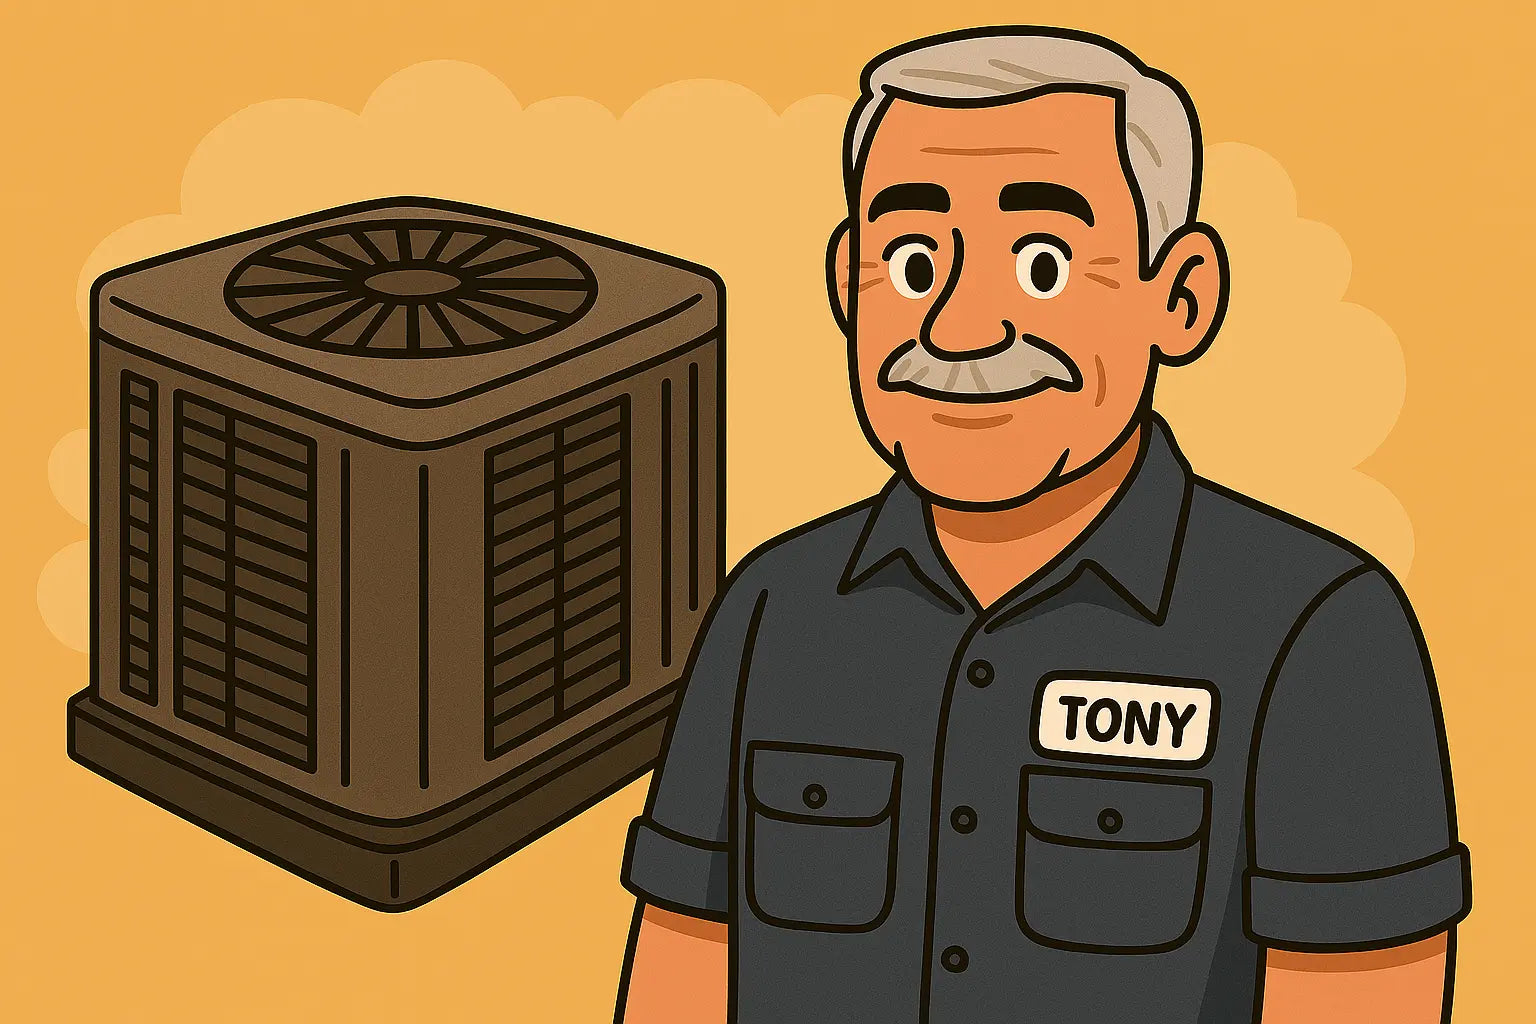
- Tony the Trusted Tech


