Smart home technology isn’t just for lights and speakers anymore — it can give your DIY-installed mini-split heat pump the brains it needs to run more efficiently, maintain comfort, and cut energy bills. Whether you want to control your system from your phone, use voice commands, or integrate it into a whole-home automation setup, the right thermostat or app connection can make a big difference.
In this guide, we’ll cover the compatibility checks, setup process, and best practices for pairing your mini-split with smart controls — plus the pitfalls to avoid so you don’t end up with a system that’s “connected” but not truly efficient.
For a full breakdown of the DIY installation process, see the Complete Guide to DIY Heat Pump Installation.
Why Smart Controls Are Worth It for Mini-Splits
Modern mini-splits already run more efficiently than traditional HVAC systems, thanks to their variable-speed compressors. Pairing them with smart controls adds another layer of optimization.
A smart thermostat or dedicated app can:
-
Learn your schedule and adjust temperatures automatically
-
Provide detailed energy-use reports
-
Allow remote control from anywhere
-
Integrate with other smart devices like blinds, lights, and humidity controls
📘 ENERGY STAR notes that certified smart thermostats can save homeowners an average of 8% on annual heating and cooling costs by making temperature adjustments based on occupancy and learning patterns.
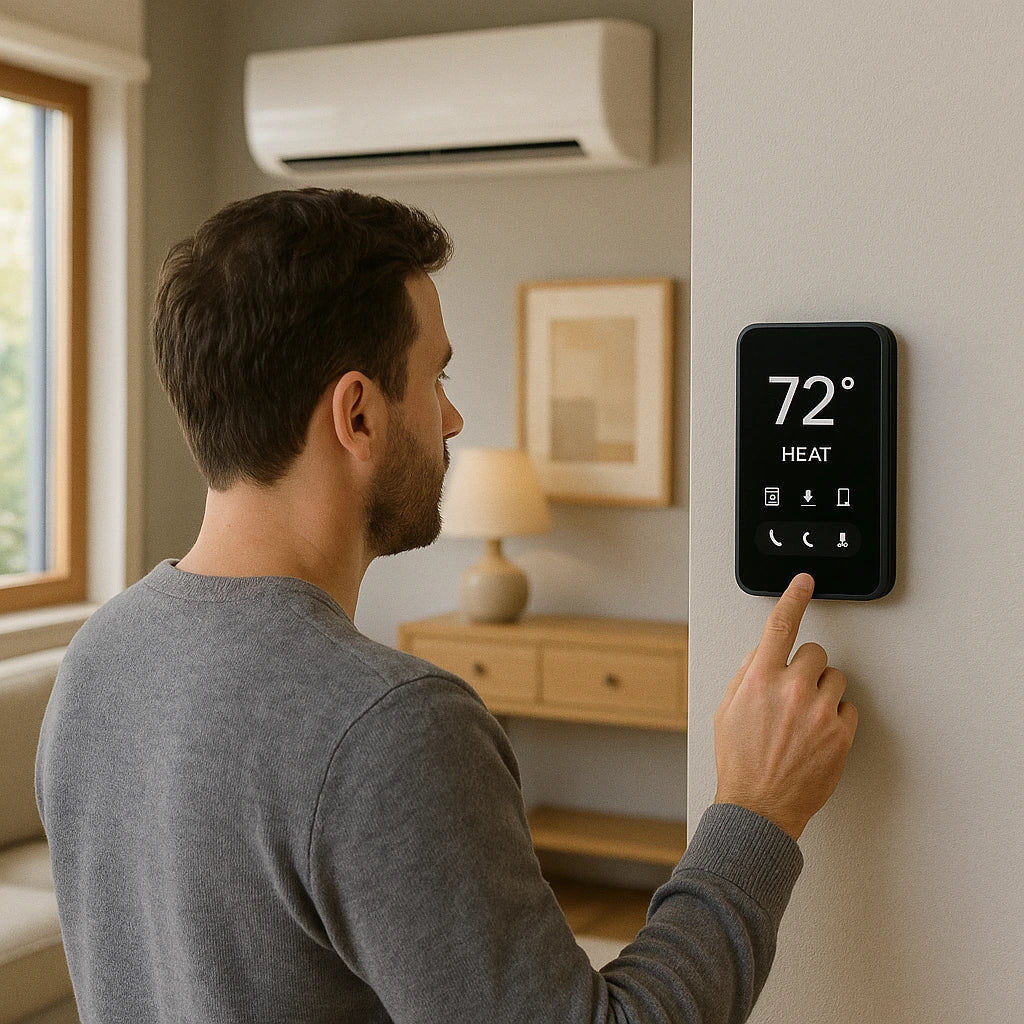
Step 1 – Check Your Mini-Split’s Compatibility
Before buying a smart thermostat or downloading an app, confirm that your mini-split supports smart integration.
Most ductless mini-splits connect in one of three ways:
-
Manufacturer App – Many brands, like Mitsubishi, Daikin, and LG, offer their own smartphone apps and Wi-Fi adapters.
-
Infrared (IR) Bridge Devices – Products like Sensibo or Cielo Breez mimic your mini-split’s remote control via Wi-Fi.
-
Hardwired Smart Thermostats – Some mini-splits can be adapted to work with third-party thermostats like Ecobee or Nest, but this may require an interface kit.
📘 BOLDR notes that an IR-based smart controller is often the most DIY-friendly way to give a mini-split Wi-Fi capabilities without altering its internal wiring.
Step 2 – Install Any Required Hardware
Depending on your setup, you may need to:
-
Plug in a brand-specific Wi-Fi module
-
Mount an IR smart controller in line-of-sight of your indoor unit
-
Install an interface kit for hardwired thermostat connections
Follow the manufacturer’s instructions carefully to avoid damaging the unit or voiding your warranty. If your system requires wiring changes, confirm they meet local electrical codes.
📘 Home Energy Saver recommends ensuring your electrical service can handle any added loads from new control devices, particularly if installing multiple accessories.
Step 3 – Connect to Wi-Fi and the App
Once hardware is in place:
-
Download the appropriate app from the App Store or Google Play.
-
Follow the in-app pairing process, which may involve pressing a Wi-Fi button on the indoor unit or scanning a QR code.
-
Test basic functions like on/off, temperature changes, and mode switching.
📘 Mitsubishi Electric provides step-by-step guides for pairing their Kumo Cloud app, which is similar to the process for most other brand apps.
Step 4 – Optimize Settings for Efficiency
Don’t just stop at getting your mini-split online — use your smart controls to fine-tune performance.
-
Set Schedules – Program temperature setbacks for when you’re away or asleep.
-
Enable Eco Modes – Many apps have an energy-saving mode that reduces compressor load.
-
Monitor Energy Reports – Use monthly summaries to adjust usage habits.
-
Integrate with Sensors – Some smart thermostats and IR controllers can pair with room sensors for better temperature balance.
📘 Department of Energy emphasizes that consistent scheduling and proper temperature settings can cut HVAC costs significantly without sacrificing comfort.
Step 5 – Link to Voice Assistants and Automation
If you use Amazon Alexa, Google Assistant, or Apple HomeKit, you can add voice commands like “Set the living room to 72 degrees” or “Turn off the bedroom AC.”
For deeper automation, consider:
-
Linking your mini-split to smart blinds to reduce heat gain during the day
-
Creating “scenes” that adjust lighting and cooling together
-
Setting geofencing rules so the system turns on when you’re near home
📘 Google Nest provides examples of how to integrate cooling commands into smart home routines.
Step 6 – Troubleshooting Common Issues
Even with the right setup, you might run into hiccups:
-
Wi-Fi Drops – Move the router closer or use a mesh network extender.
-
Delayed Responses – IR devices require clear line-of-sight; reposition if needed.
-
App Crashes – Check for updates or reinstall the app.
If your system frequently disconnects, review your network’s stability and bandwidth capacity — smart HVAC controls can be data-heavy.
Final Thoughts from Alex
Adding smart control to your DIY mini-split isn’t just a “cool” feature — it’s an upgrade that can pay you back in comfort, convenience, and energy savings.
If you’re confident with basic setup and networking, most homeowners can complete the process in under an hour. But for more complex integrations, like wiring a third-party thermostat, it’s worth consulting a pro to protect your system and warranty.
Done right, you’ll have a mini-split that not only works hard but works smart — adjusting itself so you don’t have to.
Next up: Installing a Heat Pump on a Second Floor: What to Know — learn how to plan for structural support, noise control, and weather protection.
Alex Lane
Your Home Comfort Advocate


