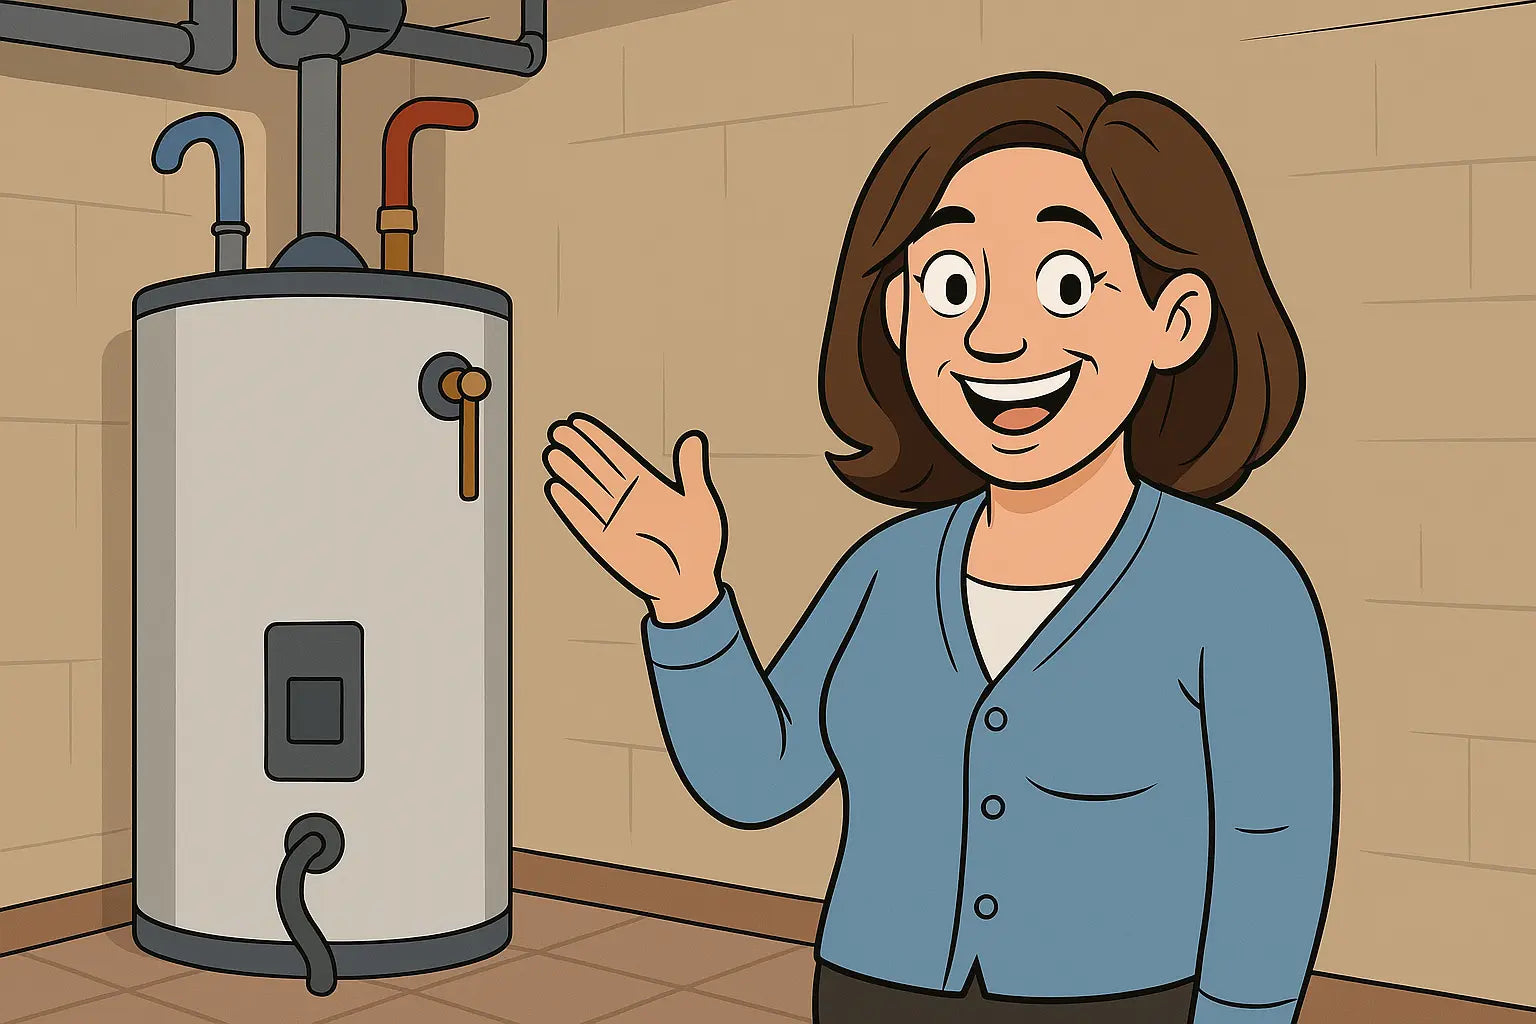
Hey You, Brave DIYer — Let's Tackle That Water Heater! 🔥🧰
Hi, Samantha here! If you’ve decided to install your own 50–60 gallon electric water heater, first off — go you! 💪 It’s a bold move and totally doable if you know what to expect. But I won’t sugarcoat it: this is not a plug-and-play project. It’s a serious job that involves plumbing, wiring, and a whole lot of muscle.
That said, you can install one without losing your mind (or your eyebrows) — and I’m here to walk you through every step with clear instructions, real talk, and a little backup from expert sources along the way.
Let’s turn that old tank into a distant memory and get your home back to hot water bliss.
Before You Start: Are You Sure DIY Is Right for You?
Okay, a quick reality check: installing a large electric water heater requires:
-
Comfort with basic plumbing and electrical work
-
The right tools and materials
-
Physical strength to maneuver a 100+ pound tank safely
-
Knowledge of local codes and permits
If that sounds like your jam, let’s do it. If not? No shame in hiring a pro. A licensed plumber or electrician can save you time, stress, and future headaches — especially if something goes sideways. According to Angi, improper installation is one of the biggest causes of premature water heater failure.
Still in? Great! Let’s gather what you need.
Tools & Materials Checklist 🧰
Here’s what you’ll want to have ready:
-
New 50–60 gallon electric water heater
-
Teflon/plumber’s tape
-
Pipe wrench
-
Adjustable wrench
-
Screwdrivers (flat & Phillips)
-
Non-contact voltage tester
-
Pipe cutter
-
Dielectric unions
-
Copper or PEX tubing
-
Flexible water connectors
-
Electrical wire (usually 10/2 NM cable for 30 amp circuits)
-
240V double-pole breaker (if upgrading panel)
-
Water heater pan (required in many areas)
-
Pressure relief valve (if not pre-installed)
-
Drain hose
Depending on your existing setup, you may also need soldering gear or PEX tools. Always refer to local codes and manufacturer’s instructions.
Step-by-Step Installation Guide for a 50–60 Gallon Electric Water Heater
Step 1: Turn Off Power & Water
-
Shut off power at the breaker box (240V double pole). Use your non-contact tester to be sure.
-
Shut off the cold water supply to the heater.
-
Turn on a nearby hot water faucet to relieve pressure.
-
Drain the old tank completely using a garden hose.
💡 Tip: If you’ve never handled electrical wiring, this guide from Lowe's has great visuals.
Step 2: Disconnect the Old Heater
-
Remove the electrical cover and disconnect the wiring.
-
Disconnect the hot and cold water lines.
-
Unscrew the pressure relief valve discharge pipe if present.
-
Carefully move the old unit out of the way.
Don't forget to cap any open wires and label them if needed. Safety first!
Step 3: Place the New Tank
-
Position the new water heater in the same spot (or a suitable location nearby).
-
Place it in a drain pan if required by code or if you're in an attic or upstairs space.
-
Leave space around the tank for servicing and airflow.
A 50–60 gallon tank can weigh over 130 pounds when empty, so ask a friend to help position it. Your back will thank you.
Step 4: Connect Water Lines
-
Wrap Teflon tape around the threads of the inlet and outlet.
-
Use dielectric unions to prevent corrosion between dissimilar metals.
-
Connect the cold water inlet and hot water outlet with flexible water connectors.
-
Slowly turn on the cold water valve and let the tank fill up.
Important: Leave a hot water tap open during this step to let air escape from the lines.
Step 5: Wiring the Heater
-
Double-check the breaker is OFF!
-
Connect the black and red hot wires from the electrical panel to the matching terminals in the heater.
-
Connect the ground wire to the green grounding screw.
-
Use approved wire nuts and secure clamps to prevent strain on the connections.
If you’re unsure about the wiring, AO Smith’s electrical diagrams are an awesome technical reference.
Step 6: Check for Leaks
Once the tank is full (you’ll hear water stop running at the open tap), check:
-
All connections for leaks
-
The T&P valve for proper installation
-
That the tank is level and stable
If anything’s dripping, turn the cold water off, tighten, and recheck.
Step 7: Power It On 🔌
-
Close all open hot water taps
-
Flip the breaker back on
-
The tank will begin heating — expect hot water within 30–90 minutes depending on model
Don’t be alarmed if the unit makes soft popping or ticking noises at first — that’s air escaping and parts heating up.
Common Installation Mistakes (and How to Avoid Them) ❌
Even if you follow instructions, here are a few things that trip people up:
1. Not Filling the Tank Before Powering On
Turning on the power too early can burn out the heating elements. Always fill it completely first!
2. Wrong Breaker Size or Wiring
Most 50–60 gallon electric units require a 30-amp double pole breaker and 10/2 wire. Check the manufacturer’s specs!
3. Skipping the Drain Pan
This is a code requirement in many places — especially if the unit is in a living area or above ground level.
4. Using Incompatible Fittings
Mixing copper and galvanized without dielectric unions causes electrolysis (aka corrosion nightmares).
5. Not Pulling a Permit (If Required)
Some local codes require a permit for water heater replacements. Skip it, and you might run into problems during a home sale or insurance claim.
You can check your local code requirements through your municipal building department or find general guidance from the International Code Council.
Should You Replace the Breaker or Wiring?
If your home is older or wasn’t wired with 30-amp service for a water heater, now’s the time to upgrade. Faulty wiring is a leading cause of electric water heater failure — and fire hazards.
Not sure? Hire an electrician to inspect. It might cost a little more upfront, but the peace of mind is priceless. This Old House covers both plumbing and electrical prep.
Final Tip: Read the Manual, Even If It’s Boring 😅
Every brand has quirks. Some tanks come with pre-installed thermostats; others require wiring configuration. Some mandate specific clearances. I know it’s tempting to skip the paperwork, but the manual’s your best friend.
Wrapping It Up (Warmly) 💛
And just like that — you’re ready to install your 50–60 gallon electric water heater without calling your cousin who once fixed a lamp and now thinks he’s a contractor. 😅
Take your time, follow safety steps, and don’t be afraid to call a pro if something feels off. A water heater is a big investment in your home’s comfort — it’s worth doing it right.
Need a reliable unit that’ll hold up for years? Start with The Furnace Outlet’s hand-picked 50–60 gallon electric water heaters. You’ll find quality brands and models ready to install — with support if you need it.
Need more advanced troubleshooting tips for your 50-60 gallon water heater? Visit: 7 Problems You Can Actually Fix Yourself.
Until next time — happy installing, and may your showers always be toasty! 💧🛁
—Samantha, Home Comfort Advisor


