🔥 Introduction: Hey, It’s Savvy Mavi
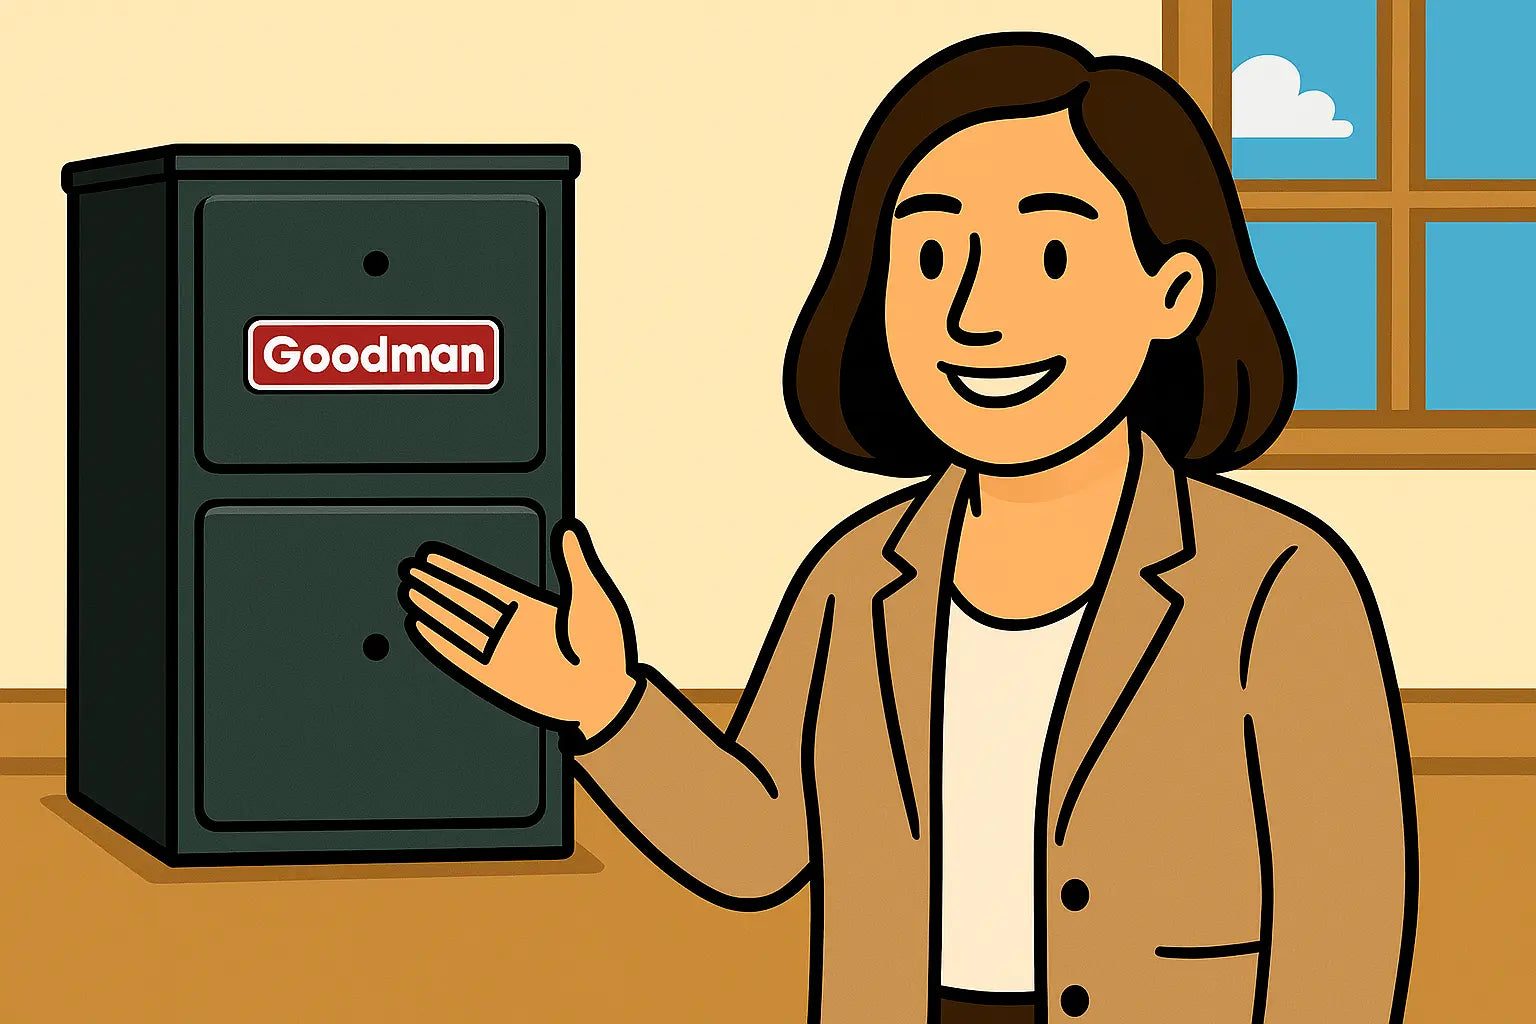
Okay, team—let’s talk furnaces. You’ve unboxed that shiny Goodman GR9S920603BN (60,000 BTUs of heating glory 💨), and now it’s staring back at you like “So… what’s next?” Don’t sweat it—I’ve got you covered.
This isn’t just any furnace. With a 92% AFUE efficiency rating and a 9-speed single-stage blower motor, it’s designed for reliable comfort and flexible installation in upflow or horizontal configurations. That flexibility is awesome—but it also means you’ll want to install it correctly to avoid headaches later.
Let’s go step by step, keeping it fun, safe, and savvy. And yes, I’ll point out exactly when it’s better to call in a licensed pro rather than winging it. Ready? Let’s do this.
🧰 Step 1: Gather Tools and Prep Your Space
Before starting, make sure your workspace is:
-
Clean and level
-
Properly ventilated
-
Free from obstructions
You’ll need:
-
Screwdrivers (flathead and Phillips)
-
Wrenches and pliers
-
Tape measure and level
-
Drill and bits
-
Voltage tester
-
Combustion analyzer (for final efficiency testing)
📦 And of course: your Goodman GR9S920603BN unit and installation manual.
Savvy tip: If you misplace the manual, you can grab digital versions through trusted suppliers like Alpine Home Air.
🏗️ Step 2: Decide on Orientation – Upflow vs. Horizontal
One of the coolest features of this furnace is its flexibility:
-
Upflow is great for basements, garages, or closets with vertical ducting.
-
Horizontal works best for attics or crawlspaces with limited headroom.
No matter which you choose, check clearance requirements for safe airflow and service access. The furnace cabinet is a slim 17.5 inches, so it fits tight spaces, but don’t cram it into a corner without airflow!
If you’re unsure about which configuration your home needs, HVAC Alliance Expert has guidance on furnace placement and system efficiency.
🔌 Step 3: Electrical Connections
The GR9S920603BN runs on a 115V dedicated circuit. Here’s the breakdown:
-
Shut off all power at the breaker panel. Safety first. ⚡
-
Run a dedicated line to the furnace.
-
Connect according to the color-coded terminals in the wiring diagram.
-
Double-check grounding—it’s crucial for safety and performance.
If this step feels overwhelming, it’s smart to bring in a licensed electrician. Incorrect wiring can damage your control board (and those aren’t cheap to replace).
🔥 Step 4: Gas Line Hookup
This is the step where I always say: Don’t DIY unless you’re 100% confident. Natural gas is nothing to play around with.
Here’s the basic process if you’re licensed or working with a pro:
-
Install a manual shutoff valve within 6 feet of the furnace.
-
Use approved black iron pipe or flexible connectors rated for natural gas.
-
Check for leaks with a gas leak detector or soapy water.
-
Verify gas pressure is within Goodman’s specified range.
Incorrect pressure can cause ignition problems or unsafe operation.
For further reading on safe furnace hookups, HVAC Optimizer’s Goodman guide goes into detail.
🌬️ Step 5: Venting and Airflow Setup
With a 92% AFUE efficiency rating, this furnace requires proper venting.
-
Use PVC vent piping approved for Category IV appliances.
-
Slope vent pipes back toward the furnace for condensate drainage.
-
Secure all connections to prevent leaks.
-
Ensure the termination point is away from windows and air intakes.
On the duct side:
-
Seal all joints with mastic or foil tape.
-
Test for proper static pressure.
-
Balance supply and return ducts to keep airflow smooth.
Need help spotting common venting mistakes? Energy.gov has a fantastic resource on furnace efficiency and venting practices.
🧪 Step 6: Startup and Testing
-
Turn on gas supply and power.
-
Set the thermostat to heat.
-
Watch for the ignition sequence: inducer fan > igniter glow > flame > blower motor.
-
Check for steady flames and smooth blower operation.
-
Use a combustion analyzer to confirm efficiency levels.
Pro tip: Don’t skip the combustion test! It ensures the unit is safe, efficient, and running at that beautiful 92% AFUE it promises.
If something doesn’t look right, Temperature Master has troubleshooting steps specific to Goodman furnaces.
🧼 Step 7: Maintenance After Installation
Think of this as the “long game.” Regular maintenance ensures your installation work pays off.
-
Replace filters every 1–3 months.
-
Clean blower assembly annually.
-
Flush the condensate line once a year.
-
Have a professional inspection every 1–2 years.
💬 Conclusion: Stay Warm with Savvy Mavi
And just like that—you’ve got yourself a fully installed Goodman GR9S920603BN furnace! 🎉 Now, I’ll be straight with you: some of these steps are totally DIY-friendly, while others (gas hookups, electrical, venting) are best left to licensed pros. The smartest move? Handle what you can, and partner with experts for the rest. That way, your furnace not only runs but thrives for years to come.
If you’re still shopping or want to double-check the specs, you can find everything you need right here: Goodman 92% AFUE 60,000 BTU Upflow or Horizontal Furnace GR9S920603BN.
Need more troubleshooting tips for this unit? Visit: GR9S920603BN Furnace Not Starting?
Stay cozy, stay savvy, and remember: a little preparation goes a long way in keeping your home warm and your family comfortable.
See you later,
– Savvy Mavi 🌟


