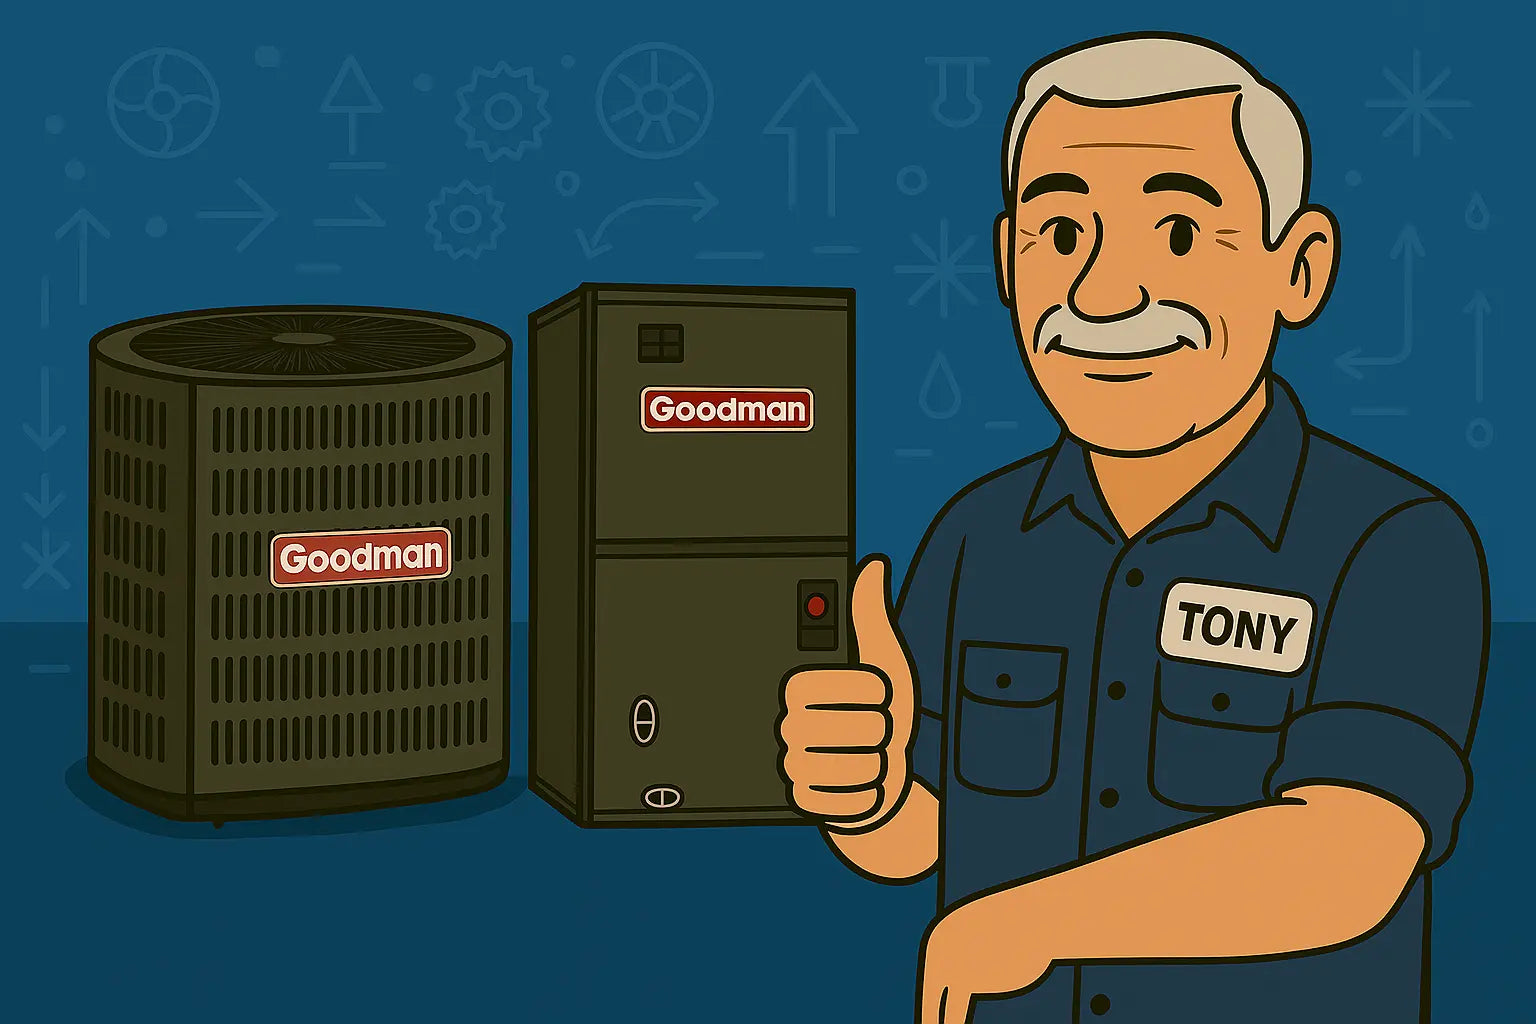
Hey There from Tony
Hey, it’s Tony—your trusty HVAC sidekick 🛠️. If you’ve got your eyes on the Goodman 5-Ton 14 SEER2 R-32 System with the GLXS4BA6010 condenser and AMST60DU1300 air handler, you’re in for a solid cooling setup. Installing it can feel like a big job—but don’t sweat it. Stick with me, and I’ll break it down step by step, give you safety tips, and even share the “when to call a pro” signs. By the end, you’ll know whether this is a doable DIY or if you should let a licensed tech take the wheel.
Before we start, if you haven’t picked up the system yet, check it out here: Goodman 5-Ton 14 SEER2 R-32 System.
Section 1 – Know Your Gear
Before lifting a wrench, let’s get familiar:
Condenser: GLXS4BA6010
-
5-Ton cooling capacity, 14 SEER2 efficiency, R-32 refrigerant.
-
Designed for easy maintenance with top and side access panels.
Air Handler: AMST60DU1300
-
Multi-position installation (upflow, downflow, horizontal).
-
ECM blower capable of ~1,970 CFM, ensuring smooth airflow.
-
Tight sealing cabinet for efficiency.
For full specs, manuals, and installation tips, Goodman’s official manuals are a solid resource.
Section 2 – Safety & Prep Work
I can’t stress this enough: safety first. 🔧
-
Check Permits & Local Codes
R-32 is mildly flammable. You’ll need permits and code-compliant installation. -
Gear Up
Gloves, safety glasses, insulated tools. -
Site Prep
-
Level, solid pad for the condenser.
-
Ensure 2–3 feet of clearance around condenser for airflow.
-
Keep ducts accessible for air handler connection.
-
-
Gather Tools
Screwdrivers, torque wrenches, refrigerant gauges, vacuum pump, tubing cutter, pipe flaring tools. -
Study the Manuals
Don’t guess—Goodman’s manual and guides on HVAC.com provide step-by-step details and safety instructions.
Section 3 – Step-By-Step Installation
Step 1: Set the Condenser
-
Place on a level, vibration-free pad.
-
Check clearance around all sides.
Step 2: Position the Air Handler
-
Determine correct orientation: upflow, downflow, or horizontal.
-
Ensure access for filter changes, coil inspection, and wiring.
Step 3: Connect Refrigerant Lines
-
Use R-32 approved tubing.
-
Pre-charged system supports up to ~15 feet of line.
-
Check for leaks with a soap solution or electronic leak detector.
Step 4: Electrical Connections
-
Turn off the main breaker before touching wires.
-
Follow the wiring diagram in the manual for the blower, compressor, and thermostat.
Step 5: Duct Connections
-
Seal all duct joints with foil tape or mastic.
-
Ensure supply and return ducts are correctly sized for optimal airflow.
Step 6: Initial Power-Up & Testing
-
Flip the breaker and set the thermostat to cooling mode.
-
Listen for unusual noises and watch for proper airflow.
-
Check refrigerant pressures with gauges—compare to manufacturer specs.
For troubleshooting airflow or initial startup issues, Better Homes & Gardens has a helpful guide.
Section 4 – DIY vs Calling a Pro
Even with my guide, some things may require a pro:
-
Advanced Refrigerant Charging → Requires certification.
-
Electrical issues beyond breaker/fuse resets → Safety hazard.
-
Compressor or control board replacements → Complex diagnostics.
If in doubt, don’t push it. Your safety—and the system—come first.
Section 5 – Maintenance Tips Post-Installation
Keep your 5-Ton system running smooth:
-
Filters: Replace monthly in high-use seasons.
-
Coils: Clean at least twice a year.
-
Clear the Condenser Area: Remove leaves, debris, and grass.
-
Check Ducts: Seal leaks and ensure airflow isn’t obstructed.
Southern Living has a great seasonal HVAC maintenance guide that aligns with what I recommend.
Section 6 – Troubleshooting Quick Hits
Some common startup issues:
-
No power → Check breaker/fuse.
-
Weak airflow → Inspect blower and filter.
-
Warm air → Thermostat setting, low refrigerant, frozen coil.
-
Water leaks → Condensate drain blockage.
For more DIY troubleshooting tips, Homes & Gardens has practical advice.
Goodbye From Tony!
Alright, that’s your Tony-approved guide for installing the Goodman GLXS4BA6010 condenser and AMST60DU1300 air handler. 🛠️ Whether you’re a hands-on DIYer or leaning on a pro, you now know every step, safety tip, and maintenance trick to keep this beast running efficiently.
If you haven’t grabbed your system yet, here’s the link again: Goodman 5-Ton 14 SEER2 R-32 System.
Need more advanced troubleshooting tips for this combo? Visit: The Most Common AC Glitches and How A Tech Fixes the GLXS4BA6010 & AMST60DU1300.
Follow the steps, stay safe, and enjoy the cool comfort all summer long. Remember: when in doubt, call Tony. 🍻
- Tony the Trusted Tech!


