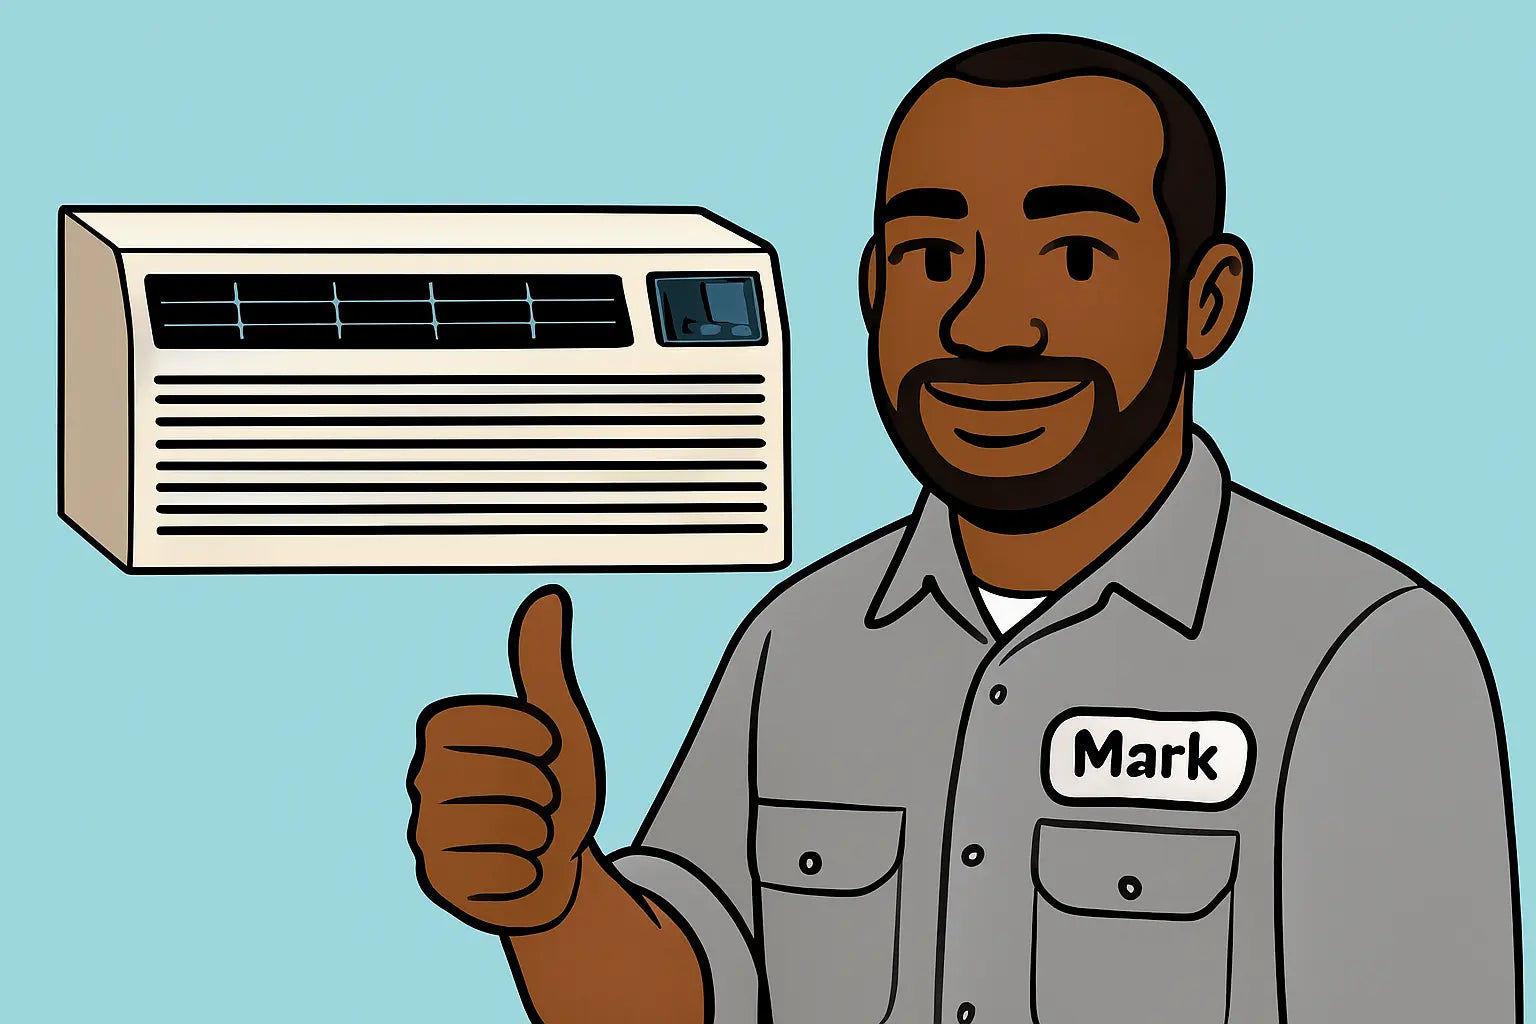
Intro (Mark-Style)
Alright, friends, Mark here! Think of me as your cranky-but-wise HVAC guru with a love for cool air and zero tolerance for sloppy installs. Today we’re tackling the Amana 11,800 BTU 115 V through-the-wall AC, a solid little beast that keeps your space chill without killing your energy bill. We’re going all-in: installation, troubleshooting, maintenance, and some straight-up common sense sprinkled in with emoji energy 🤘.
Whether you’re a seasoned DIY-er or someone who thinks “voltage” is a fancy coffee drink, I’ve got your back. Let’s roll.
1. Why This Unit Rocks
This Amana unit is a workhorse: 11,800 BTU, 115 V, with a remote, quiet operation, and the durability you want in a wall-mounted unit. Unlike standard window ACs, it sits snug in a wall sleeve, keeping bugs, rain, and debris out. Properly installed, it runs efficiently, keeps noise down, and gives you that “ahhh” moment the second you hit power.
Choosing the right AC isn’t just about BTU bragging rights. Energy Star points out that an oversized unit won’t dehumidify properly, while an undersized unit struggles to cool the room—so matching the unit to your space matters.
2. Planning & Prep: The Key to DIY Success
Before you even touch a saw:
-
Check Your Room Size: Use the Energy Star sizing guide to make sure 11,800 BTU is perfect for your square footage.
-
Check Local Codes & HOAs: Some cities or HOAs require permits for cutting through exterior walls. Don’t skip this step—you don’t want a $500 fine to ruin your DIY high-five.
-
Safety First: Read the Amana manual. Respect electrical and structural warnings—it’s your life on the line.
-
Wall Sleeve Prep: This unit needs the PBWS01A wall sleeve (included). Level it, tilt slightly outward for drainage, and seal tight. Energy.gov stresses that proper sealing keeps your home efficient and prevents moisture damage.
-
Tools You’ll Need: Tape measure, level, drill, screws, saw, caulk gun, expanding foam, and a buddy. Safety gear optional but recommended.
3. Step-by-Step Installation
a) Cut Your Opening
-
Pick a wall free of wiring/plumbing and out of direct sun.
-
Measure carefully—“measure twice, cut once” isn’t a cliche, it’s law.
-
For drywall: score first, then saw. For masonry: pilot holes, then masonry saw.
b) Insert the Wall Sleeve
-
Slide the PBWS01A sleeve into place, level front-to-back, and tilt slightly outward for drainage.
-
Secure it with corrosion-resistant screws to framing.
-
Caulk around all edges to create a tight seal. Improper sealing reduces efficiency by up to 20%, according to the ENERGY STAR HVAC Quality Installation Guide.
c) Install the AC Unit
-
Slide the AC into the sleeve, securing per the manual.
-
Connect the power to a dedicated 115 V, 15-amp outlet.
-
Test fan, cooling, and remote functions. Listen for rattles, hums, or weird noises—vibrations indicate adjustments needed.
4. Troubleshooting Like a Boss
Even the best units hit hiccups. Here’s Mark’s playbook:
-
No Power: Check the breaker and outlet voltage.
-
Weak Cooling / Airflow: Clean or replace filters, remove debris, check sleeve alignment. Proper refrigerant charge is key for efficiency.
-
Water Leaks: Re-check sleeve tilt, clear weep holes, reseal if needed.
-
Noise / Rattles: Tighten screws, use vibration pads, or re-seat the unit.
5. Care & Maintenance
-
Filter Cleaning: Monthly, or more if dusty.
-
Coil Cleaning: Seasonal, especially for outdoor sections.
-
Seal Inspection: Check caulk annually.
-
Surge Protection: Protects the unit’s electronics from spikes.
-
Pro Check: Call an HVAC pro for annual inspection if you want longevity.
6. When to Call the Pros
Sometimes DIY isn’t worth the risk:
-
Wall is load-bearing.
-
Electrical or plumbing is too close to your cut.
-
Local regulations require licensed installers.
-
Warranty considerations—some manufacturers void DIY installs.
7. Quick Recap
-
Pick the right BTU, check codes, prep tools.
-
Install wall sleeve with proper tilt and seal.
-
Test unit, troubleshoot issues, maintain regularly.
-
Call a pro if anything seems too risky.
Outro (Mark-Style)
And that’s a wrap, folks! 🎉 You’ve officially tackled the Amana 11,800 BTU 115 V through-the-wall AC like a DIY champ. From slicing into walls to sealing, testing, troubleshooting, and keeping it humming year after year, you’ve got the full Mark-approved toolkit.
Remember, a proper install isn’t just about staying cool—it’s about saving energy, avoiding leaks, and making sure your unit runs quietly and efficiently for seasons to come. Keep your filters clean, coils inspected, and don’t ignore weird noises—catch issues early and you’ll avoid the kind of headaches that make you wish you’d just called a pro 😅.
If you haven’t already, check out the Amana 11,800 BTU Through-the-Wall Air Conditioner with Remote to make sure you’re working with the right unit for your space. This is the exact setup we’ve been walking through, and having the correct model is half the battle.
Need more advanced installation tips for this unit? Visit my guide: Easy Breezy.
So go ahead—flex that newly installed wall AC, kick back, and enjoy the cool breeze you earned.
- Mark out! 🤘💨


