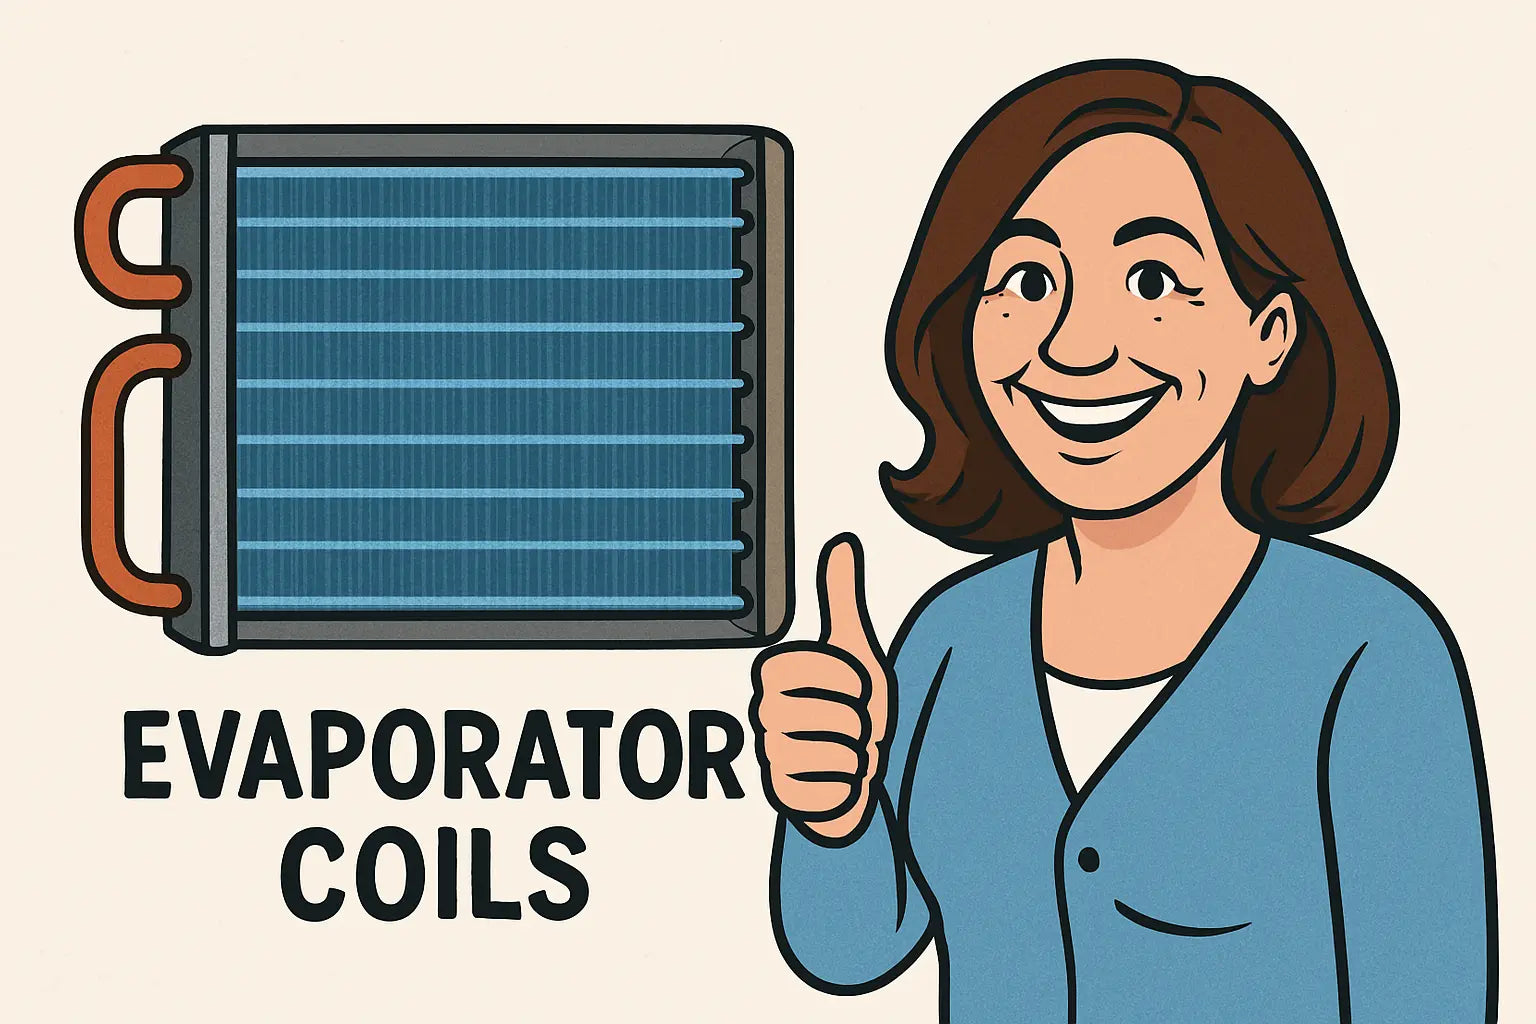
Hey there, Smart Shoppers! 💁🧽
You know me—when something’s dirty and disrupting my household’s comfort, I’m not just going to sit around and wait for it to get worse. If your HVAC system is blowing lukewarm air or running longer than usual, there’s a good chance your evaporator coil is covered in grime.
Before you call your HVAC tech (and fork over a few hundred bucks), let me walk you through the DIY coil cleaning process. It’s easier than you think—just a little patience, the right tools, and a quick read-through of this guide. Oh, and a decent playlist never hurts. 🎶
Why Your Evaporator Coil Gets Dirty 🧪
Your coil is constantly dealing with airflow, condensation, and all the particles your filter misses. Over time, dust, pet hair, and even mold can cling to that cold, wet surface like magnets.
If you ignore it, here’s what you’re in for:
-
Reduced cooling capacity 🥵
-
Higher energy bills 💸
-
Ice forming on the coil ❄️
-
Shorter HVAC lifespan ⏳
Want to prevent that mess? Keep it clean.
What You’ll Need: Coil Cleaning Toolkit 🧰
Here’s your go-to supply list for cleaning an evaporator coil safely at home:
Tools:
-
A soft-bristle brush or fin brush
-
Vacuum with a soft brush attachment
-
Screwdriver set (for opening the access panel)
-
Spray bottle (if not using canned cleaner)
-
Protective gloves and eyewear 👓🧤
Cleaners:
-
Foaming coil cleaner (like Nu-Calgon’s Evap Foam)
-
Mild detergent + water (for sensitive systems)
-
Compressed air (for loose debris)
Make sure the cleaner is non-acidic and safe for indoor coils—some outdoor coil products are too harsh.
You can also check out ComStar’s advice on coil cleaning products to see what pros and homeowners are loving right now.
Step-by-Step: How to Clean Your Evaporator Coil 💨
Alright, let’s do this together. Start by turning off your system at the thermostat and at the breaker to be safe. ⚠️
1. Access the Coil
Open your air handler or furnace access panel. You’ll usually find it on the indoor unit, above the blower motor. Depending on your system, the coil may be vertical (in a tall cabinet) or horizontal (in a ceiling or attic space).
2. Inspect the Coil
Check for:
-
Dust buildup
-
Signs of mold or mildew
-
Bent fins
-
Oil stains (which could point to a leak—check out this coil leak guide here)
If the fins are damaged, pause and call a pro—you don’t want to block airflow further.
3. Dry Brushing and Vacuuming
Use your soft brush or vacuum to gently remove any dry dust and dirt. Don’t press too hard—you’re cleaning, not scrubbing pots and pans. 🧽
4. Apply Coil Cleaner
Spray the foaming coil cleaner liberally across the coil. Let it sit for 5–10 minutes (or follow label instructions). The foam will lift dirt and dissolve gunk as it expands.
No rinse needed? Great. If it requires rinsing, spray it down lightly with water from a clean spray bottle—never a high-pressure hose.
Need help choosing a cleaner? This Bob Vila article on coil maintenance breaks down which ones are effective and safe for homeowners.
5. Clean Up and Reassemble
Once the foam dissolves and the coil is dry, vacuum up any residue, wipe off nearby surfaces, and close the panel securely.
6. Restore Power and Test
Turn the breaker and thermostat back on, and monitor how your AC performs over the next few hours. You should notice colder air and shorter run times right away! 🌬️💪
How Often Should You Clean Your Evaporator Coil?
Once a year is the rule of thumb—but if you:
-
Have pets 🐶🐱
-
Smoke indoors 🚬
-
Live in a dusty or humid climate
...then consider doing it twice a year.
While you’re at it, replace your air filter too. You’d be amazed how many homeowners skip this tiny (but powerful) task.
When to Call in the Pros 📞
DIY cleaning works well for maintenance, but here’s when you shouldn’t go it alone:
-
Visible mold (especially black mold)
-
Strange chemical smells or oil stains
-
Extremely clogged coils with thick grime
-
Ice buildup that returns after cleaning
In those cases, schedule a proper inspection. You can find licensed HVAC pros near you using Angi’s contractor search tool for verified reviews and availability.
Bonus Tip: Keep Coils Clean Longer 💡
Here’s how I keep my system fresh between deep cleans:
-
Change filters every 1–3 months
-
Keep supply vents open (yes, even in unused rooms)
-
Install a UV air purifier if allergies are an issue
-
Seal duct leaks to avoid sucking in attic dust
A little prevention goes a long way—and your utility bills will show it. 📉
Wrap-Up from Samantha (With a Wink and a Wipe) 😉
Cleaning your evaporator coil is totally doable—and one of the smartest ways to extend the life of your HVAC system without draining your wallet. Trust me, once you’ve done it once, it becomes second nature (and weirdly satisfying).
And if you ever need to replace that coil—or you’re not sure which one you have—The Furnace Outlet has a full collection of quality, easy-to-match models:
👉 https://thefurnaceoutlet.com/collections/evaporator-coils
Don't know if you need new coils? Visit: How to Know When It’s Time to Replace Your Evaporator Coil.
So don’t wait until your AC is gasping for air. Get your gloves on, grab your spray foam, and give your HVAC the love it deserves.
Until next time, stay clean, stay cool, and stay confident.
— Samantha 💕🛠️


