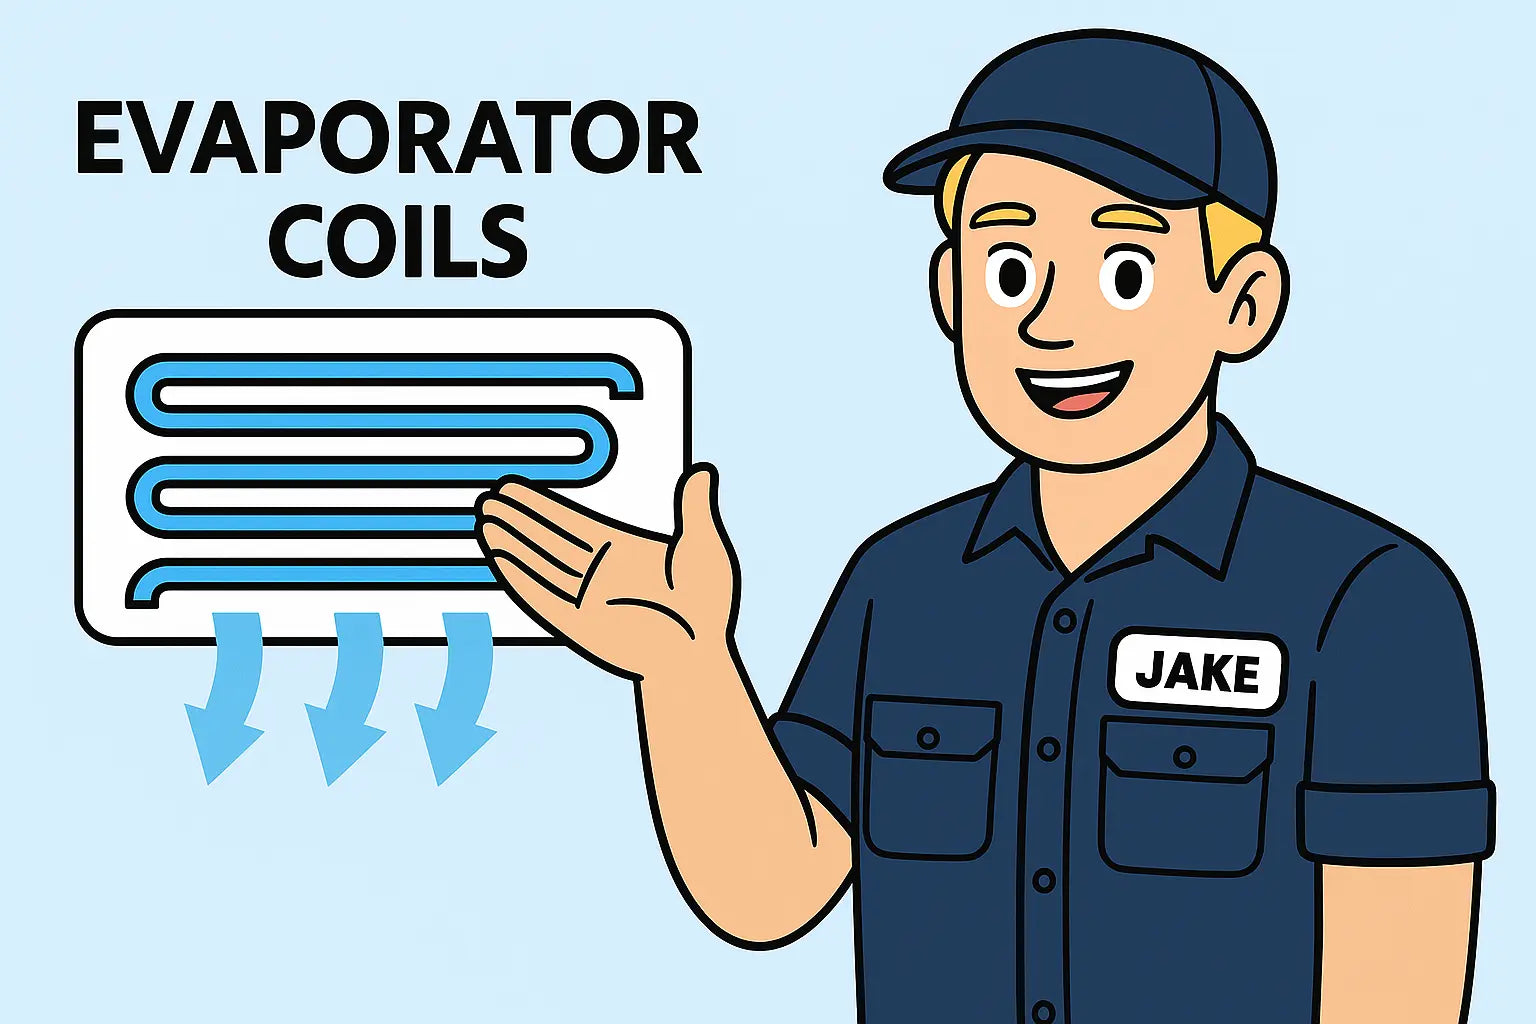
Hey Folks—Jake Here.
So, your HVAC’s been acting a little funky—the air smells off, the system’s running harder than a caffeine-fueled raccoon, and your electric bill just did a backflip. I’ve got news for you: it’s probably time to clean that evaporator coil.
Don’t worry—I’m not gonna sell you snake oil or tell you to call a technician at the first sign of trouble. I’m gonna show you how to do it yourself, safely, with the right tools, and zero BS. Let’s get our hands dirty (figuratively—we’ll be gloved up). 🧤
Why Clean Your Evaporator Coil Anyway?
Evaporator coils are your AC system’s quiet MVPs. They soak up heat and humidity from inside your home. But over time, dust, dander, grease, and even mold can coat the coil like icing on a bad cake. That junk insulates the coil, cutting efficiency and air quality.
Dirty coils =
-
Weak airflow
-
Warmer air
-
Frozen lines
-
Sky-high energy bills
-
Mold growth 🤢
According to the U.S. Department of Energy, a dirty coil can increase energy use by 30% or more. That’s like throwing money into a bonfire.
First, Safety First: Don’t Fry Yourself
Before we touch anything, go shut off the power to your HVAC system. I don’t mean “flip the thermostat.” I mean cut the breaker. Electricity and wet cleaning don’t mix.
Grab your gear:
-
Safety goggles 👓
-
Nitrile or rubber gloves 🧤
-
Long sleeves
-
A face mask if you're dealing with mold or heavy dust
For more safety tips, the ACCA (Air Conditioning Contractors of America) has a solid safety protocol checklist that even pros swear by. Bookmark that.
Tools You’ll Need 🔧
Here’s what I throw in my cleaning bucket:
-
Soft brush (like a paintbrush or toothbrush)
-
Evaporator coil cleaner (foaming type is great)
-
Compressed air or a handheld vacuum
-
Spray bottle with water
-
Flashlight
-
Screwdriver (usually Phillips)
You can snag most of this stuff at your local hardware store or online.
Step-by-Step Cleaning Walkthrough 🛠️
1. Access the coil.
Your evaporator coil lives inside your indoor air handler or furnace, usually behind a panel. Unscrew the panel and carefully set it aside.
2. Take a look.
Use a flashlight to inspect the coil. If it’s dusty, proceed. If it’s growing mushrooms, you may need a professional deep clean.
3. Dry clean first.
Use a vacuum or compressed air to blow off loose debris. Use a soft brush for stubborn buildup—but don’t bend the fins!
4. Apply coil cleaner.
Spray the cleaner evenly and let it foam up. Most cleaners work best after sitting for 5–10 minutes. I like Nu-Calgon Evap Foam—no rinse required.
5. Rinse (if needed).
If your cleaner says rinse, gently spray water from your bottle. Don’t flood the area—coils can take it, but nearby electronics won’t.
6. Let it dry.
Give the coil time to air dry before replacing the panel.
7. Fire it up.
Power the unit back on and check your airflow. Cooler, fresher air? Congrats, you nailed it. 🎯
A Few Words on Mold & Mildew 🦠
If your coil is growing visible mold or has that musty smell, don’t cheap out. Mold spores can trigger asthma and respiratory issues. The National Institute for Occupational Safety and Health (NIOSH) has detailed guidance on safe remediation and when to call in a pro.
Also, if you’re dealing with repeated mold, consider installing a UV light in your air handler. It can help kill off microbial growth before it turns into an HVAC horror story.
Maintenance Tips to Keep It Clean Longer
-
Swap filters every 1–2 months (more if you’ve got pets or live in dusty areas)
-
Check for condensate pan clogs—that gunk backs up water, leading to mold
-
Keep your indoor vents clear
-
Don’t run the fan on constant "ON"—it can bring in more dust
The U.S. Environmental Protection Agency (EPA) has some great info on keeping your system clean without falling for scams.
When to Call in a Pro 🤷
If you notice:
-
Ice buildup
-
Unusual noises
-
Rust
-
Heavy mold
-
No airflow after cleaning
...it’s time to wave the white flag and call an HVAC tech. Some jobs go beyond elbow grease. That’s not quitting—it’s just being smart. A bad DIY repair could lead to a busted coil or worse.
I always tell folks, a $150 service call is cheaper than a $1,500 coil replacement.
Final Word from Jake 🧢
Look, you don’t need to be a licensed HVAC tech to clean your evaporator coil—you just need common sense, the right tools, and a good guide (hey, that’s me). 😉
But if you’re shopping for a replacement coil, or just want a pro-grade part that’ll match your system and last, check out this stash at The Furnace Outlet. They’ve got everything from vertical to horizontal coils, and the support team knows their stuff. No fluff. Just good coils and fast shipping.
Dealing with frozen evaporator coils? Visit my guide: When Your AC Turns into a Popsicle.
Until next time, keep those fins clean and your airflow mean.
— Jake “The Coil Whisperer” Lawson


