Let's Get Started!
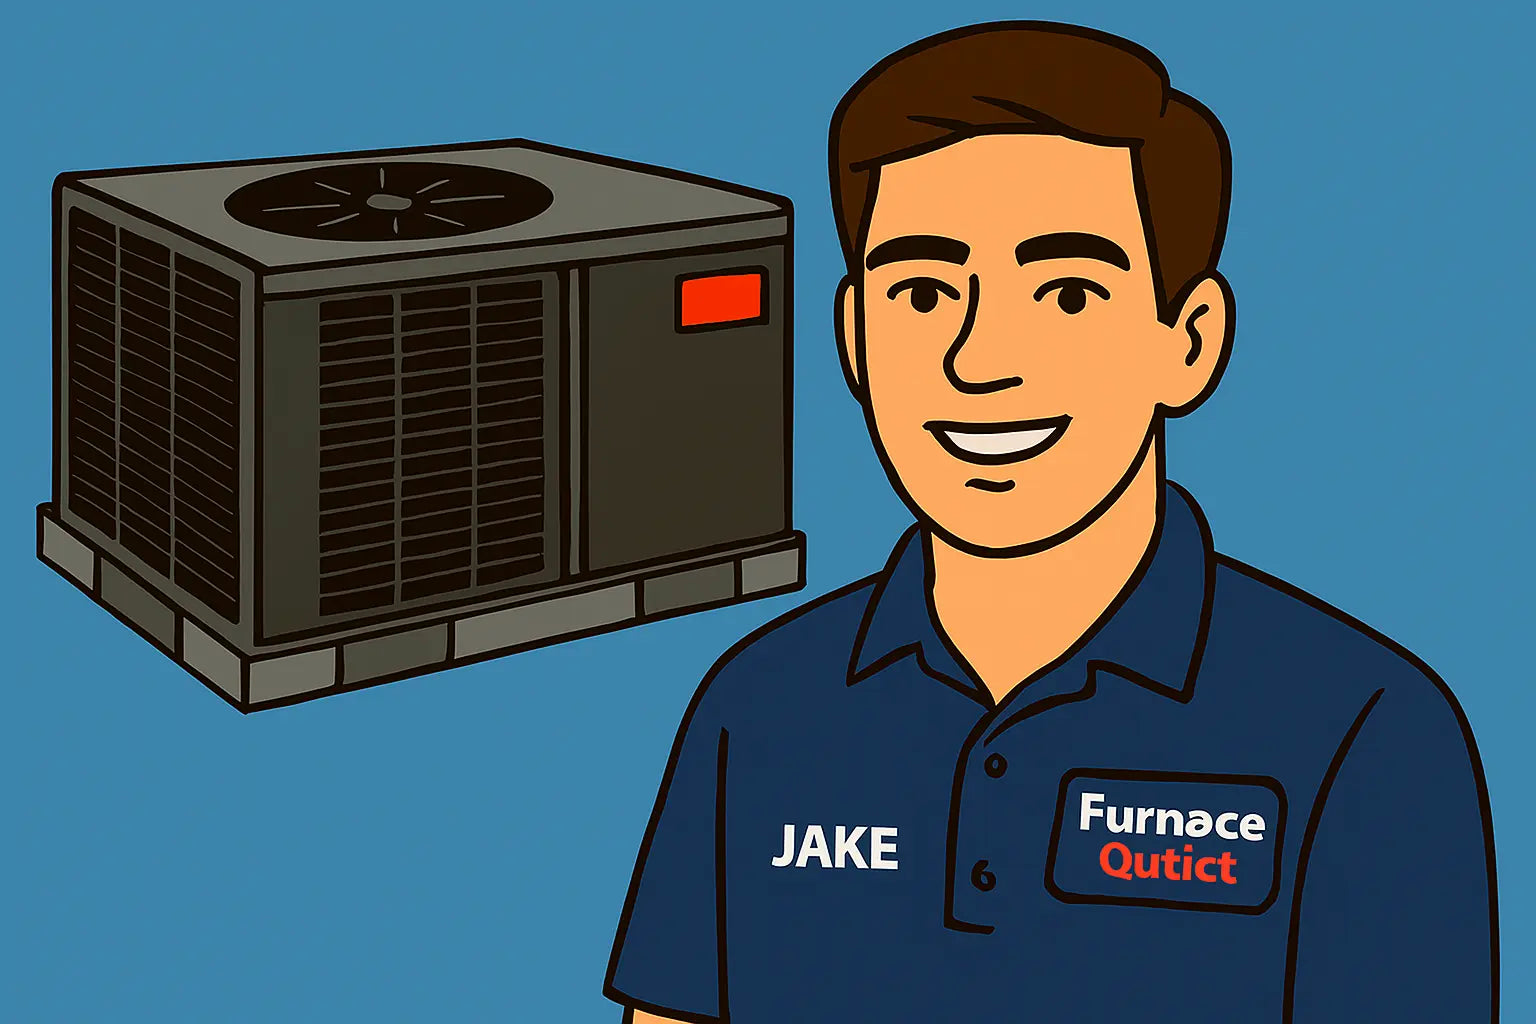
Hey there, Jake here. You know what’s worse than summer heat? That sinking feeling when your brand-new AC is sitting in your garage, still in the box, because you’re not 100% sure where to start. Been there. But lucky for you, I’ve got a game plan.
We’re talking about the Goodman GPCH33631—3-ton cooling power, horizontal setup, R-32 refrigerant. In this guide, I’m going to walk you through how to install it, check your work, and fix the common stuff that can go sideways. No boring textbook speak here—just the real deal. Let’s crack this open.
Know Your Unit Before You Touch a Wrench
The GPCH33631 is a horizontal package unit—perfect for situations where space is tight but you still need a lot of cooling power. It runs on 208/230V single-phase, 60 Hz, and it’s designed for R-32 refrigerant. If you’re new to R-32, you should know it’s considered an A2L refrigerant—meaning mildly flammable and requiring special handling.
I always recommend brushing up on refrigerant safety with the EPA’s Section 608 technician guide before handling any refrigerant work. It’s not just about passing a test—it’s about protecting yourself and keeping the job legal.
Getting Your Workspace Ready
Before you even unbox the thing, make sure your site is ready:
-
Level the pad — Horizontal units need a stable, flat base. Use a level and shims if necessary.
-
Clearance — Goodman specifies space for airflow on all sides. Crowding the unit will wreck efficiency.
-
Electrical service — You’ll need a dedicated 208/230V single-phase circuit. Size the breaker per the nameplate amps.
-
Drainage — Plan for condensate runoff. For horizontal installs, the condensate pan needs a proper trap.
If you’re not sure about clearance and pad requirements, check manufacturer install manuals or Energy.gov’s HVAC installation basics.
Tools You’ll Want Handy
Here’s the Jake-approved toolkit for this job:
-
Manifold gauge set rated for R-32
-
Torque wrench with flare nut sockets
-
Vacuum pump (capable of 500 microns)
-
Nitrogen tank and regulator for pressure testing
-
Electrical meter with capacitance check
-
Mastic and foil tape for sealing ducts
-
A decent headlamp—because you know you’ll be under there longer than you thought
Unboxing & Initial Inspection
When you crack open the box, give the unit a once-over:
-
No dents, coil damage, or missing panels
-
Coil connections match your line set
-
Wiring diagrams included (don’t toss these!)
I like to take photos of every angle before I start—just in case there’s a warranty conversation later. And if you want to see how pros check new equipment, Energy Star’s installation checklists are a goldmine.
Step-by-Step Installation
1. Mounting the Unit
Place it on the pad, level it, and secure it. If using hangers, double-check they can handle the weight plus vibration. Make sure condensate drains have a slope.
2. Refrigerant Line Connections
This is where precision matters. Use flare fittings with the correct torque—over-tightening can cause microcracks that leak later. Pressure-test with nitrogen at about 300 psi for R-32 systems.
3. Electrical Hookup
Shut the breaker. Pull your supply wires into the disconnect, connect to L1/L2, and ground it. Match the wiring to the diagram on the access panel. If in doubt, NFPA’s NEC Article 440 covers HVAC electrical installation requirements.
4. Evacuation & Charging
Pull a vacuum to 500 microns. Hold it for 10 minutes—if it rises, find that leak before proceeding. Charge with R-32 per Goodman’s charging chart—use superheat or subcool methods depending on the metering device.
5. Start-Up Tests
Fire it up, then check:
-
Suction & discharge pressures
-
Supply and return air temps (target 18–22°F split)
-
Compressor amp draw vs. nameplate
Common Troubleshooting Scenarios
AC Won’t Start
-
Check if the thermostat is calling for cooling.
-
Verify control voltage to the contactor coil.
-
Inspect the capacitor with your meter—weak or dead caps are a common culprit.
Low Cooling Performance
-
Dirty coil or blower wheel
-
Low refrigerant charge—look for leaks before topping off
-
Restricted airflow due to a clogged filter or duct leak
Unit Freezing Up
-
Airflow too low (dirty filter, blower issue)
-
Charge too low causing low suction pressure
If you want a deep dive on diagnosing airflow issues, ACHR News’ airflow troubleshooting guide is a solid read.
Staying Safe with R-32
I’m going to hammer this again—R-32 isn’t something you want to treat casually. Use recovery equipment rated for A2L refrigerants, keep ignition sources away, and always work in well-ventilated areas.
AHRI has excellent technical bulletins on safe R-32 handling that every tech should bookmark.
Jake’s Extra Tips for a Smooth Install
-
Label your lines, wires, and ducts. Your future self will thank you.
-
Keep a spare capacitor and contactor in your truck—these fail more often than you think.
-
Take pressure readings on day one and log them—handy for spotting slow leaks later.
-
Don’t skip duct sealing—UL-listed mastic is your best friend.
Wrap Up from Jake!
And that’s it—you’ve got the Goodman GPCH33631 in place, wired, charged, and cooling like a champ. We went from “still in the box” to “cranking cold air” without melting down (well, maybe just a little).
If you want to double-check specs, parts, or even grab another unit for that shop or rental property, you can find the exact model right here on The Furnace Outlet’s product page. Keep it bookmarked—you never know when you’ll need to look up details or shoot them to a buddy who’s “thinking about upgrading.”
Need some installation preparation tips for this unit? Visit my guide: Picking the Spot, Getting Level & Nailing Your Clearances.
Now kick back, crack open something cold, and enjoy that sweet R-32-powered breeze. You earned it.
Cheers, Jake 🍺


