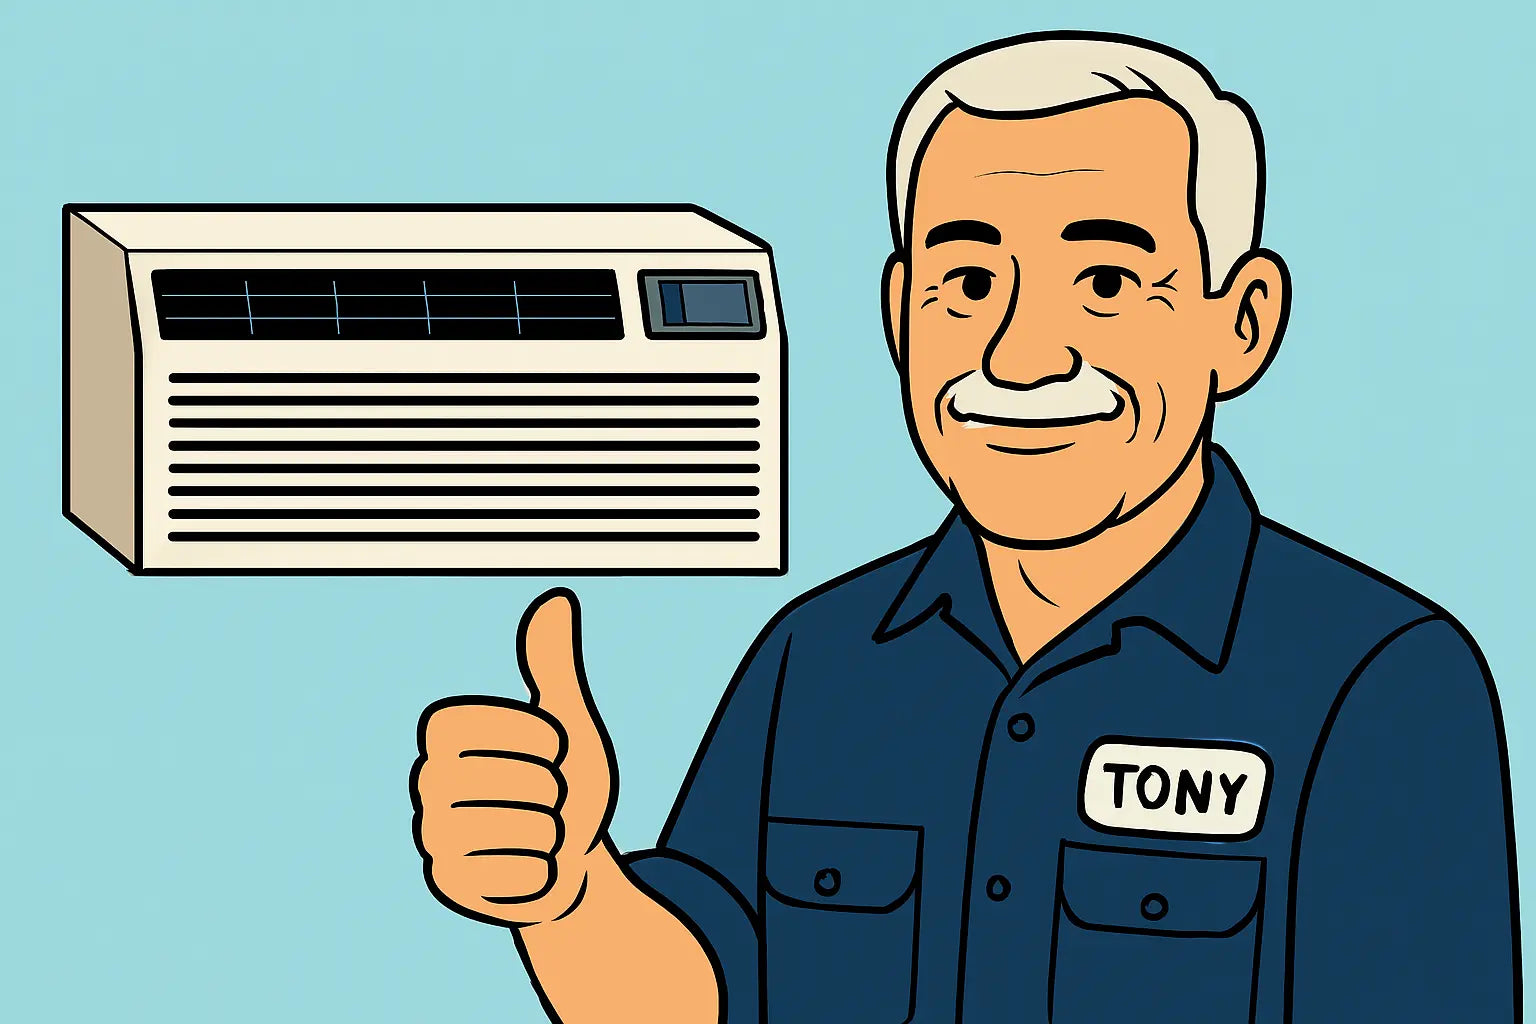
🛠️ Introduction: Tony’s Take on Installing a Through-the-Wall AC
Hey folks, Tony Marino here. 🛠️ Installing a through-the-wall AC might seem intimidating, but trust me—once you know the steps and have the right tools, it’s actually pretty straightforward.
The Amana 11,800 BTU Through-the-Wall AC is a reliable unit that packs a punch for small to medium rooms, and it comes with a handy remote. But to get it up and running smoothly, you need to do things the Tony way: safe, precise, and with a few tips that only a pro would think of.
Before we dive in, check out the Amana product page so you know exactly what you’re working with.
📦 Step 1: Unboxing and Preparing Your Workspace
Unboxing
-
Remove the AC from the box carefully. It weighs about 75 lbs, so grab a buddy.
-
Check the package for all included components: AC unit, sleeve, installation screws, remote, and the manual.
Workspace Prep
-
Clear the area around your installation site.
-
Lay down a blanket or sheet to protect the floor and unit.
-
Gather your tools: screwdriver, drill, measuring tape, level, safety goggles, and gloves.
Pro Tip: Keep all screws and small parts in a small bowl. Losing one mid-installation is a fast way to ruin your day.
🧰 Step 2: Measuring and Preparing the Wall Opening
Your installation will only be as solid as your wall opening. Accuracy is everything.
Wall Dimensions
-
The AC sleeve is about 26" W x 14" H x 20" D, so your wall opening should match closely.
-
Use the included template to mark cut lines on the wall.
Safety Check
-
Make sure the wall is free of wiring, plumbing, or studs in the cut area.
-
Turn off power at the breaker before cutting or drilling near electrical circuits.
For official guidance, refer to the Amana Installation Manual.
Pro Tip: Measure twice, cut once. A misaligned sleeve = water leaks and poor airflow later.
🛠️ Step 3: Installing the Sleeve
Think of the sleeve as the backbone of the AC. If it’s crooked, the whole install suffers.
Installation Steps
-
Slide the sleeve into the wall opening.
-
Use a level to ensure it’s perfectly horizontal.
-
Secure the sleeve to the studs with the screws provided.
-
Double-check the tilt: slightly back to allow drainage.
Tony’s Tip: Even a 1/8 inch tilt can affect condensation. Don’t skip this check!
🔌 Step 4: Electrical Setup
Safety is key. Make sure your unit has its own dedicated 115V outlet.
-
Plug the AC into the outlet.
-
Ensure it’s grounded properly.
-
Turn the breaker back on and check the unit functions: fan, cooling, and remote controls.
Tip: Keep spare batteries for the remote handy. Nothing worse than getting everything installed only to realize the remote is dead.
📥 Step 5: Sliding in the Unit
-
With help, lift the AC unit and carefully slide it into the sleeve.
-
Align the front panel with the sleeve edges.
-
Fasten the AC to the sleeve using the provided screws.
-
Make sure nothing is pinched or obstructed.
Tony’s Note: This is the “holy crap, I hope it fits” moment. Take your time—rushing can damage fins or the unit.
🧪 Step 6: Testing & Troubleshooting Post-Install
Even a perfect install may need a little tweak. Here’s what to check:
Unit Not Turning On
-
Ensure the breaker is on.
-
Verify the plug is fully seated.
-
Swap batteries in the remote if necessary.
Poor Cooling Performance
-
Check the air filter—dust buildup is the silent killer of airflow.
-
Confirm thermostat settings.
-
Inspect the condenser coil for dirt (Appliance Chat Guide).
Water Leaks
-
Ensure the unit is tilted slightly backward for drainage.
-
Clear the drain line if blocked (HG How-to on AC Cleaning).
Unusual Noises
-
Tighten screws and mounting brackets.
-
Check for obstructions in fan blades.
🧹 Step 7: Maintenance Tips
-
Replace air filters every 1–3 months.
-
Clean coils at least once a year.
-
Flush the drain line to prevent mold buildup.
-
Schedule a professional inspection annually (HVAC.com AC Tips).
Tony Tip: A well-maintained AC will last longer, save energy, and keep you cooler during the dog days of summer.
🧠 Final Thoughts from Tony
Alright, champs, that’s your complete walk-through for installing your Amana 11,800 BTU Through-the-Wall AC. 🛠️ Follow these steps, stay safe, and double-check everything—you’ll be chilling in no time.
If you want to grab this exact unit or review specs before starting, check out the Amana 11,800 BTU Through-the-Wall AC product page.
Need more advanced troubleshooting tips for this unit? Visit my guide: Troubleshooting 101.
Stay cool, stay safe, and remember: a little prep goes a long way. ❄️
- Tony the Trusted Tech!


