Key Takeaways
-
Pros follow a 5-step process to protect your warranty.
-
Seal duct leaks—up to 30% of cool air can escape.
-
Proper refrigerant charge saves energy and extends compressor life.
-
Final tests check airflow, pressure, and temps for peak performance.
-
Check filters monthly and get yearly tune-ups to keep it running well.
Why a Well-Planned AC Installation Matters
 Imagine buying a race-car engine and dropping it into a frame with loose bolts. It might start, but it won’t last. The same idea applies to central air. A system sized or installed wrong can short-cycle, run loud, and eat electricity. In fact, the U.S. Department of Energy says half of all new HVAC units never reach their rated efficiency because of installation errors. Proper planning fixes that. A pro begins with a Manual J load calculation, checks local codes, and pulls permits so everything is legal and safe. By mapping out airflow needs and electrical load first, the technician avoids costly surprises halfway through the job. Clear prep also protects your warranty, because most manufacturers void coverage if an unlicensed installer cuts corners. Later sections break down each step, but remember this core idea: smooth performance tomorrow starts with smart choices today.
Want to skip compatibility issues? Shop R32 packaged systems
Site Preparation: Getting the Ground Ready
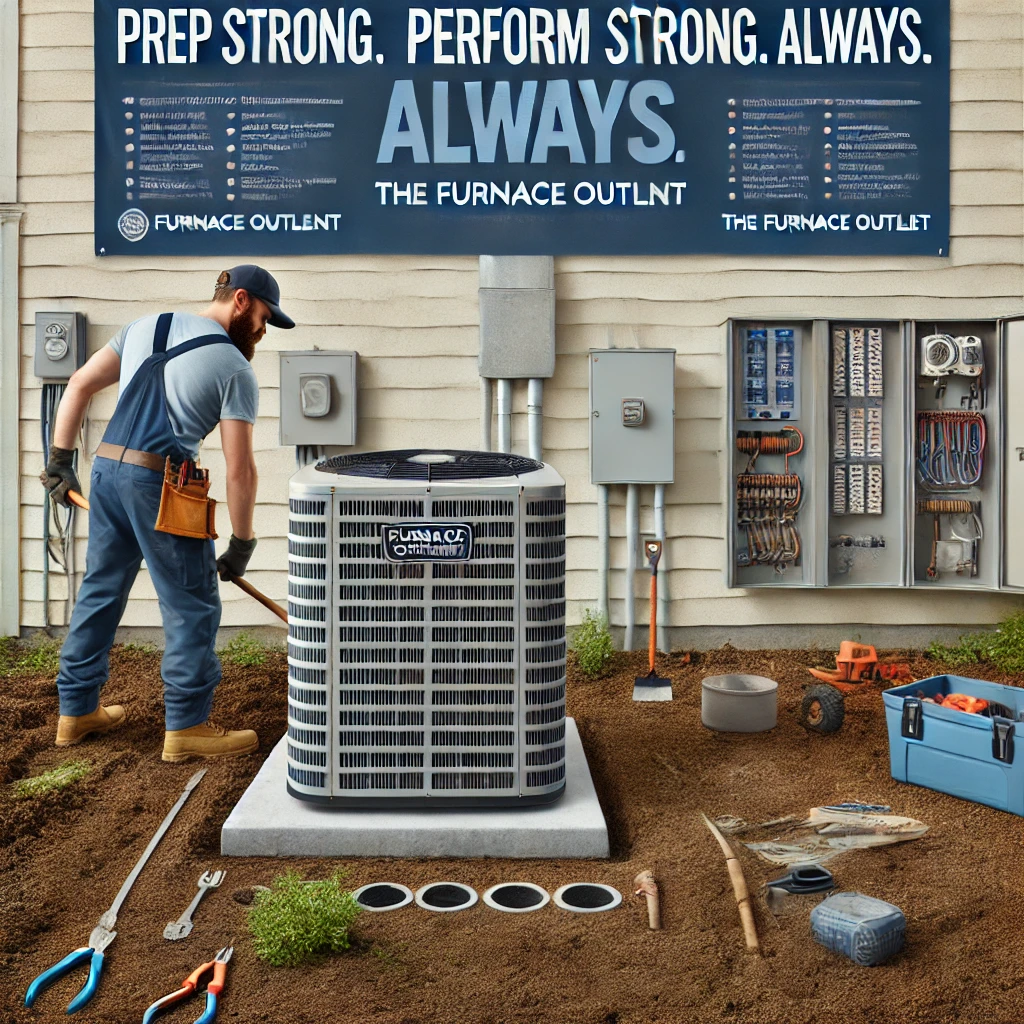 The first day on site looks a lot like spring cleaning. Indoors, furniture and boxes near the furnace closet or attic hatch are moved out of the way. Outside, weeds, tools, and toys vanish so the condenser pad sits on level soil free of roots and rocks. Next comes an electrical check. The installer opens the service panel to see if the breaker size, wire gauge, and grounding meet National Electrical Code rules for the new unit’s amperage. If the panel is undersized, they’ll add a dedicated 240-volt circuit or upgrade the main service. Finally, any required city permits are posted. This paperwork matters: a signed permit proves to the manufacturer that the job followed code, which keeps the parts warranty in force. For a deeper look at prep work, read our installation steps guide.
Ductwork Evaluation: Sealing the Highway for Cool Air
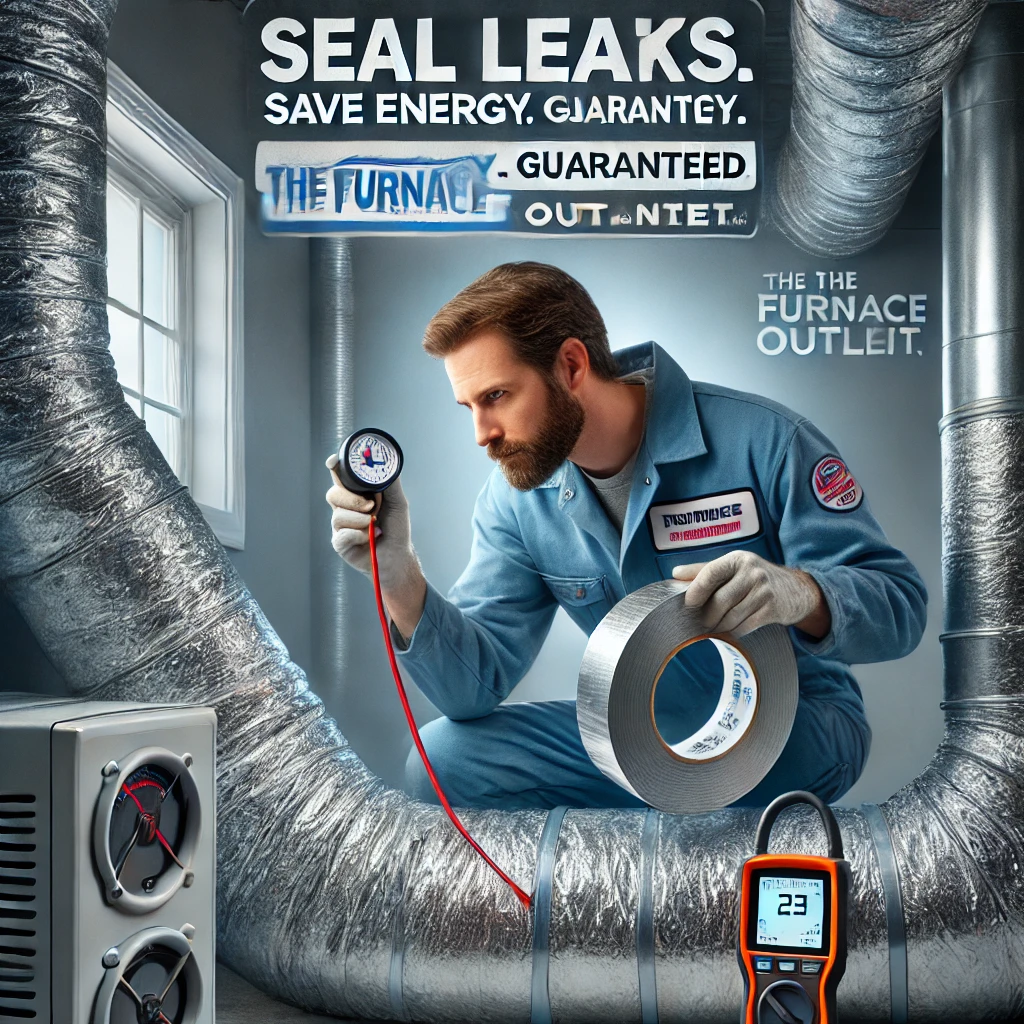 Good ducts are like leak-free water pipes; poor ones drip energy. The technician starts by measuring Total External Static Pressure (TESP) with a manometer. High pressure means air can’t escape the blower easily, often due to crushed flex duct or undersized trunks. Smoke sticks and an infrared camera help spot joints that leak. If losses top 10 %, mastic or foil tape seals the gaps, and missing insulation is replaced. Sometimes a short return plenum is swapped for a larger box to cut resistance.
These fixes boost both comfort and SEER2 performance because the compressor no longer works overtime to push air through bottlenecks. Want more detail? See our post on common installation mistakes and how to avoid them.
Equipment Setup: Out With the Old, In With the New
 Removing an aging system starts with recovering the old refrigerant into a certified cylinder—venting is illegal. The old condenser, coil, and sometimes furnace are then hauled off for recycling. Indoors, the new evaporator coil slides onto the supply plenum, and the air handler or furnace is shimmed level so condensate drains properly. Outdoors, the condenser rests on a composite pad that resists frost heave. A clearance of at least 12 inches on all sides ensures good airflow. Refrigerant lines are run in UV-resistant insulation and secured with hangers every four feet.
Low-voltage control wire is routed in conduit to keep rodents from chewing it. Finally, the thermostat cable connects to the new smart stat, letting you track energy use in real time. If you’re comparing gear costs, check our cost breakdown for a 3-ton AC upgrade.
Ready for a complete upgrade? Explore R32 AC and air handler systems
Refrigerant Charging: Adding the System’s Lifeblood
 With all joints brazed, the tech pressurizes the lines with dry nitrogen to 300 psi and listens for leaks. A soap solution or electronic detector confirms tight seals. Afterward, a deep vacuum below 500 microns pulls out moisture and air, which could freeze metering devices or corrode copper. Only then is refrigerant weighed in according to the data-plate charge plus or minus any line-set adjustment. Pressure gauges and a temperature clamp let the installer fine-tune superheat or subcool values so the compressor sees the right conditions. Even a small overcharge can drive head pressure sky-high on a 100 °F Texas day, wasting energy and shortening compressor life. Undercharge is just as bad, starving the evaporator and icing coils. Following factory specs is the safest path.
Matched components = fewer problems.Browse R32 AC units and coils
Final System Testing: Numbers Don’t Lie
 After start-up, the technician records supply and return air temperatures. A healthy split is usually 16–22 °F. They also log suction and discharge pressures to prove the refrigerant cycle is balanced. Static pressure is retested to confirm earlier duct fixes worked. Modern tools like Bluetooth probes feed data into an app that generates a commissioning report, a copy of which you should keep with your warranty papers. Noise is another checkpoint: rattles or buzzes hint at loose panels or line-set vibration. Catching these early avoids callbacks. For homeowners curious about professional versus DIY testing tools, our article on DIY vs professional AC installation explains what’s realistic to do yourself.
Common Pitfalls and How Pros Avoid Them
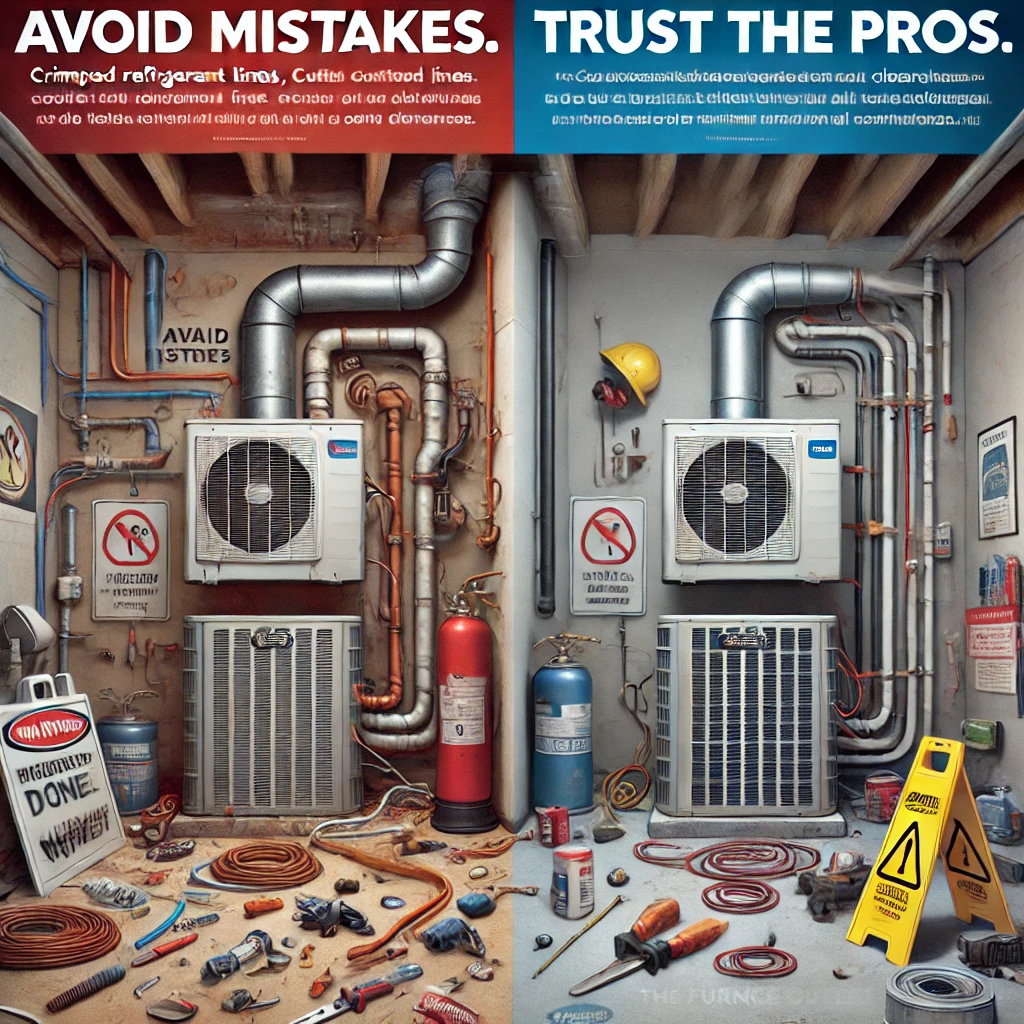 Two errors cause most early failures: improper airflow and wrong charge. Blocking a return grille with furniture can starve the system just as surely as a kinked flex duct. Skipping the vacuum step leaves moisture that turns into acid inside the compressor. Another trap is re-using a line set that’s the wrong diameter for the new refrigerant; velocity changes lead to oil pooling and slugging. Licensed installers follow a printed checklist so none of these steps get missed, even on a busy day in July. Inspectors also verify code items such as disconnect height and condensate safety switches. Homeowners can double-check by asking for the commissioning sheet before signing off.
Life After Installation: Simple Maintenance for Long Service
 Your new central air unit needs less attention than a car but more than a toaster. Change the filter every 30 days during peak cooling. A clogged filter doubles pressure drop, slashing airflow and freezing the coil. Twice a year, rinse leaves and dirt off the outdoor fins with a garden hose (no power washer). Keep shrubs two feet away so the fan can breathe. Schedule a professional tune-up each spring to check refrigerant, tighten electrical lugs, and clean the evaporator drain pan. Small tasks like these safeguard efficiency and prevent surprise repairs. Our full library of tips lives on the HVAC Tips hub if you want a step-by-step checklist.
Have questions or need a quote? Talk to our HVAC experts
Frequently Asked Questions
How long does a professional installation take? Most homes need one full working day if no major duct repairs are required.
Can I run my old thermostat? Yes, if it supports the stages and wiring of the new system, but smart stats often save more energy
Is refrigerant refill a regular service? No. A sealed system should never need topping up. If charge drops, a leak test is required
Will bigger equipment cool faster? Oversizing cools quickly but stops before dehumidifying, leaving air sticky and raising mold risk.
Does installation affect the factory warranty? Absolutely—manufacturers require licensed technicians and a documented start-up to honor parts coverage.