Key takeaways
-
Right size = comfort: Get a Manual J load calc not just square footage.
-
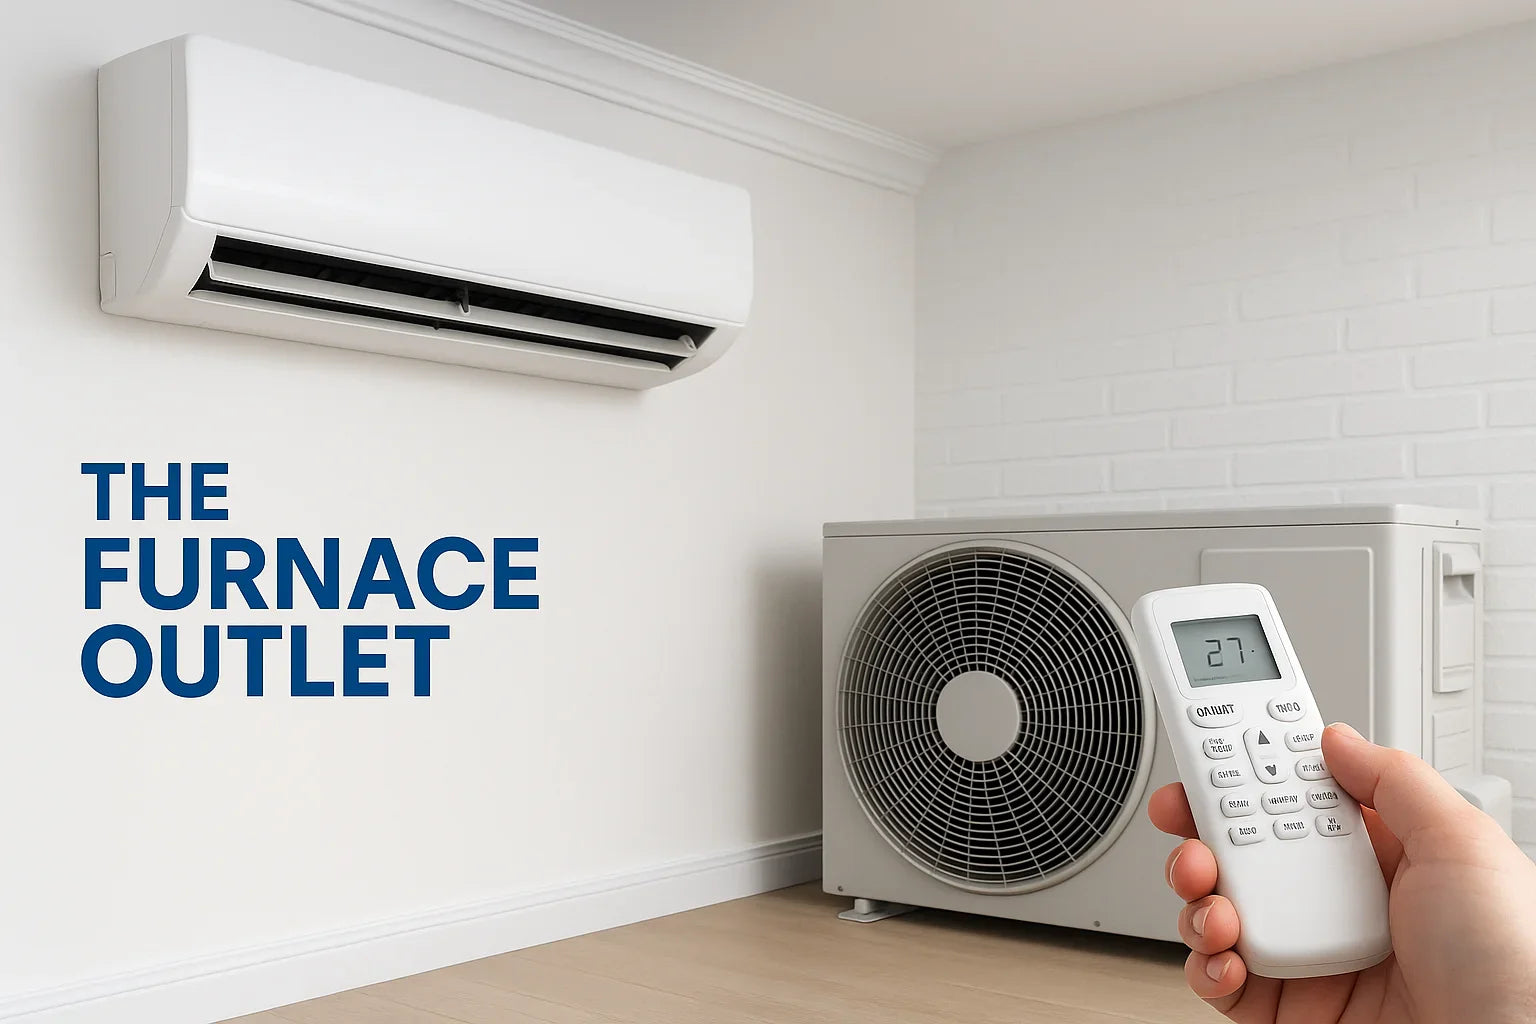
Smart placement: Shade condenser, allow ~24" sides & 60" top;
-
Tight ducts = savings: Seal with mastic/UL foil tape, insulate to R-8
-
Pro commissioning: Pull deep vacuum (500 microns), charge to spec,
-
Think long game: Register warranties, schedule biannual tune-ups, swap
-
Helpful links: Sizing Guide, Design Center, Line Sets, Air Handlers, HVAC Tips Blog.
Central Air Installation Advice for Top Brands

A reliable central air system does more than keep rooms cool—it controls humidity, protects finishes, and helps your family sleep better. The truth is simple: the quality of installation determines 80–90% of day-to-day comfort, noise, and energy use, no matter which top brand you choose. This guide translates pro checklists into plain English so you can make confident decisions: how to size equipment, where to place each component, how to design and seal ducts, and what “commissioning” actually includes. You’ll also see how to protect warranties and set up maintenance so your system lasts.
When it’s time to choose equipment, explore efficient R-32 options like residential condensers along with the right line sets and accessories. Use this as a checklist before, during, and after installation to get the most from your investment.
Why Installation Quality Matters

SEER2 ratings and brand names are helpful, but even the best equipment can struggle if it’s installed poorly. Wrong sizing creates hot/cold rooms, short cycling, and poor humidity control. Leaky ducts starve rooms of airflow and make coils freeze. Skipped commissioning turns refrigerant charge and airflow into guesses, not verified numbers. Good installation tackles each risk. It starts with measurements (load calculations and duct sizing), follows written standards (airflow targets, electrical safety), and ends with documented numbers you can keep for your records. Today’s trend toward low-GWP refrigerants (such as R-32) and smarter variable-speed equipment makes accuracy even more important. When your installer measures, tests, and records, your new central air system runs quietly, cools evenly, and uses less energy—summer after summer.
Problem Statement: Common Mistakes That Waste Money

Here are the pitfalls we see most often—and how they hurt you:
-
Guessing size. Square-foot “rules” oversize equipment, causing short cycles and poor dehumidification.
-
Crowded condensers. Units boxed in by fences or shrubs run hot and loud.
-
Bad ducts. Undersized or leaky trunks and branches waste up to a third of cooled air.
-
Sloppy refrigerant practices. Moisture or non-condensables shorten compressor life.
-
Weak electrical work. Undersized breakers, missing disconnects, or no surge protection risk board failure.
-
No paperwork. Without startup data, you can’t prove performance or support a warranty claim.
Want a deeper primer on limits of doing this work yourself? Read our guide on DIY central air installation to see what parts are safe for homeowners vs. what must be done by a licensed tech
Sizing Done Right: Manual J and Climate

Correct size is the foundation of comfort. Ask your contractor for a Manual J load calculation that accounts for square footage, insulation R-values, window area and direction, air leakage, and your local design temperature. Match that result to manufacturer performance charts so the chosen model delivers the required output at design conditions—not just in a lab. In humid regions, watch the latent load: the system should run long enough to dehumidify without constant on/off cycling. Pair the chosen outdoor unit with a properly sized coil/air handler and blower to hit both capacity and airflow targets. For quick pre-planning, start with The Furnace Outlet’s Sizing Guide, then confirm with a professional Manual J. If you’re considering a packaged alternative, see our efficient residential packaged systems to match different home layouts.
Smart Placement of Condenser and Air Handler

Location affects efficiency and noise. Place the outdoor condenser in shade with at least 24 inches of clearance on all sides and 60 inches above for free airflow and easy service. Keep it away from dryer vents, roof driplines, and gas meters. Indoors, install the air handler (or furnace/coil) in a conditioned or semi-conditioned area with a proper condensate drain and service access. Keep refrigerant line sets short and protected in a sleeve or chase; insulate the suction line to prevent heat gain and sweating. Use quality components from our Air Handlers and Line Sets collections for reliable performance. If your home lacks space for ducts, consider ductless mini-split systems for targeted comfort rooms.
Ductwork Design, Sealing, and Insulation

Great equipment can’t fix bad ducts. Size trunks and branches with Manual D, keep runs short, and avoid sharp turns. Add balancing dampers so rooms at the ends of runs still get their share of air. Seal every joint with mastic or UL-listed foil tape—never cloth duct tape—which dries out and fails. In attics and crawlspaces, insulate to R-8 to cut heat gain and stop condensation. Provide adequate return air so doors closing don’t starve the system. If you’re planning a remodel or new addition, our Design Center can help you map effective supply/return locations.
For a deeper primer on principles that pros use, see Ductwork Design Basics: How to Maximize Comfort, Efficiency, and Airflow.
Standards, Commissioning, and Refrigerant Basics

Professional installers follow clear steps. They evacuate to at least 500 microns to remove moisture and air, verify a stable vacuum, then charge by subcooling or superheat using calibrated digital gauges. Next, they confirm blower CFM, temperature split, and electrical amp draws—and record those numbers on a startup sheet you keep with your warranty. Today’s systems use R-410A or newer low-GWP refrigerants like R-32 or R-454B; each has specific charging and safety rules. If you’re shopping equipment, compare our R-32 condensers and matched AC + air handler systems so the components are designed to work together.
Curious about costs tied to efficiency and refrigerant changes? Review central air installation costs in 2025.
Electrical, Safety, and Permits

Safe power keeps comfort coming. Your outdoor unit needs a dedicated circuit sized to the nameplate amps with the correct breaker and wire gauge under the NEC. Install a lockable disconnect within sight of the condenser for service safety, and ensure proper grounding/bonding. Add surge protection to guard control boards from lightning and utility events. Low-voltage wires should be secured, UV-protected, and neatly terminated. In many U.S. cities, you’ll need a permit and an inspection; a licensed HVAC contractor typically handles both. If you have questions as you plan, check the Help Center for brand-specific electrical requirements.
Warranty, Maintenance, and Long-Term Care

Right after installation, register the warranty and save proof of professional installation. Schedule biannual tune-ups (spring and fall) to clean coils, verify charge and amp draws, and inspect electrical connections. At home, replace 1–2" filters every 30–90 days during heavy use, keep the outdoor coil clean, and maintain 2–3 feet of clearance around the condenser. Keep a simple service log with dates and notes; it helps with warranty claims and resale. When budgeting, take a look at HVAC financing options, to compare system choices. For seasonal how-tos and checklists, bookmark our HVAC Tips for ongoing care guidance tuned to U.S. homes.
Frequently asked questions
How do I know if my current ducts are good enough for a new AC?
Ask for a static pressure test and room-by-room airflow check. If pressure is high or some rooms are starved, plan for sealing, resizing, or adding returns before installing new equipment.
What’s the difference between SEER2 and proper sizing?
SEER2 is a lab efficiency rating. Sizing and airflow determine how much of that efficiency you actually get in your home.
Is R-32 safe for homes?
Yes—when installed and serviced by trained techs following code. It’s a low-GWP, A2L refrigerant with specific handling rules and detectors where required.
Do I need a new electrical circuit for my condenser?
Most homes do. Your installer will size the breaker and wire gauge to the unit’s nameplate and local code.
How often should I change my filter?
During summer, check monthly and replace every 30–90 days depending on dust, pets, and filter type.
Can I install central air myself?
You can handle prep like pad placement or clearing space, but refrigerant, electrical, and commissioning must be done by a licensed professional to meet code and protect warranties.


