Key Takeaways
-
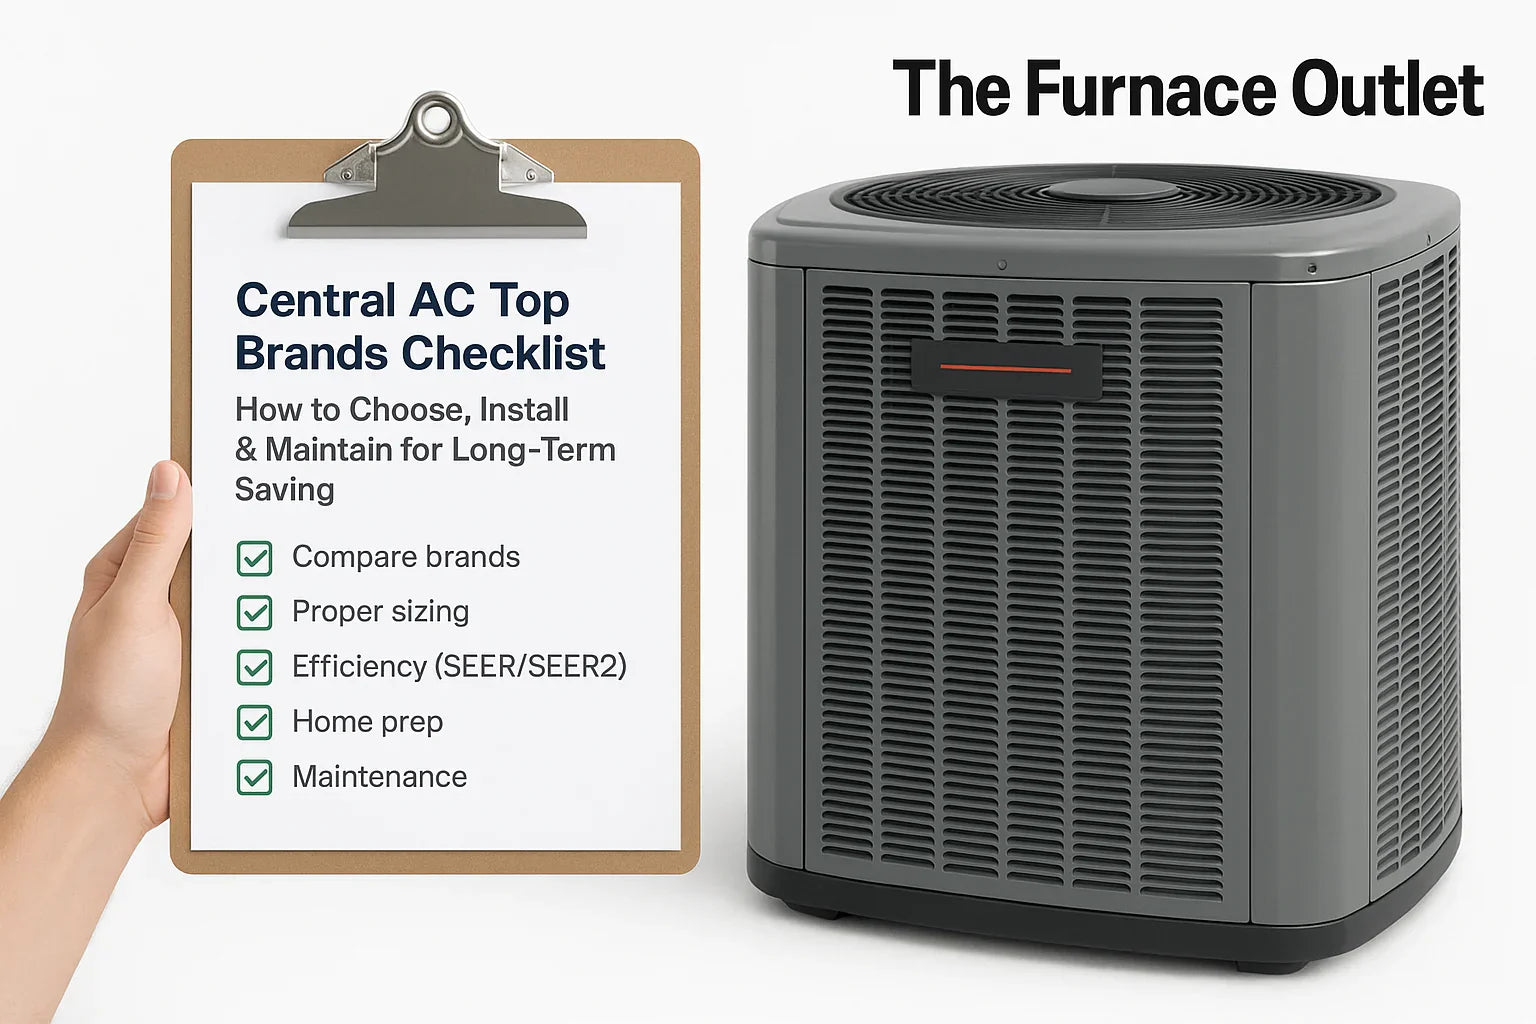
Compare brands → Check reliability, warranties, dealer support. Right pick saves thousands.
-
Proper sizing → Use Manual J and a trained installer.
-
Efficiency (SEER/SEER2) → Affects bills and comfort. Choose highest SEER2 you can with good ducts.
-
Home prep → Fix leaky ducts/insulation, check electrical.
-
Maintenance → Clean filters, get annual tune-ups. Set reminders + save service records.
the simple way to choose a central AC

Most people shop ACs by brand name or price. That’s a good start, but not enough to guarantee comfort on the hottest week of the year. This checklist breaks the choice into clear pieces you can verify: reliability, efficiency, sizing, installation quality, and support. You’ll also see where your home setup—ducts, insulation, and power—quietly decides how well any brand will run. We keep the language simple and the actions practical, with links to deeper reading in The Furnace Outlet HVAC Tips You’ll finish with a plan you can hand to a contractor, compare quotes against, and use to avoid the two big problems: short cycling and surprise repair costs. The goal is steady comfort, fair bills, and equipment that lasts.
Common concern: “Will it last, and will my bills spike?”

The fear is real: a unit that fails early or drinks power. Reliability depends on two things you control: picking a brand with a strong warranty and making sure the install is correct. Bills mostly depend on efficiency (SEER/SEER2), duct tightness, and proper size. If a system is too big, it cools fast but doesn’t dry the air, so the house feels clammy and the unit “short cycles,” wearing parts faster. If it’s too small, it runs nonstop and still can’t catch up. The fix is not guessing. Ask for a Manual J load calculation and Manual D duct review. Then match a high-efficiency model to that load and your climate. Get everything in writing: model numbers, SEER2, size (tons), warranty terms, and maintenance schedule.
Brand landscape: who makes what (and what that means)

Well-known makers—Trane, Carrier, Lennox, American Standard, Rheem, Bryant, Amana, and Goodman—build lines that trade off price, features, and warranty depth. Premium lines often add variable-speed compressors, quieter operation, and stronger cabinet designs. Value lines may skip some of those features but can still be solid when installed and sized correctly. Instead of chasing a logo, look for: (1) parts warranty length (10-year parts is a good baseline), (2) compressor coverage (some brands offer lifetime limited compressor warranties), and (3) a healthy local dealer network so parts and trained techs are easy to get. If you’re building a matched system,
compare options like R32 air conditioner & air handler systems and compatible air handlers to keep efficiency and warranty intact.
Reliability, warranties, and reputation: how to judge it

Reliability starts with design and testing, but the safety net is the warranty. Ask for clear terms on parts, compressor, and any labor options. Registration deadlines matter; many brands require it within 60–90 days—put a reminder on your calendar. Check that the installer is authorized for your chosen brand; some extended warranties require that. Then read reviews that focus on years 5–10, when real-world wear shows. Finally, confirm that your chosen unit has common, readily available parts in your area; that keeps downtime and repair costs lower. If you value long coverage, shortlist models with 10-year parts and strong compressor terms, and keep serial numbers and paperwork handy.
For deeper brand-life expectations, see our lifespan and reliability overview. (The Furnace Outlet)
Efficiency basics (SEER/SEER2): what changes your bill

SEER/SEER2 tell you how much cooling you get for the electricity used. Higher numbers mean less energy per degree of cooling, especially helpful in hot U.S. summers. As a rule of thumb, moving from older, low-efficiency systems to mid-high efficiency can cut cooling costs significantly; some upgrades show savings approaching ~40% depending on your starting point, climate, and ducts. The current U.S. minimum is generally SEER 14–15 (varies by region), so aim above that when possible.Want a plain-English walkthrough? Read our SEER & SEER2 guide to see how ratings convert to dollars at your house. After you pick a target efficiency, protect it with tight ducts and a matched indoor unit—mix-and-match coils or handlers can quietly lower performance.
Installation quality and sizing: the make-or-break step

Even the best unit will underperform if it’s the wrong size or poorly installed. Ask your contractor to:
-
Run a Manual J load calc (no square-foot guesses).
-
Check ducts (Manual D) for leaks and sizing.
-
Match equipment (Manual S) to the load and ducts.
-
Verify charge and airflow on startup with written readings.
Square-foot charts are only a starting sketch; climate, insulation, windows, and ceiling height change the real answer. For a quick primer with examples, use our Central AC sizing checklist and how-to tonnage guide If you’re building or replacing lines, pair your system with proper line sets for layout help. Good sizing prevents short cycling, improves humidity control, and lengthens equipment life.
Service network, parts, and support: plan for “year 8”

Support matters most on the first heat wave after warranty parts wear in. Before you buy, check: (a) local authorized dealers, (b) typical parts lead times, and (c) whether your installer offers maintenance plans and priority service. A strong dealer network means faster repairs and correct diagnostics. Keep installation and startup reports on file; those numbers help any tech solve issues later. For budgeting, look into HVAC financing options if you’re balancing upfront cost vs. long-term savings. Also bookmark the Help Center for answers and the HVAC Tipsfor seasonal checklists and updates. During peak summer, clear communication and documented model numbers can cut days off repair timelines.
Home factors: ducts, insulation, and electrical capacity

Your home is part of the “system.” Leaky or undersized ducts can waste 20–30% of cooling and make some rooms hot and others chilly. Insulation and air sealing reduce the AC’s workload so it cycles less and lasts longer. Ask your pro to measure static pressure and seal ducts where needed. In many homes, upgrading return air or adding a supply to a closed-off room fixes comfort better than jumping to a bigger unit. Also confirm electrical capacity for variable-speed motors and smart controls. If you prefer compact installs, compare residential packaged systems that combine components
in one cabinet. Finally, use our Sizing Guide to cross-check tonnage suggestions before you sign.
Maintenance, climate fit, and long-term value

Set a simple plan: change filters regularly (many homes do best at every 1–3 months, depending on filter type and dust), and schedule one pro tune-up per year to check coils, refrigerant, and electrical parts. For exact filter intervals by type, see our filter replacement schedule In humid states, precise sizing is extra important for moisture removal; in dry, hot regions, high SEER2 and strong condenser coils pay off on long runs. If you need a packaged heat/cool solution, compare R32 residential packaged heat pumps. When comparing quotes, look at total cost of ownership: upfront price + estimated energy use + maintenance + likely repairs after year 10. If you want quick photo-based advice, try our Quote by Photo to get eyes on your setup without waiting for a site visit.
FAQs
-
How do I know the right size? Ask for a Manual J load calculation and see our central AC sizing checklist.
-
What SEER2 should I pick? Go as high as your budget allows after fixing ducts; learn how ratings affect bills in our SEER guide.
-
How often should I change filters? Usually every 1–3 months; check your filter type here.
-
Do I need brand-authorized installers? Yes—many extended warranties require it, and trained techs reduce mistakes.
-
Where can I read more? Start at the HVAC Tips for step-by-step guides and seasonal maintenance


