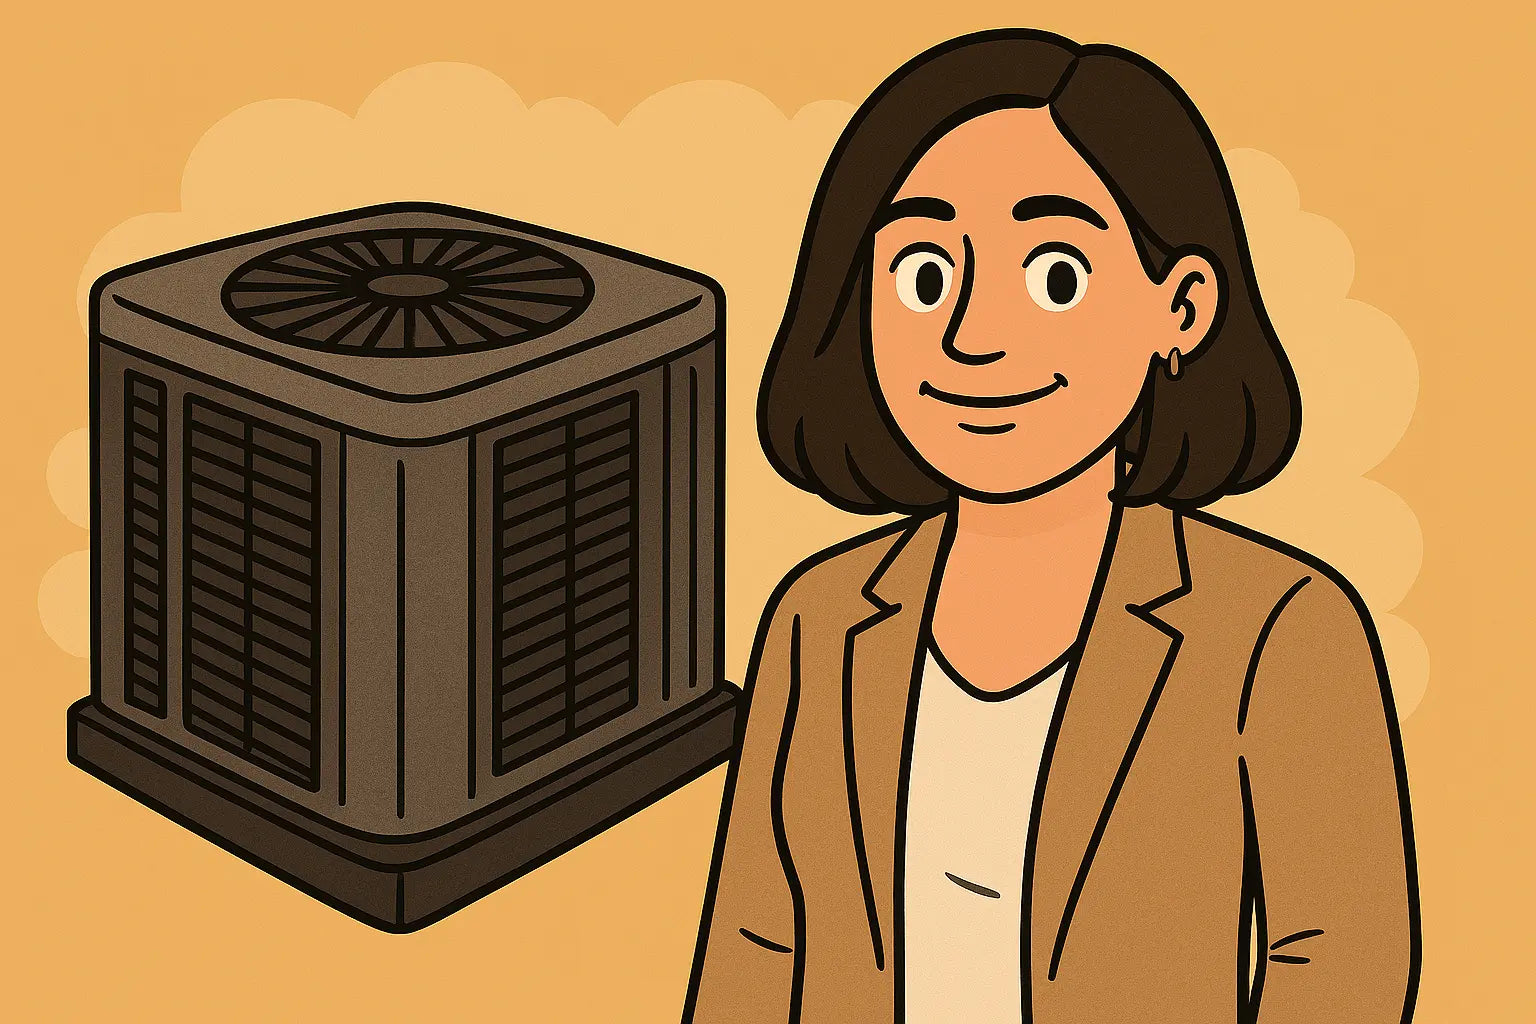
Hey There, Cool Customer 😎 — It’s Me, Savvy Mavi
So you’ve finally decided to upgrade your cooling situation. Maybe your old system sounded like a freight train, or maybe you just got tired of sweating through your shirt before breakfast. Either way, you’ve made the smart move and you’re bringing home a shiny new central AC system from The Furnace Outlet.
Now comes the fun part: installation day! 🎉
Wait—did you just flinch?
Relax. I’ve got you covered. I’m here to walk you through exactly what happens when the pros come to install your system, what you need to do to prep, and how to make sure the whole thing goes off without a hitch. This isn’t my first AC rodeo—and it won’t be your last, either.
Let’s break it down, shall we?
Before the Install: What Happens Before the Trucks Pull Up 🚛
The HVAC team doesn’t just show up and start drilling holes. A good contractor will do some homework first:
1. Load Calculation
No guesswork here—we’re talking about a legit Manual J calculation, which looks at:
-
Square footage
-
Insulation levels
-
Window orientation
-
Local climate
-
And how many people live in your home
If they’re not doing this? 🚩 Huge red flag. The U.S. Department of Energy warns that oversized systems cycle too quickly, wasting energy and wearing out faster. Learn more about load calculations here.
2. Ductwork Inspection
Your ducts are the highway your cool air travels on. If they’re leaky, dirty, or undersized, even the best AC can’t save you.
Make sure the techs:
-
Look inside the ductwork
-
Check for airflow bottlenecks
-
Measure static pressure
Need a visual? Check out Peak Heating and Cooling’s central AC planning guide for a breakdown of duct-related prep work.
The Day Of: What Actually Happens During the Installation 🛠️
Time to get technical—but not too technical. Here’s what your HVAC team will typically do:
1. Removal of the Old System (if needed)
They’ll safely disconnect and remove your old unit. That means:
-
Recovering refrigerant (it’s illegal to vent it, FYI)
-
Disconnecting electrical and gas lines
-
Hauling away the old gear (some offer this as a free service—ask!)
2. Setting the New Condenser & Evaporator Coil
The condenser (that’s the outside unit) gets leveled on a pad, and the evaporator coil goes inside near your furnace or air handler.
Things they should check:
-
Coil size matches your unit
-
Drain line is properly pitched
-
No kinks or bends in the refrigerant lines
3. Connecting Refrigerant Lines and Wiring
This part has to be done right:
-
Copper lines get brazed and pressure-tested
-
A vacuum pump removes moisture and air from the system
-
Techs run new or existing electrical lines to the outdoor unit
FYI: If you hear them talking about “pulling vacuum” and “microns,” that’s a good sign. It means they’re being thorough.
Want to geek out? HVAC School has a killer guide on proper vacuuming practices.
4. Installing or Upgrading the Thermostat
If you’ve been eyeing a smart thermostat like the Ecobee or Nest, now’s the time to upgrade. Ask your tech to check for a C-wire (common wire)—some smart thermostats need it.
Bonus: You might be eligible for rebates. Check ENERGY STAR’s rebate finder by zip code and product type.
5. System Charging and Testing
This is where the magic happens.
The tech will:
-
Charge the system with refrigerant (according to spec)
-
Check superheat and subcooling levels
-
Measure airflow and amperage
-
Run a full test cycle from the thermostat
If they don’t test the system thoroughly, insist they do. It’s your home. Your comfort. Your investment.
After the Install: What Comes Next? 🔄
1. Commissioning Report
Some companies will provide a detailed report showing:
-
Static pressure readings
-
Line set length
-
Refrigerant levels
-
Fan speed settings
Keep this—it’s proof the system was installed properly and helps with warranty claims later.
2. Warranty Registration
Don’t let this slip through the cracks. Many manufacturers require registration within 60–90 days for full warranty coverage.
Visit your manufacturer’s site—like Goodman’s warranty registration page—and plug in the model and serial numbers.
3. Post-Install Walkthrough
Good installers will walk you through:
-
How to use your new thermostat
-
How often to change filters
-
What maintenance to schedule (or sign you up for)
Ask questions! No one expects you to become an HVAC tech overnight.
Mavi’s Pro Tips for a Smooth Install 💁✨
-
Clear the area before they arrive: Make space around your furnace, outdoor pad, and electrical panel.
-
Board your pets or keep them in a quiet room.
-
Stay available but give the team room to work—they’ll check in with updates.
-
Ask about maintenance plans. They’re often cheaper at install time and keep your warranty intact.
And don’t forget to celebrate your new system with a tall iced lemonade 🍋 and a very smug grin 😌. You’ve earned it.
Wrap-Up: You Ready to Rule the Cool? 😎❄️
Look, I know an HVAC install can sound intimidating. Words like “superheat,” “line set,” and “blower tonnage” can make your head spin. But now you’ve got the inside scoop, straight from yours truly.
Whether you’re upgrading to a sleek, efficient central air system or replacing a tired old unit, the key is this: work with pros who explain things clearly, do the job right, and leave your home cooler than they found it.
Need more advanced troubleshooting tips for your central AC? Visit: Don't Panic, Just Diagnose.
You’ve got this—and you’ve got me, Savvy Mavi, in your back pocket.
Until next time… keep it breezy! ✌️🧊
- Savvy Mavi


