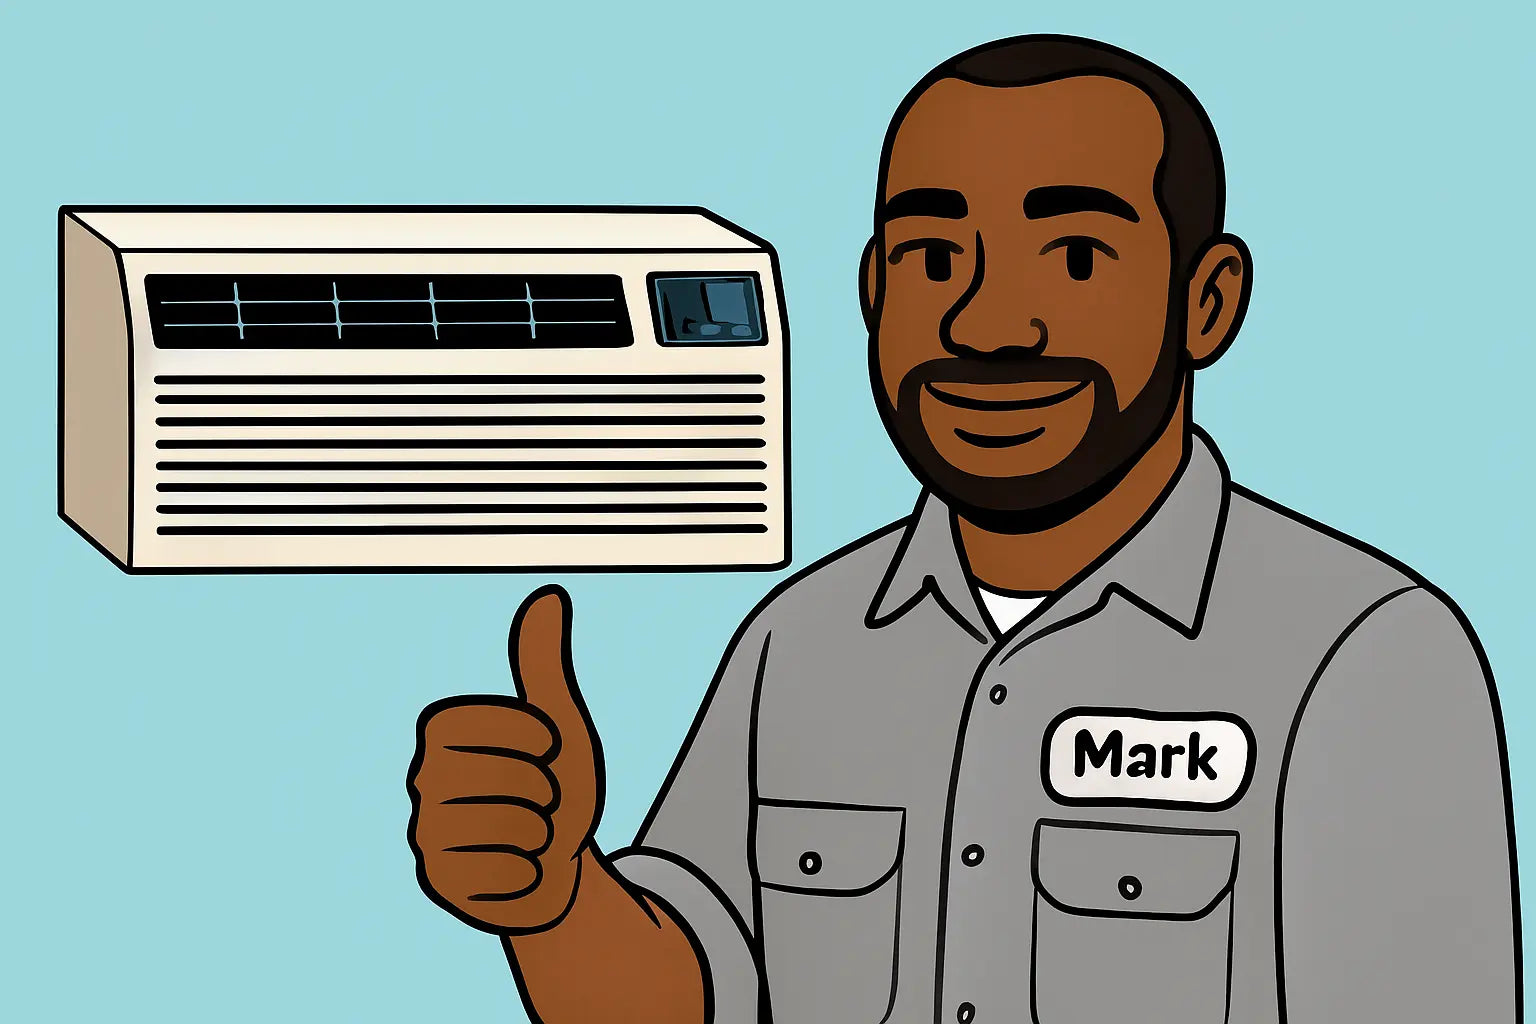
Introduction: Mark Here—Your HVAC Sidekick
Hey folks, it’s Mark! 👋 Installing a PTAC unit might sound intimidating, but with the right steps and a bit of patience, you can have your Amana Distinctions 14,700 BTU PTAC unit up and running in no time. I’ve seen what happens when people rush installation—leaks, weird noises, or error codes popping up. Let’s avoid that. Today, I’ll guide you step-by-step with practical tips, tricks, and a few of my insider secrets. ⚡🛠️
Ready? Let’s dive in.
Step 1: Unboxing and Preparing Your Workspace
Before touching your PTAC unit, set up a safe, spacious work area. You’ll need:
-
Level
-
Screwdrivers
-
Drill
-
Safety gloves
Unbox your unit carefully. The Amana Distinctions 14,700 BTU PTAC comes with a chassis, wall sleeve, front grille, and documentation. Check the parts list to make sure everything is there.
I always recommend checking Energy Star’s guide to efficient HVAC installation (link here) for tips on unit placement and airflow optimization. Proper positioning saves headaches and energy costs later.
Step 2: Installing the Wall Sleeve
Your wall sleeve is essentially the “foundation” for the PTAC. Misalign it, and everything else goes sideways.
Here’s what you need to do:
-
Measure and level – Ensure the wall opening is the correct size for the sleeve. A level is essential here.
-
Secure the sleeve – Use the screws provided and make sure it’s flush with the wall.
-
Seal gaps – Use weather-resistant caulking to prevent air or water leaks.
For step-by-step visuals, check the Amana PTAC Wall Sleeve Installation Guide. It’s a great reference if you get stuck.
💡 Mark tip: Take your time leveling the sleeve. A slightly crooked sleeve makes the chassis slide in unevenly and can cause rattling or airflow issues later.
Step 3: Sliding in the Chassis
Now comes the fun part—carefully sliding the PTAC chassis into the wall sleeve.
Steps:
-
Lift the unit with a buddy—these things are heavy.
-
Slide the chassis into the sleeve slowly, making sure it stays level.
-
Secure the chassis using the screws provided in the kit.
Double-check the level again. A unit that tilts even slightly can cause drainage problems.
For tips on proper positioning, check out this HVAC.com guide on PTAC installation.
💡 Mark tip: Keep your toolbox handy. You’ll likely need to tighten a few screws or adjust the frame slightly once it’s in place.
Step 4: Electrical Connections
Your PTAC unit runs on standard electrical circuits, but safety first:
-
Turn off the power at the breaker.
-
Connect the unit according to the wiring diagram in the manual.
-
If using a wired thermostat, follow the Amana DS01 Series Manual.
-
Double-check all connections before restoring power.
💡 Mark tip: Label your wires if you’re disconnecting an old unit. It makes reconnecting a breeze.
Step 5: Thermostat Installation
Depending on your setup, you may use a wired or wireless thermostat:
-
Wired – Connect directly to the PTAC unit using the wiring diagram.
-
Wireless – Follow the instructions in the wireless thermostat guide; make sure batteries are installed and paired properly.
Proper thermostat setup ensures your unit operates efficiently and keeps your space comfortable year-round.
Step 6: Testing the PTAC
Once installed:
-
Turn the unit on and select cooling mode.
-
Verify airflow from the front grille.
-
Switch to heating mode (heat pump or 3.5 kW electric backup) and confirm it warms the room.
-
Listen for unusual noises—rattling, hissing, or grinding.
💡 Mark tip: If something seems off, don’t guess—check the Amana PTAC troubleshooting manual for guidance.
Step 7: Finishing Touches
-
Install the front grille.
-
Clean the filter and exterior vents.
-
Seal around the sleeve if necessary.
With these steps done, your Amana Distinctions 14,700 BTU PTAC unit is ready to deliver comfort efficiently.
Pro Installation Tips from Mark
-
Keep extra screws and fuses handy for quick fixes.
-
Document wiring with photos before powering up.
-
Inspect seasonal airflow at least twice a year to avoid future issues.
Conclusion: Your PTAC is Ready
Congrats, you did it! 🎉 By following these steps, you’ve properly installed your Amana Distinctions 14,700 BTU PTAC unit and set yourself up for smooth operation.
For more details or to revisit the official product specs, check out the Amana Distinctions 14,700 BTU PTAC product page.
Need more advanced troubleshooting tips for this unit? Visit: Fix It Like a Pro.
Stay safe, keep that toolkit handy, and enjoy the comfort your PTAC brings year-round! 😎🔥
- Mark, your go-to HVAC guide


