Introduction: Mark Gets Real
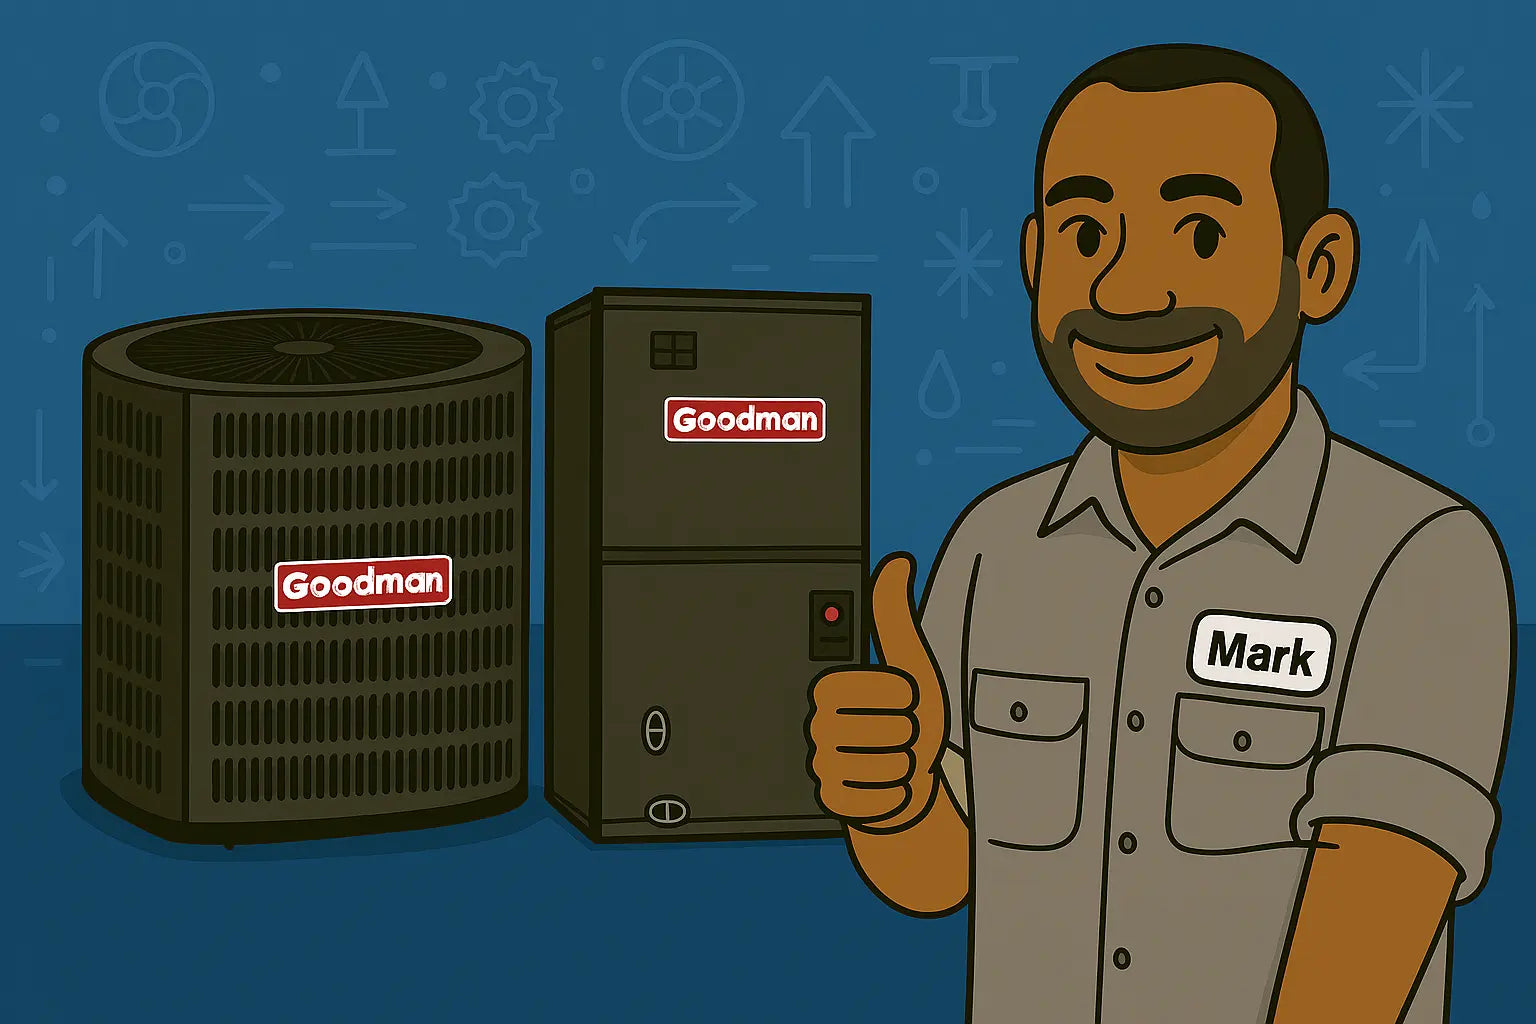
Hey folks, Mark here 👋. If you’ve ever stood in the sun wrestling with a 5-ton condenser, you know HVAC installs aren’t just “plug and play.” The Goodman GLXS4BA6010 condenser—the outdoor half of your 14 SEER2 R-32 system—is built to deliver reliable cooling power, but only if it’s installed the right way.
In this guide, I’m breaking it down step by step: site prep, mounting, wiring, refrigerant lines, startup, and troubleshooting. My goal? To help you get this beast running smoothly without the headaches. So let’s dig in.
Step 1: Pick the Perfect Location
Before you even unpack the condenser, location matters more than you think.
-
Clearance: Give it at least 2–3 feet on all sides and 5 feet overhead. Cramped installs choke airflow and cut efficiency.
-
Noise considerations: Don’t stick it right under a bedroom window unless you want complaints about the fan hum at night.
-
Airflow: Avoid corners, fences, or walls that can trap hot exhaust air.
Pro tip: Check the manufacturer’s placement guidelines on Goodman’s official site. They’ll tell you exactly how much clearance and airflow space you need.
Step 2: Prep the Base
Think of this like building a foundation. A sloppy base means long-term trouble.
-
Use a concrete slab or heavy-duty plastic condenser pad.
-
Check for level using a spirit level in multiple directions.
-
Add a few inches of gravel underneath to promote drainage.
Why so much fuss about level? Because a tilted condenser can cause oil circulation issues inside the compressor—and trust me, a burnt compressor isn’t something you want on your to-do list.
Step 3: Electrical Setup
Now we’re into the nitty-gritty. The GLXS4BA6010 requires a dedicated electrical circuit with the correct amperage breaker.
-
Disconnect box: Install within sight of the condenser.
-
Wire sizing: Follow the chart in Goodman’s installation manual—oversizing wires isn’t a crime, but undersizing can lead to overheating.
-
Grounding: Never skip grounding. It’s there for your safety.
Electrical mistakes are one of the most common causes of premature system failure. If you’re not comfortable with this step, don’t gamble—call in an electrician. According to Energy.gov, proper electrical setup is one of the top factors in system longevity.
Step 4: Refrigerant Line Installation
This is where most DIYers run into trouble. The GLXS4BA6010 uses R-32 refrigerant, which is more efficient and has a lower global warming potential than R-410A.
Here’s how to get it right:
-
Line sizing: Match line diameters exactly to Goodman’s spec sheet. Undersized or oversized lines kill efficiency.
-
Insulation: Insulate the suction line with closed-cell insulation to prevent sweating and energy loss.
-
Brazing: Use nitrogen while brazing to avoid oxidation inside the pipes.
Once installed, the lines must be evacuated with a vacuum pump. This removes moisture and air that could freeze or damage the compressor. After that, the system is charged with R-32 to the manufacturer’s specified levels.
⚠️ Important: R-32 is classified as an A2L refrigerant (mildly flammable). You need the right gauges, hoses, and tools for A2L systems. The EPA’s refrigerant handling guidelines make it clear—charging should only be done by certified technicians.
Step 5: Connecting to the Air Handler
With the outdoor unit prepped, it’s time to tie it to the indoor AMST60DU1300 air handler.
-
Run low-voltage control wires from the condenser to the air handler and thermostat.
-
Double-check your polarity (R to R, C to C, Y to Y, etc.).
-
Use wire nuts or proper spade connectors for secure connections.
One crossed wire can leave you scratching your head for hours, so triple-check before powering up.
Step 6: System Startup
Moment of truth time!
-
Power up the disconnect and breaker.
-
Set thermostat to cooling.
-
Watch and listen: condenser fan should spin, compressor should hum, and indoor blower should engage.
-
Hook up gauges and confirm operating pressures.
If the refrigerant charge is correct, you’ll see good suction and liquid line pressures within manufacturer specs. Always cross-reference your readings with Goodman’s startup data.
Troubleshooting Early Issues
Even with a careful install, issues can crop up right away:
-
Unit won’t power on: Check breaker, disconnect, and wiring. Sometimes it’s as simple as a loose connection.
-
Fan runs but no cooling: Could be low refrigerant charge or a wiring misstep at the contactor.
-
Loud vibration: Check if the unit is level and that refrigerant lines aren’t rattling against walls.
-
Icing on coils: Often airflow-related—check the air filter and duct connections.
For more troubleshooting scenarios, HVAC School has fantastic technical deep dives that even pros reference.
Maintenance Matters
Installing is just the first step—keeping it running is an ongoing job.
-
Filters: Replace every 1–3 months.
-
Coil cleaning: Rinse outdoor coils yearly with a hose (low pressure only).
-
Electrical check: Tighten connections at least once a year.
-
Drainage: Make sure the condensate line isn’t clogged.
If you want a straightforward checklist, Aire Serv’s AC maintenance guide is a great reference for homeowners.
Safety First
Look, I can’t say this enough: don’t cut corners with safety. R-32 requires proper ventilation and specialized tools. Always wear gloves and safety glasses, and never smoke or use open flames around refrigerants. Following proper HVAC safety practices isn’t just about compliance—it’s about going home at the end of the day with all your fingers intact.
Mark’s Final Thoughts
There you go, folks—your step-by-step walkthrough of installing the Goodman GLXS4BA6010 condenser. Take your time, follow the manual, and don’t be afraid to call in a pro when the job goes beyond your comfort zone.
Done right, this 5-ton condenser will deliver powerful, efficient cooling for years without complaint. Done wrong, well… you’ll learn quickly why HVAC is more art and science than just “hooking stuff up.”
If you’re ready to dig into the specs or grab the full setup, check out the Goodman 5-Ton 14 SEER2 R-32 System here. Trust me—you’ll want the right information at your fingertips before starting the job.
Need more advanced installation tips for the air handler in this combo? Visit my guide: Air Handler Setup Made Simple.
Take it step by step, and when you hear that compressor hum for the first time, crack a cold one and enjoy the satisfaction of a job well done.
- Cheers, Mark 🍻.


