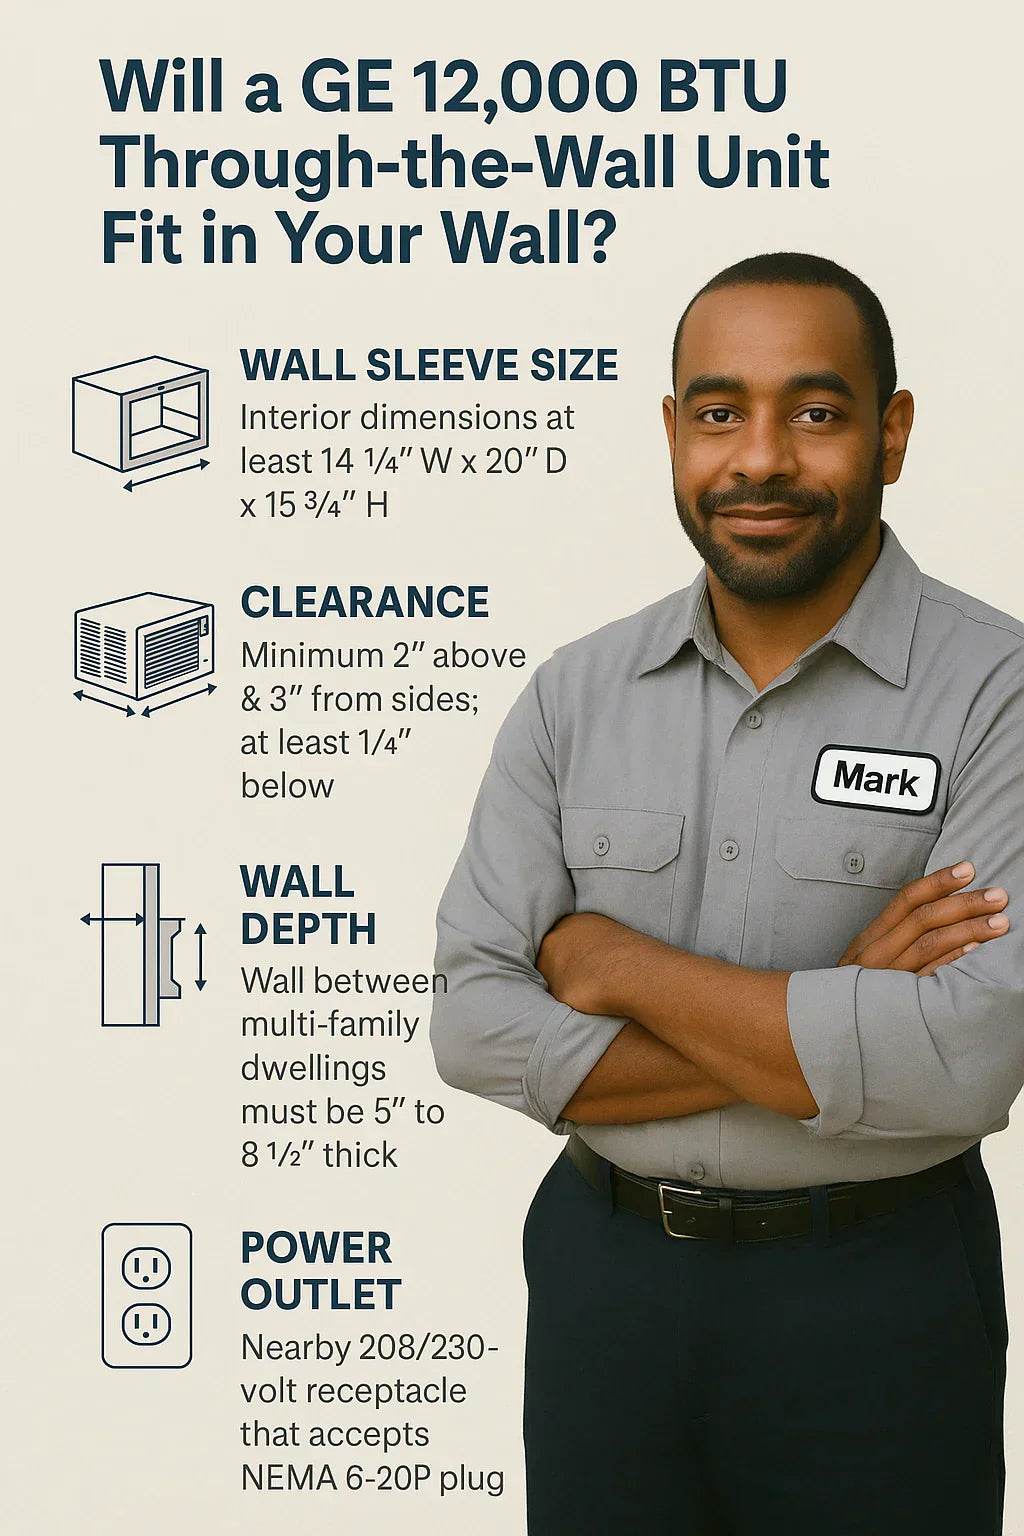
Installing a through-the-wall air conditioner like the GE AJEQ12DWJ (12,000 BTUs, electric heat) is a smart way to gain year-round comfort without losing a window. But before you cut into drywall or brick, you need to answer a critical question:
Will it actually fit?
This guide—designed for homeowners like Mark—explains how to verify sizing, wall sleeve compatibility, required clearances, and electrical needs to ensure a safe, successful installation.
📐 Unit Dimensions & Wall Sleeve Fit
GE AJEQ12DWJ Core Dimensions:
-
Width: 26" (cabinet only)
-
Height: 15-5/8"
-
Depth: 21-13/16"
🧱 Minimum wall opening (including sleeve):
-
Width: 26.125" – 27"
-
Height: 15.75" – 16"
-
Wall depth: 7.5" – 16" (ideal: 12")
✅ Compatible Wall Sleeve:
-
GE RAB46A through-the-wall sleeve (or equivalent)
-
Exterior depth: 16"
-
Wall opening required: 26" W x 15.75" H
-
⚠️ If you already have an existing sleeve, measure it carefully. Some Friedrich or LG sleeves may also work, but you may need an adapter or trim kit.
🧱 Wall Depth Considerations
Wall depth is one of the most common fitment problems. The GE unit is designed to fit in:
-
2x4 framed walls (with siding + drywall)
-
Masonry walls (brick or block)
Depth Tips:
-
Sleeve must not protrude into the room more than ½ inch
-
Sleeve must extend outside wall to allow condenser airflow
-
Rear grill should clear obstructions by at least 6 inches
📌 Pro Tip from Mark: “If your wall is deeper than 16", use trim panels or a custom frame to avoid air recirculation into the wall cavity.”
🔌 Electrical Requirements
Voltage:
-
208/230 Volt (not standard 115V)
Plug Type:
-
NEMA 6-15P or 6-20P depending on model
-
15 or 20-amp double-pole breaker required
Dedicated Circuit:
-
Highly recommended (especially with electric heat feature)
-
No GFCI outlet—use standard 240V receptacle
🔗 NEMA Plug Configuration Chart – Leviton
📌 Important: Check your panel for an available 240V slot. Most older homes have limited capacity for additional double-pole breakers.
📏 Clearance Requirements (Interior & Exterior)
| Area | Minimum Clearance |
|---|---|
| Top | 6 inches |
| Bottom | 2–4 inches |
| Sides | 1 inch |
| Rear (Exterior) | 6–12 inches |
Proper clearance ensures adequate airflow, cooling efficiency, and safety when using the heating function.
📌 Avoid placing furniture, curtains, or shelves directly in front of the unit.
🧰 Tools & Materials for Fit Confirmation
Before you begin cutting or ordering, gather:
-
Tape measure (preferably digital)
-
Drywall saw or rotary tool
-
Stud finder
-
Voltage tester
-
Template (make your own using unit dimensions)
Optional:
-
Sleeve bracket kit (for exterior support)
-
Insulated weatherstripping
🧱 Installation Scenarios
1. Framed Wall (Drywall + Siding)
-
Cut a hole between studs (use header if needed)
-
Add sleeve and fasten to framing
-
Seal gaps with spray foam or trim kit
2. Brick/Masonry Wall
-
Requires concrete saw or hammer drill
-
Use sleeve as a form
-
Secure with masonry anchors
3. Retrofitting Existing Sleeve
-
Verify old sleeve depth and drain slope
-
Use GE trim kit if sleeve is wider
-
Test fit with cardboard cutout first
🔍 What If Your Wall Is Too Shallow or Deep?
Too Shallow (<7.5"):
-
Unit may protrude into room or not sit flush
-
Consider cutting back drywall or adding wall bump-out
Too Deep (>16"):
-
Warm air may be trapped behind unit
-
Add extension collar or rear air duct shroud
🛑 Common Installation Mistakes
| Mistake | Problem Created |
| Wrong voltage | Won’t power on or causes breaker trips |
| Inadequate clearance | Overheating, low airflow |
| Sleeve not sloped outward | Water leaks into wall or indoors |
| Wrong wall depth | Noise, performance issues |
Mark’s tip: “Always double-check the voltage before you order. I had to return a unit once because I assumed it was 115V.”
🧠 FAQs
Q: Can I install this unit in a window instead of a wall?
A: No. The GE AJEQ12DWJ is not window-compatible. It requires a fixed wall installation.
Q: Can it be hardwired instead of plugged in?
A: No. This model comes with a factory-installed plug. Hardwiring voids warranty and violates code.
Q: What if my wall sleeve is slightly larger?
A: Use GE’s universal trim kit or weatherproof foam to seal gaps.
📋 GE Model Summary: Fitment Checklist
| Feature | Specification |
| Width | 26" |
| Height | 15-5/8" |
| Depth | 21-13/16" |
| Compatible Sleeve | GE RAB46A (16" depth) |
| Voltage | 208/230V |
| Plug | NEMA 6-15P or 6-20P |
| Wall Depth Supported | 7.5" to 16" |
✅ Best installed in dedicated wall cavity with 240V circuit and exterior clearance.
🔗 Verified External Resources
🏁 Final Thoughts
Before you buy or install a GE AJEQ12DWJ through-the-wall AC with heat, take time to confirm fit, depth, electrical compatibility, and wall clearance. A little prep ensures you get the quiet, powerful performance this unit is designed to deliver.
In the next topic we will know more about: Electric Heating in Wall Units: How Safe, Efficient, and Practical Is It for Your Home?


