Proper placement of your ductless mini split indoor unit can make a major difference in efficiency, comfort, and long-term performance. Whether you’re installing a single-zone system or managing multiple air handlers throughout your home, mounting height, airflow direction, and remote usability all matter more than you might think.
In this guide, we’ll break down:
-
Ideal mounting height for different room types
-
How airflow patterns affect comfort and coverage
-
Why remote control signal and accessibility matter
-
Mistakes to avoid when choosing a mounting location
-
Real-world layout scenarios and expert mounting tips
Why Indoor Unit Placement Matters
Mounting the indoor air handler in the wrong spot can lead to:
-
Uneven heating and cooling
-
Short-cycling and inefficiency
-
Difficulty using your remote
-
Drafts or “dead spots” in the room
-
Poor humidity control
Mini splits are designed to distribute air quietly and evenly—but only if airflow isn’t blocked or misdirected.
Ideal Wall Height for Mounting Your Mini Split
Most ductless indoor units are wall-mounted high on the wall, just below the ceiling. Here's why that matters:
✅ Standard Mounting Height
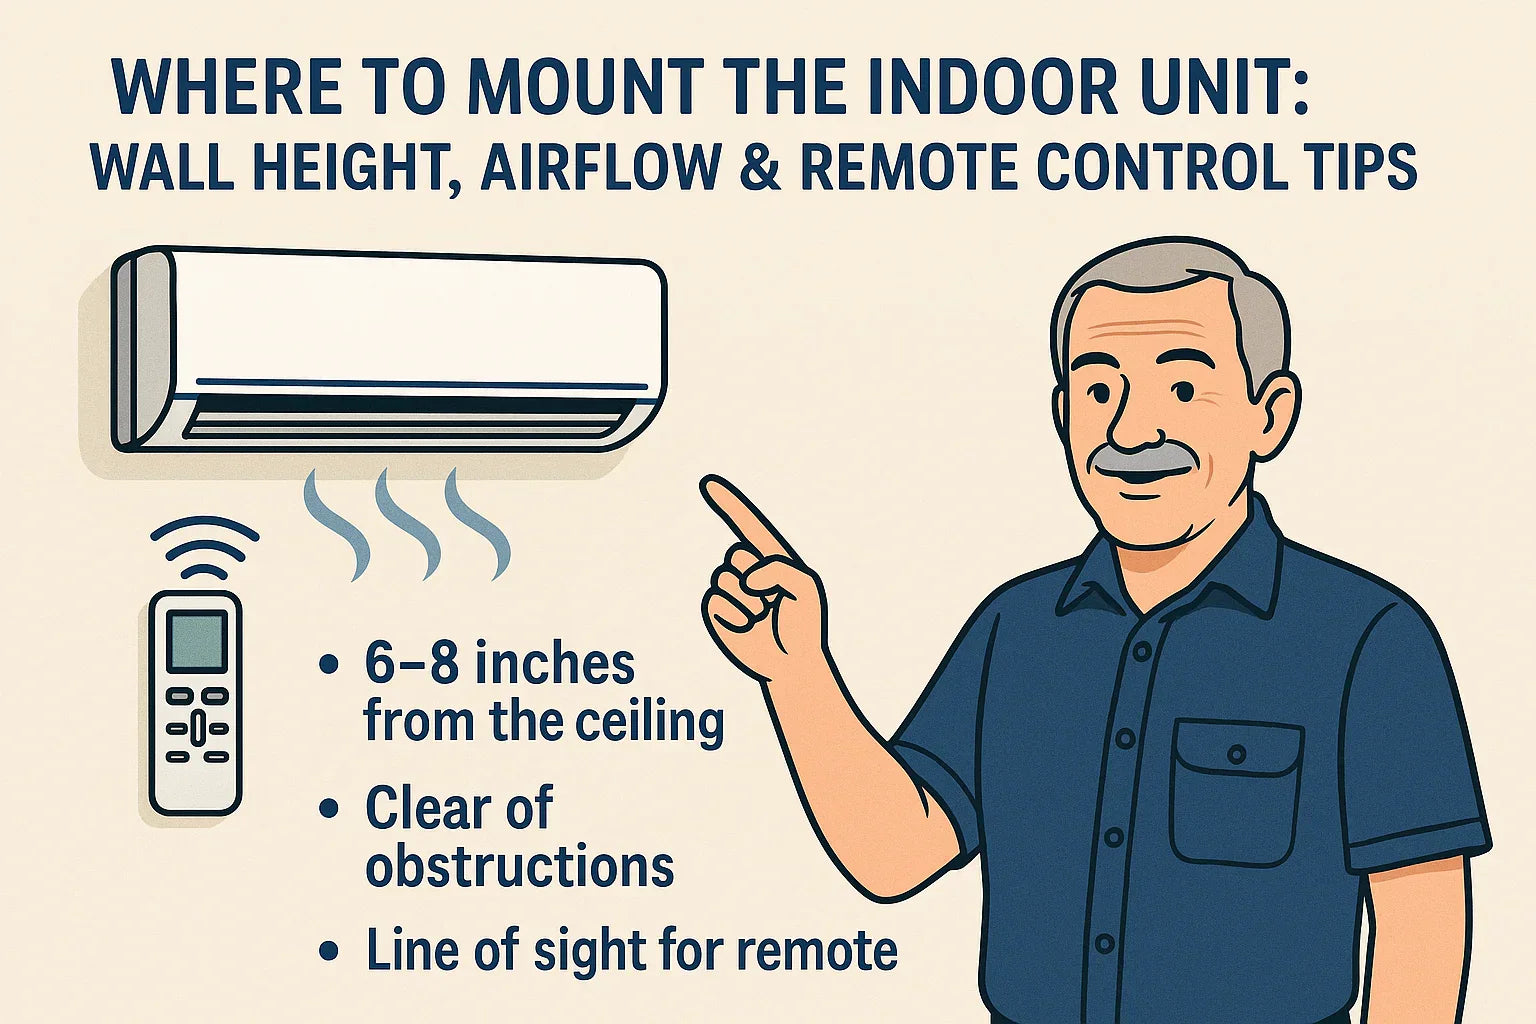
6–8 inches from the ceiling is the general sweet spot for wall-mounted units. This allows the unit to:
-
Pull warm air from the top of the room
-
Distribute cooled or heated air downward efficiently
-
Avoid trapping airflow behind furniture or molding
💡 Pro Tip: The ideal mounting height for most homes is between 7 and 8 feet off the floor—this works well for ceilings that are 8 to 10 feet high.
🚫 What to Avoid
-
Too Low: Units mounted under 6 feet may blast air directly onto occupants, creating cold drafts.
-
Too High or Flush with the Ceiling: This can block return airflow and reduce efficiency.
-
Above windows or doors: These areas can allow heat gain or loss, interfering with sensors and temperature control.
Understanding Airflow Patterns
Ductless mini splits use adjustable louvers to direct air across a wide angle, but you still need to help it out with smart placement.
📐 Horizontal Airflow
Wall units typically push air out and downward. If you have tall ceilings or open-concept layouts, the airflow needs space to “throw” across the room.
-
Living rooms: Aim toward the central sitting area, not a hallway or stairwell.
-
Bedrooms: Position to avoid airflow directly over the bed.
-
Offices or dens: Direct air away from desks or workspaces to avoid discomfort.
🌪️ Avoiding Obstructions
Never mount the indoor unit where furniture, curtains, shelves, or décor will block airflow.
📏 Maintain at least 3 feet of clear space in front of the air handler.
Remote Control Tips: Line of Sight, Sensor Access & Convenience
Your mini split remote communicates with the indoor unit via infrared (IR)—so line of sight matters.
🎯 Best Practices
-
Mount the unit where it’s visible and reachable from key points in the room.
-
Avoid corners or alcoves that could block the remote’s signal.
-
Consider a wall-mounted remote holder near the entrance or bed for easy access.
🧠 Smart Control Add-Ons
Some systems include Wi-Fi modules or smart thermostats that allow app-based control—ideal if the unit is hard to reach or not in line of sight.
🛠️ Installation Tip: Test the remote signal range before final mounting by holding the unit in place and trying commands from multiple angles.
Placement Tips by Room Type
| Room | Recommended Mounting Location | Why |
|---|---|---|
| Living Room | High on longest wall facing central space | Maximizes airflow across seating area |
| Bedroom | Opposite bed, away from direct airflow | Avoids discomfort while sleeping |
| Kitchen | Away from stove or vent hoods | Prevents heat source interference |
| Office | Above or behind workspace | Keeps cool air off shoulders and neck |
| Basement | Slightly lower than ceiling (if low ceilings) | Accommodates airflow needs in shorter rooms |
Common Mounting Mistakes to Avoid
-
❌ Installing the unit too close to the ceiling (less than 4")
-
❌ Mounting above a heat source (like a fireplace or stove)
-
❌ Blocking airflow with shelves or tall furniture
-
❌ Choosing a location too far from a power source or line set path
-
❌ Placing the unit in a hallway or transitional space
Real-World Mounting Examples
🛋️ Samantha’s Living Room Setup
She mounted her mini split 7 inches from the ceiling, centered above the main window, with airflow aimed diagonally across the seating area. Her remote works perfectly from both the sofa and kitchen island.
🛏️ Mark’s Bedroom Tip
Mark learned the hard way not to place his unit directly over the bed—he remounted it on the adjacent wall for gentler airflow. He now uses a Wi-Fi thermostat for convenience.
Final Checklist: Mounting Your Mini Split Right
✅ 6–8 inches from the ceiling
✅ At least 3 feet of open space in front
✅ Not above windows, radiators, or cooking appliances
✅ Line of sight to remote locations
✅ No direct airflow onto beds or seating areas
✅ Easy access for filter cleaning and seasonal maintenance
Bottom Line
Mounting your indoor mini split unit isn’t just about drilling a hole and hanging it—it’s about airflow, comfort, and usability. By considering wall height, obstruction clearance, and remote access, you’ll get better performance from day one.
Want help picking the best location for your unit? Check out our Mini Split Sizing Guide or upload a photo using our Quote by Photo Tool to get custom advice.
In the next topic we will know more about: Do You Need a 110V or 220V Mini Split? Choosing the Right Power Option


