🧰 Introduction: Why Line Sets Matter More Than You Think
When you're installing a MRCOOL DIY 5th Gen 36,000 BTU 3-Zone Mini Split System, it's tempting to focus on the indoor air handlers or the outdoor condenser. But ask anyone who's actually done the install — like Mark — and they’ll tell you the line sets are where things get real.
Line sets:
-
Deliver refrigerant between indoor and outdoor units
-
Must be sealed, sized, and routed correctly
-
Are the most common source of DIY errors
In this guide, we’ll cover:
-
What comes standard with the MRCOOL 36k system
-
Line set length limits and extension kits
-
Proper sizing and flare connection
-
Insulation, routing tips, and sealing
-
Safety and efficiency considerations
-
Verified tools and accessories for a clean install
📦 What Line Sets Come With the MRCOOL 36k 3-Zone DIY System?
Each MRCOOL 3-zone kit includes pre-charged, Quick Connect line sets, one for each zone:
| Air Handler | Line Set Size | Pre-Charged? | Length |
|---|---|---|---|
| 9k BTU | 1/4" x 1/2" | ✅ Yes | 16 ft or 25 ft |
| 12k BTU (x2) | 1/4" x 1/2" | ✅ Yes | 16 ft or 25 ft |
You select your preferred length when you order. All MRCOOL DIY line sets use Quick Connect fittings, so no vacuum pump or licensed refrigerant technician is required.
📏 Sizing: What Diameter Do You Need?
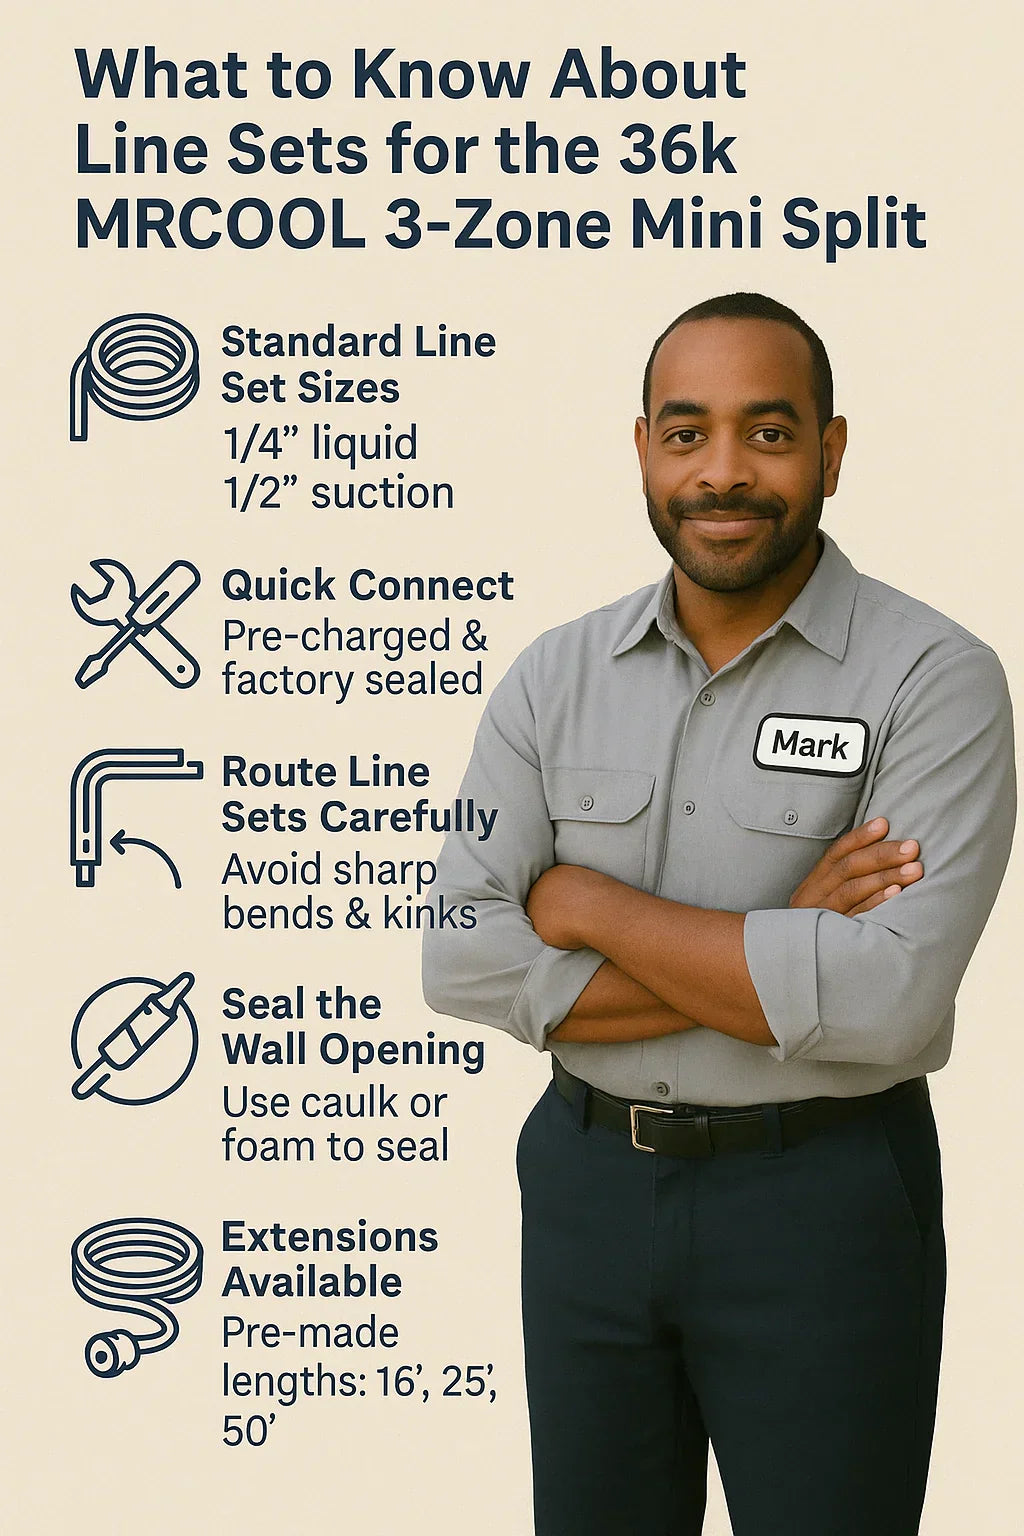
The MRCOOL 36k 3-Zone System uses uniform line set sizes:
-
Liquid Line (smaller): 1/4"
-
Suction Line (larger): 1/2"
This standardized sizing ensures:
-
Easy compatibility across 9k, 12k, and 18k air handlers
-
Interchangeable extensions
-
Simplified routing and installation
⚠️ Important: Do not attempt to substitute these with custom copper tubing unless certified and licensed. It voids the warranty.
🧩 Need a Longer Run? Use a Line Set Extension Kit
Why You Might Need Extensions:
-
Condenser is far from the indoor head
-
You’re installing on a second floor
-
You want to hide lines behind walls or attics
-
You need extra slack for neat routing
MRCOOL offers DIY line set extensions:
-
Sizes: 16 ft, 25 ft, 50 ft
-
All pre-charged with R-410A
-
Include coupling adapter and insulation wrap
-
Easy to snap together
📐 Max Line Set Length Rules (Per Zone)
Too long = reduced cooling
Too short = not enough reach
| Zone | Max Length (with extension kits) | Vertical Rise Limit |
|---|---|---|
| 9k | ~75 ft | 33 ft |
| 12k | ~75 ft | 33 ft |
💡 Total system line set length shouldn’t exceed 225 ft combined for the 36k system.
🧯 Quick Connect = No Vacuuming or Charging
This is the game-changer.
Each line set comes:
-
Factory pre-charged with refrigerant (R-410A)
-
Hermetically sealed with built-in valves
-
Leak-tested
You:
-
Remove the caps
-
Align the Quick Connect
-
Hand-tighten, then use a wrench (torque recommended)
-
Open the service valve slowly
-
Done — the system charges itself
🪛 Flare Nut Tightening Tips
Although pre-charged, you’ll still connect flare nuts at:
-
Air handler port
-
Outdoor condenser valve
Best practices:
-
Use two wrenches (backing and tightening)
-
Apply torque to MRCOOL specs (typically ~33–38 ft-lbs)
-
Do not overtighten — you risk cracking the flare
-
Leak-check using soapy water spray
🧵 Insulation Tips for Long-Term Performance
All MRCOOL line sets come pre-insulated, but DIYers should take extra steps:
-
Wrap Quick Connect joints with insulating foam + tape
-
Seal gaps at the wall penetration
-
Use UV-resistant tape for outdoor portions
-
Cover exposed line sets with PVC conduit or line set covers
🧱 Routing: Best Practices for Line Set Layout
✅ Do:
-
Use 45° bends — not tight 90° turns
-
Support every 4–6 feet with plastic brackets
-
Keep suction lines slightly sloped toward condenser
-
Avoid kinks — they restrict refrigerant flow
❌ Don’t:
-
Route under roof gutters (condensate risk)
-
Run across high-heat sources (attic with no insulation)
-
Coil excess line — it adds pressure drop
🧠 Mark’s Tip: Measure twice, bend once. Use cardboard templates to plan your routes around joists and soffits.
🌧️ Sealing the Wall Penetration
Each indoor unit requires a 3.5" wall hole for:
-
Refrigerant lines
-
Communication wire
-
Drain hose
To seal:
-
Use caulk or expanding foam around the entire sleeve
-
Add a line set cover escutcheon for aesthetics
-
Make sure the sleeve slopes outward to prevent water entry
🛑 Common Line Set Mistakes to Avoid
| Mistake | Why It’s a Problem |
|---|---|
| Overtightening flare nuts | Cracks flare, causes leaks |
| Bending line set too sharply | Kinks pipe, reduces flow |
| Not sealing wall sleeve | Insect or moisture intrusion |
| Forgetting torque wrench | Undetected refrigerant loss |
| Coiling excess tubing | Pressure drop and vibration |
🧾 Do You Need to Pressure Test?
No — the MRCOOL DIY system is pre-charged and pre-tested at the factory.
But you should:
-
Spray leak detection soap on all flare connections
-
Watch for bubbles
-
Don’t open service valves until everything is sealed tight
🛠️ Tools & Accessories for a Clean Line Set Install
| Tool / Accessory | Purpose |
|---|---|
| Torque Wrench | Tightens flare nuts to spec |
| Line Set Cover Kit | Protects and hides outdoor lines |
| Wall Bracket Escutcheon | Cleans up wall penetration |
| Condenser Pad | Keeps outdoor unit level and clear |
| Drain Hose Extensions | If you’re going more than 6 ft horizontally |
🏠 Mark’s Real-Life Install Story
“I thought the line sets would be the hardest part — but they were actually the easiest. My only mistake was forgetting to seal the outside wall sleeve. Fixed it the next day with foam and caulk. Now everything looks and runs perfectly. Took me a full weekend, but I saved over $3,000 vs. hiring it out.”
✅ Final Takeaways
-
Use the right line set length from the start
-
Don’t kink, over-bend, or over-tighten
-
Always insulate and weather-seal joints
-
Use extension kits if you need extra reach
-
Avoid DIY shortcuts — MRCOOL makes it easy, but precision still matters
In the next topic we will know more about: How Does This System Handle Extreme Weather? Cooling and Heating Performance Explained


