Upgrading to a 5-ton central air conditioning system is a big decision for any homeowner. Whether you’re replacing an aging unit or installing AC for the first time, the process can feel overwhelming if you don’t know what to expect. This guide will walk you through each step—from preparation to final walkthrough—so you can approach your installation day with confidence.
We’ll cover:
-
📐 How to know if 5 tons is the right size for your home
-
🛠️ What happens before, during, and after installation
-
💰 Cost breakdowns and potential rebates
-
⚡ Energy efficiency tips for long-term savings
-
🏠 How to prepare your home and what to expect on installation day
By the end, you’ll have a complete step-by-step roadmap that demystifies the installation process and ensures you get the most out of your new investment.
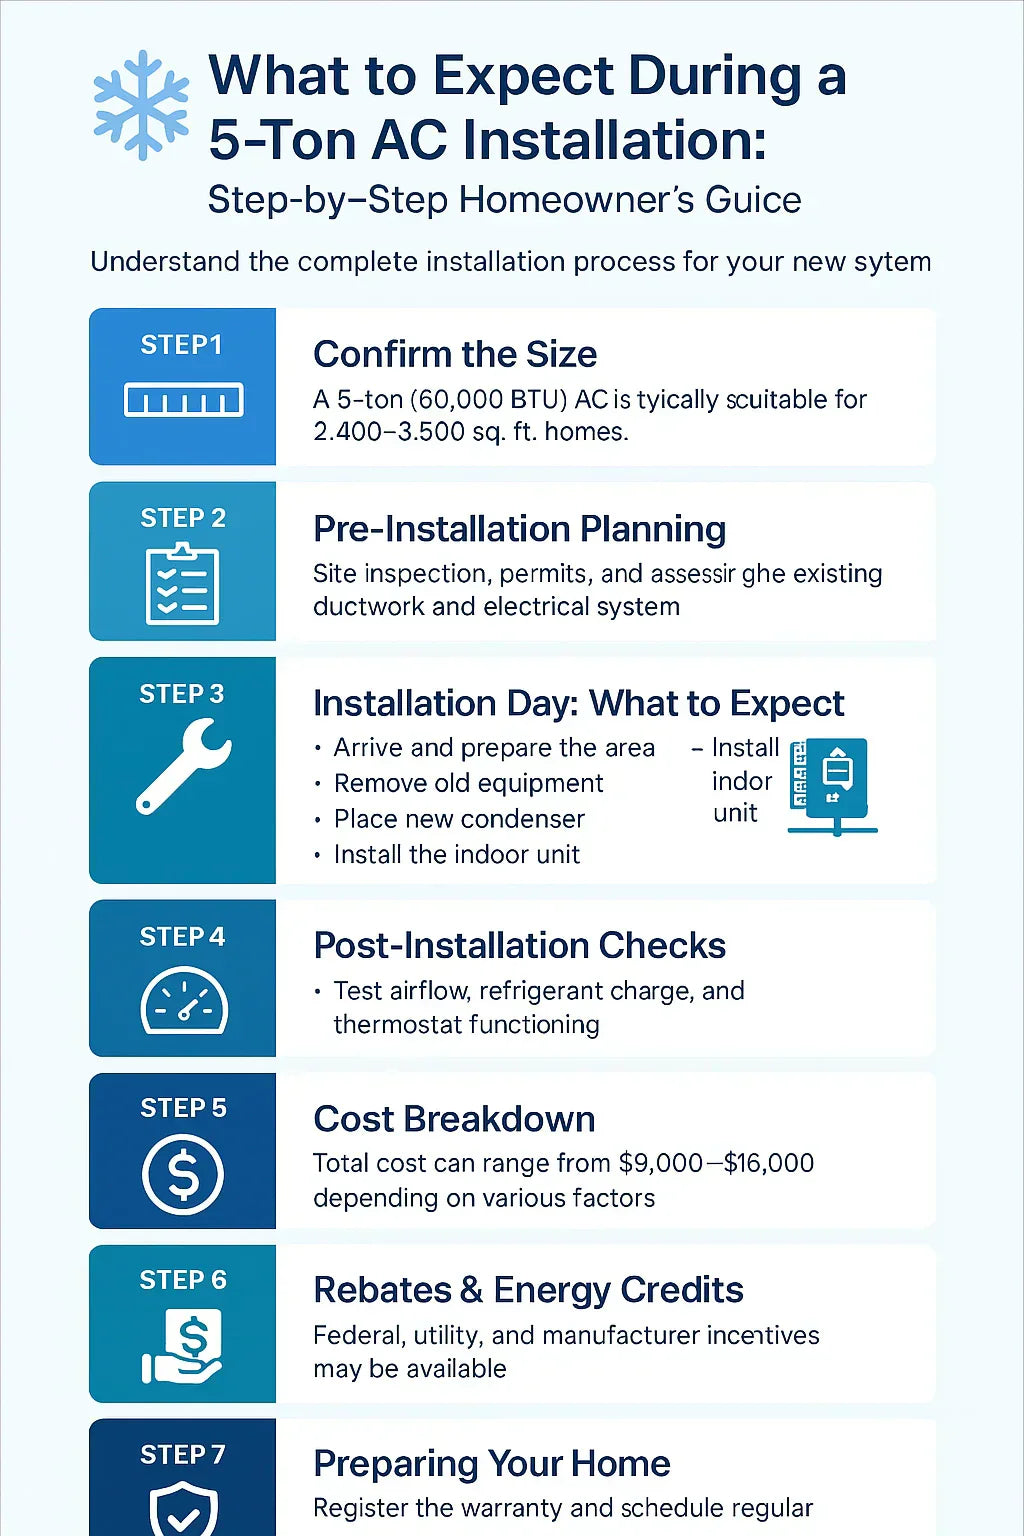
📏 Step 1: Confirming If a 5-Ton AC Is Right for Your Home
Before installation, your contractor should perform a Manual J load calculation to ensure a 5-ton (60,000 BTU) system is appropriate for your space. Oversized or undersized AC units can cause inefficiency, humidity issues, and premature wear.
✅ Signs a 5-Ton AC May Be the Right Choice
-
Your home is 2,400–3,500 square feet, depending on insulation and climate.
-
You live in a hotter region (e.g., Texas, Florida, Arizona) where cooling demand is high.
-
Your home has open floor plans or vaulted ceilings, requiring more airflow.
-
Your previous system was 4–5 tons and struggled to keep up.
👉 Learn more about load calculations from the Air Conditioning Contractors of America (ACCA), which sets the industry standard for Manual J calculations.
📝 Step 2: Pre-Installation Planning
📅 Scheduling & Permits
-
Your contractor will pull any required permits from the city or county.
-
Expect an inspection after installation to ensure the system meets code.
📋 Pre-Installation Checklist
-
Home assessment – ductwork inspection, electrical panel check, and airflow measurements.
-
Equipment selection – choosing the right condenser, evaporator coil, and air handler/furnace pairing.
-
Staging materials – refrigerant lines, electrical wiring, condensate drains, and pad placement.
Many homeowners don’t realize that ductwork may need modification to handle the airflow of a 5-ton system. In some cases, larger return ducts or new plenums are required to prevent static pressure problems.
🔗 U.S. Department of Energy – Ductwork Guide
🛠️ Step 3: Installation Day – What to Expect
Installation typically takes 6–12 hours depending on complexity, ductwork modifications, and whether an old unit needs removal. Here’s a step-by-step breakdown:
🏚️ Arrival & Preparation
-
Technicians arrive with equipment and tools.
-
They protect your flooring and walls with tarps and shoe covers.
-
Power to the old unit is disconnected at the breaker.
🗑️ Removing the Old System (if applicable)
-
Refrigerant is safely recovered following EPA Section 608 guidelines.
-
Old condenser and air handler/furnace are removed.
-
Electrical wiring and line sets are disconnected.
👉 EPA – Refrigerant Management Regulations
🧰 Installing the New System
-
Outdoor Condenser Placement – set on a level concrete or composite pad.
-
Indoor Unit Installation – air handler or furnace with coil is placed.
-
Line Set Installation – refrigerant lines are run and insulated.
-
Drainage Setup – condensate drain line connected to prevent leaks.
-
Electrical Wiring – high-voltage and low-voltage wiring connected.
-
Ductwork Adjustments – sealed and tested for leaks.
🧪 Testing & Charging
-
System is vacuumed to remove air/moisture.
-
Refrigerant is charged to manufacturer specifications.
-
Airflow and temperature differentials are tested.
🧹 Clean-Up
-
Old equipment is hauled away.
-
Job site is cleaned.
-
A walkthrough is conducted with the homeowner.
⚡ Step 4: Post-Installation Checks
Once the system is running, technicians will:
-
✅ Test airflow at supply and return vents.
-
✅ Measure superheat and subcooling to ensure refrigerant charge accuracy.
-
✅ Calibrate the thermostat.
-
✅ Explain filter changes and maintenance requirements.
📖 For more details, see Energy Star’s Guide to HVAC Maintenance.
💰 Step 5: Cost Breakdown
The cost of installing a 5-ton AC system in 2025 typically ranges from $9,000–$16,000, depending on:
-
Brand (Goodman, Trane, Lennox, Carrier, etc.)
-
SEER2 rating (minimum 14.3 SEER2, high-efficiency models reach 20+)
-
Ductwork modifications
-
Location & labor rates
📊 Average Costs by Component
-
5-Ton Condenser: $4,000–$6,500
-
Air Handler/Furnace with Coil: $2,500–$4,500
-
Installation Labor: $2,000–$5,000
-
Permits & Inspections: $200–$500
🌎 Step 6: Rebates & Energy Credits
Homeowners can save by tapping into rebates and incentives:
-
Federal Tax Credits (2025): Up to $2,000 for qualifying heat pumps and high-efficiency AC systems under the Inflation Reduction Act.
-
Utility Rebates: Many local power companies offer $200–$800 rebates for Energy Star systems.
-
Manufacturer Promotions: Seasonal rebates from brands like Carrier or Lennox.
🧹 Step 7: Preparing Your Home Before Installation
-
🚪 Clear pathways to attic, basement, or closets for indoor unit access.
-
📦 Move furniture or valuables away from work areas.
-
🐶 Secure pets in a separate room.
-
🔌 Check your electrical panel has space for a new breaker.
🛡️ Step 8: Maintenance & Warranty
🧾 Warranty Registration
Most manufacturers require you to register your system within 60–90 days for a 10-year parts warranty. Failure to do so may reduce coverage to just 5 years.
👉 Goodman Warranty Registration
🧽 Routine Maintenance Checklist
-
Replace filters every 30–90 days.
-
Schedule annual professional tune-ups.
-
Keep condenser free of debris.
-
Check drain line for clogs.
🧭 Step 9: Homeowner’s Walkthrough
At the end of the installation, expect your contractor to:
-
Show you how to operate the thermostat.
-
Review proper filter replacement.
-
Explain maintenance schedule.
-
Provide warranty paperwork.
-
Answer any final questions.
📌 Final Thoughts
A 5-ton AC installation is a major project, but with the right planning and expectations, the process can be smooth and stress-free. By knowing each step—from load calculation to final walkthrough—you’ll be empowered to ask the right questions, avoid hidden costs, and ensure your new system keeps your home comfortable for years to come.
If you’re considering a 5-ton AC, make sure to:
-
✅ Confirm the size with a Manual J load calculation.
-
✅ Ask about ductwork upgrades.
-
✅ Explore rebates and tax credits.
-
✅ Register your warranty.
In the next topic we will know more about: Can You DIY Maintenance on a 5-Ton R-32 AC? Filters, Coils & Seasonal Tips


