When my old HVAC system finally started struggling, I knew it was time to invest in a new one. After weeks of research, I landed on a Goodman 4 Ton 13.5 SEER2 condenser paired with a 100,000 BTU 80% AFUE furnace.
Living in the Northeast means summers are muggy and winters are downright brutal. I needed something that could cool my 2,400 sq. ft. Colonial efficiently in July and keep us warm in January.
But if you’re anything like me, you’ll quickly realize that buying the system is only half the battle. The installation process brings its own surprises, lessons, and (yes) added costs. Here’s what I learned first-hand that can save you time, money, and frustration.
🔎 Why I Chose the Goodman 4 Ton / 100k BTU Combo
Before I dive into installation day, let me explain how I landed on this system.
-
House size: My home is about 2,400 sq. ft., two stories, with average insulation and original ductwork from the 90s.
-
Climate: In New Jersey, summer highs hover around the mid-80s to low-90s, and winter nights dip well below freezing.
-
Load calculation: My contractor ran a Manual J load calculation (the industry gold standard, published by the Air Conditioning Contractors of America, ACCA ). It confirmed that a 4 Ton AC and a 100k BTU furnace were appropriate for my space.
-
Efficiency sweet spot: I considered higher-efficiency models, but 13.5 SEER2 met DOE’s 2023 requirements for the Northeast and fit my budget better than 15.2+ SEER2 units.
I compared brands like Carrier and Lennox, but Goodman offered solid reliability at a more affordable price.
📋 Pre-Install Preparation
One of the biggest surprises? There’s a lot of prep work before a single tool comes out.
✅ Permits & Inspections
I had to apply for:
-
A mechanical permit for the furnace and AC.
-
A gas permit since the furnace required new venting.
-
A final inspection scheduled with the town’s building department.
👉 These permits cost me around $350 total. According to Angi, permit costs for HVAC replacements typically range from $150–$500 .
✅ Clearing Space
-
I had to clear a 5 ft. x 5 ft. section in the yard where the new condenser would sit.
-
Inside, I made room around the furnace closet so the crew could maneuver.
✅ Scheduling
Since I wanted to avoid being without AC in July, I booked installation in May—shoulder season, when contractors aren’t as swamped. That helped me get a slightly better price.
🔧 Installation Day: What Really Happens
I had this vision of installation being one neat, tidy day. In reality, it was a multi-day project with a lot of moving parts.
Day 1: Removal & Prep
-
The crew arrived around 8 AM.
-
They shut off power and gas, then removed my old 20-year-old system.
-
To my surprise, duct connections were rusted and had to be re-sealed.
Day 2: Installing the Goodman System
-
They poured a small concrete pad for the condenser.
-
The 4 Ton Goodman unit (GLXS3BN4810) was craned into place.
-
Inside, the furnace (GR9S801005CN) and coil were installed vertically.
-
The team ran new refrigerant lines and pressure-tested them.
Day 3: Finishing Touches
-
They connected the gas line and vented the furnace.
-
The electrician upgraded one breaker in my panel to handle the condenser’s draw.
-
They recharged the refrigerant, ran test cycles, and balanced airflow.
By the end of Day 3, the system was up and running.
⚠️ Unexpected Challenges
Here’s where the budget creep came in:
-
Electrical Upgrade → My panel was nearly maxed out. A $600 breaker upgrade was needed.
-
Ductwork Repairs → The contractor found leaks in the return duct, which cost another $1,200 to reseal and patch.
-
Inspection Delays → The town inspector couldn’t come until the next afternoon, which delayed the final gas hookup by a day.
📌 According to HomeAdvisor, duct repairs typically run $500–$2,000 —so my $1,200 bill was right in the middle.
💡 Lessons I Learned
This experience came with some important takeaways:
-
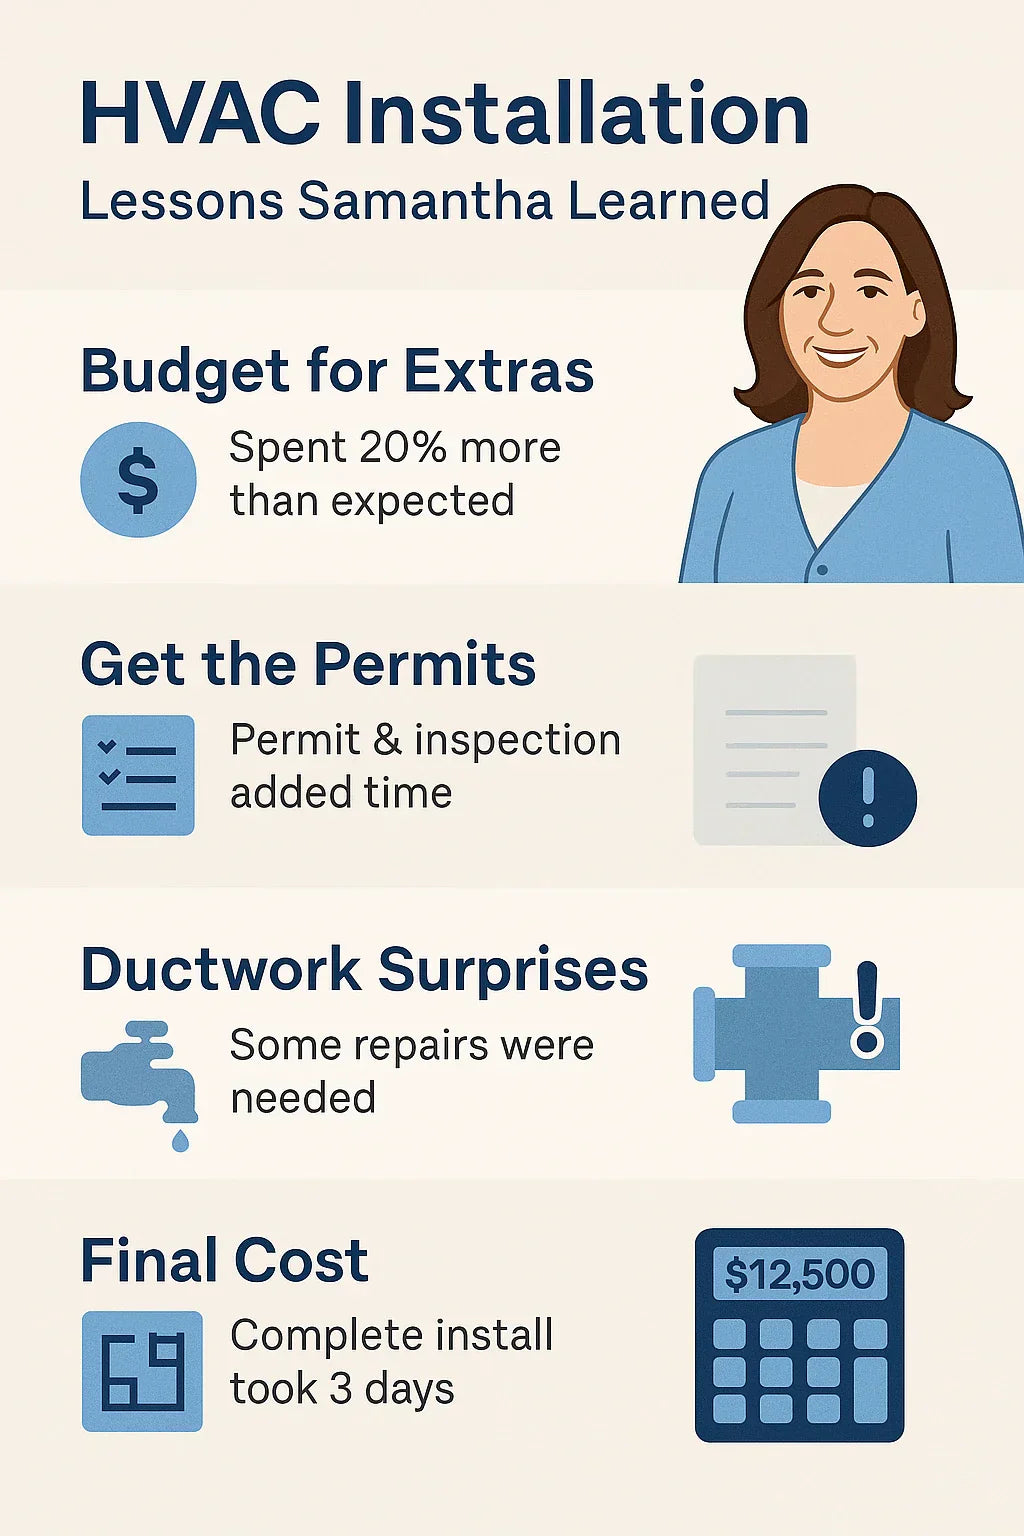
Always budget 10–20% extra for surprises. What started as a $10,000 project landed closer to $12,500.
-
Get a line-item estimate. My first quote lumped everything together. The one I went with broke down equipment, labor, and extras.
-
Don’t skip the Manual J calculation. Rule-of-thumb sizing could have easily led me to the wrong system.
-
Permits matter. They added cost and time, but they protect you legally and ensure safety.
📊 Final Cost & Timeline
Here’s how my final bill shook out:
-
Equipment (Goodman condenser + furnace + coil + thermostat) → ~$6,000
-
Labor/installation → ~$4,500
-
Electrical panel upgrade → $600
-
Ductwork repairs → $1,200
-
Permits/inspections → $350
-
TOTAL → ~$12,500
Timeline: 3 days total (plus 1-day delay for inspection).
📌 According to Modernize, the typical cost to replace an HVAC system in the Northeast ranges from $8,500–$15,000 —so my project was right in line.
🌡️ Comfort Results After the Install
Once the dust settled, here’s what I noticed right away:
-
Quieter operation → The Goodman condenser is noticeably quieter than my old unit.
-
Even cooling → Upstairs bedrooms are no longer stuffy in July.
-
Furnace performance → Heats faster and uses less gas—my first winter bill was about 15% lower compared to last year.
📌 Energy Star reports that upgrading to a modern, efficient HVAC system can reduce energy bills by 20–40% .
📝 Samantha’s Homeowner Advice
If you’re planning to install a similar Goodman system, here’s my best advice:
-
Get at least 3 quotes. My quotes ranged from $9,000 to $14,000 for the same system.
-
Vet your installer. A good contractor matters more than the brand itself.
-
Ask about add-ons. Thermostats, humidifiers, or zoning controls can make a big difference in comfort.
-
Plan for downtime. I stayed with family one night when the old furnace was disconnected in cold weather.
✅ Samantha’s Takeaway
Replacing an HVAC system is never cheap or simple, but it doesn’t have to be a nightmare either.
For my Northeast home, the Goodman 4 Ton 13.5 SEER2 AC + 100,000 BTU gas furnace was the perfect match. The install wasn’t without hiccups, but now I have a reliable system that keeps me cool in summer, warm in winter, and doesn’t drain my budget every month.
If you’re considering this system, my biggest advice is:
-
Budget realistically,
-
Expect surprises,
-
And choose a contractor you trust.
The system itself is solid. It’s the installation that makes or breaks the experience.
In the next topic we will know more about: Do Goodman 13.5 SEER2 Systems Qualify for Rebates or Tax Credits in 2025?


