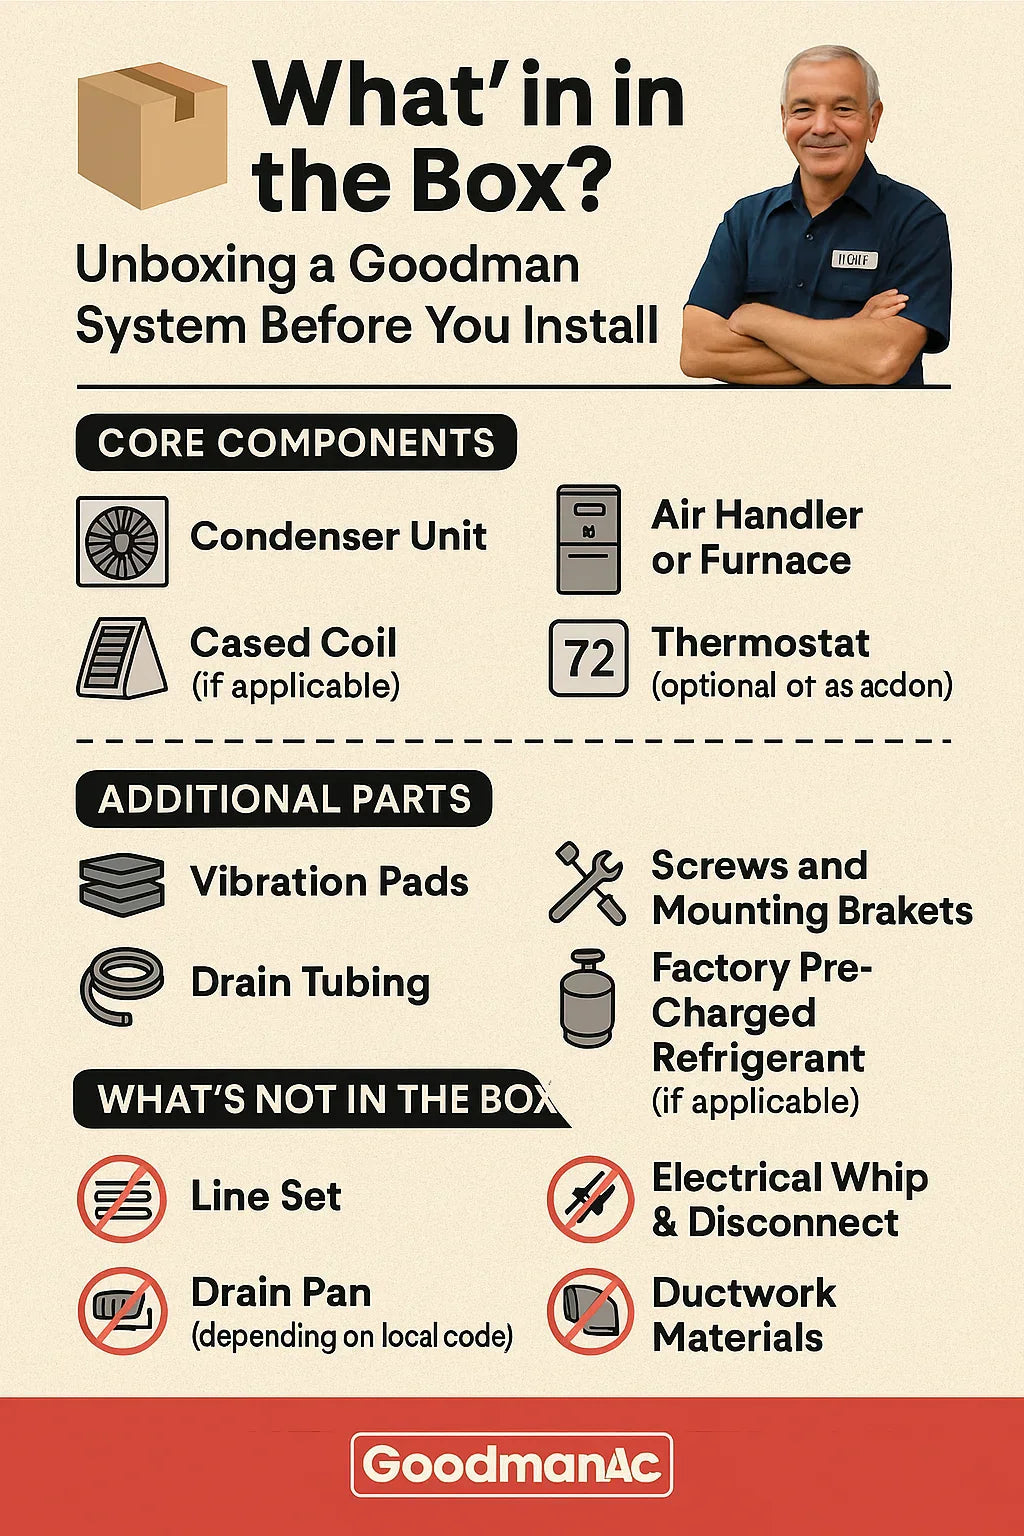
When you order a new Goodman HVAC system, you're investing in comfort, efficiency, and durability. But before installation day arrives, there's a crucial step that many homeowners overlook: unboxing your system. Knowing exactly what’s in the box (and what’s not) can save you time, money, and frustration during your install.
In this guide, we’ll walk you through what to expect when your Goodman system arrives, how to inspect the components, and what extras you might need to finish the job.
Why Unboxing Matters
Unboxing isn’t just about checking that your new equipment looks shiny and new. It’s about:
-
Confirming all components arrived safely
-
Identifying any shipping damage early
-
Knowing what you need to purchase separately
-
Avoiding install-day delays
Think of this step as your pre-install quality control. A careful unboxing ensures you have what you need when it's time to get to work.
What Goodman System Are We Talking About?
Goodman offers several system types, and the components inside the box will vary depending on your setup. This guide focuses on the most common residential configurations:
1. Split Systems (AC + Air Handler or Furnace + Coil)
-
Available in 2-ton to 5-ton sizes
-
May include horizontal or vertical air handlers
-
Optional heat pump models
2. Self-Contained Packaged Units
-
All-in-one heating and cooling
-
Typically rooftop or slab-mounted
For this article, we’ll focus primarily on split systems, which are more likely to come in multiple boxes and require a more detailed unboxing process.
Core Components You’ll Find in the Box
Here’s what typically comes standard with a Goodman split system:
✅ 1. Outdoor Condenser Unit
-
Fully assembled
-
Often pre-charged with R-32 or R-410A refrigerant (depending on model)
-
Label includes SEER2 rating, model number, and serial number
✅ 2. Indoor Air Handler or Furnace
-
Includes blower motor, control board, and cabinet
-
May be shipped with or without a coil
-
Watch for upflow, downflow, or horizontal orientation options
✅ 3. Cased Evaporator Coil (if not integrated)
-
Matches furnace size and configuration
-
Includes aluminum or copper coil with cabinet
-
Drain pan included
✅ 4. Installation Manual and Warranty Paperwork
-
Owner’s manual
-
Warranty registration card (often available online)
-
Electrical schematics and setup guide
Additional Parts Commonly Included
Depending on the supplier and model, your system may also include:
-
Mounting hardware (screws, brackets)
-
Rubber vibration pads for the outdoor unit
-
Drain tubing (limited length)
-
Duct adapter plates (for flexible installations)
-
Factory wiring pre-installed inside key components
What’s Not in the Box—But You’ll Likely Need
Goodman systems are designed for flexible installation, which means some essential parts must be purchased separately:
❌ 1. Refrigerant Line Set
-
Choose length based on distance from condenser to air handler
-
Copper tubing for suction and liquid lines
-
Must be properly sized for system capacity
❌ 2. Electrical Whip and Disconnect Box
-
Required by code for outdoor unit
-
Not included in standard Goodman kits
❌ 3. Thermostat and Low-Voltage Wiring
-
May be included in bundles, but not guaranteed
-
Choose programmable or smart thermostat based on your needs
❌ 4. Drain Pan
-
Secondary drain pan recommended for attic installs
-
Not included with air handler or coil
❌ 5. Ductwork and Plenums
-
Fabricated on-site or purchased separately
-
Transitions may be needed to connect to existing ducts
How to Check for Missing or Damaged Items
When your Goodman boxes arrive, don’t just stack them in the garage. Here’s how to verify everything is in good condition:
✅ Unboxing Checklist
-
Compare shipping invoice with contents
-
Open boxes carefully and inspect for dents or crushed areas
-
Look for broken fins, leaks, or bent coil lines
-
Take photos of any damage before moving components
-
Notify your supplier immediately (within 24–48 hours is best)
Unboxing Tips: Prep Before You Store or Install
Once your gear is inspected and confirmed, keep it safe until installation:
-
Store indoors if possible to protect from rain, UV, and rodents
-
Do not remove protective wrapping until ready to install
-
Label components with room name or install location
-
Group accessories with matching equipment (e.g., coil and furnace)
Bonus: What DIYers Love About Goodman Packaging
Homeowners who unbox their own Goodman system consistently praise:
-
Clearly labeled components and stickers
-
Compact, stackable packaging
-
Readable instruction manuals
-
Pre-wired or color-coded terminals that reduce install time
-
Factory quality checks stamped inside the unit
Goodman’s packaging is designed to be installer-friendly, whether you’re a licensed pro or confident DIYer.
Video Link: Watch a Real Unboxing
Want to see what the process looks like? Check out our video walkthrough:
Watch: Unboxing a Goodman 3-Ton Split System Before Installation
Conclusion: Prep Smarter, Install Smoother
Unboxing your Goodman system is a simple but crucial step to ensure your installation goes smoothly. By confirming all your components are present and damage-free, you set the stage for a hassle-free install.
Before you grab your tools or call the HVAC pro, open those boxes, check your gear, and take inventory. Your comfort depends on it.
🔗 Related Resources:
Want help choosing accessories or tools for your Goodman install? Contact The Furnace Outlet and we’ll guide you every step of the way.
In the next topic we will know more about: How Much Does a Goodman HVAC System Cost in 2025? Real-World Quotes & Budgeting Tips


