Hi friends—Samantha here again!
When I first unboxed my MRCOOL Advantage 18,000 BTU Mini Split, I thought the hardest part was over. But here’s what I quickly learned: buying the unit is just step one. To get a clean, reliable, and long-lasting install, you also need the right accessories.
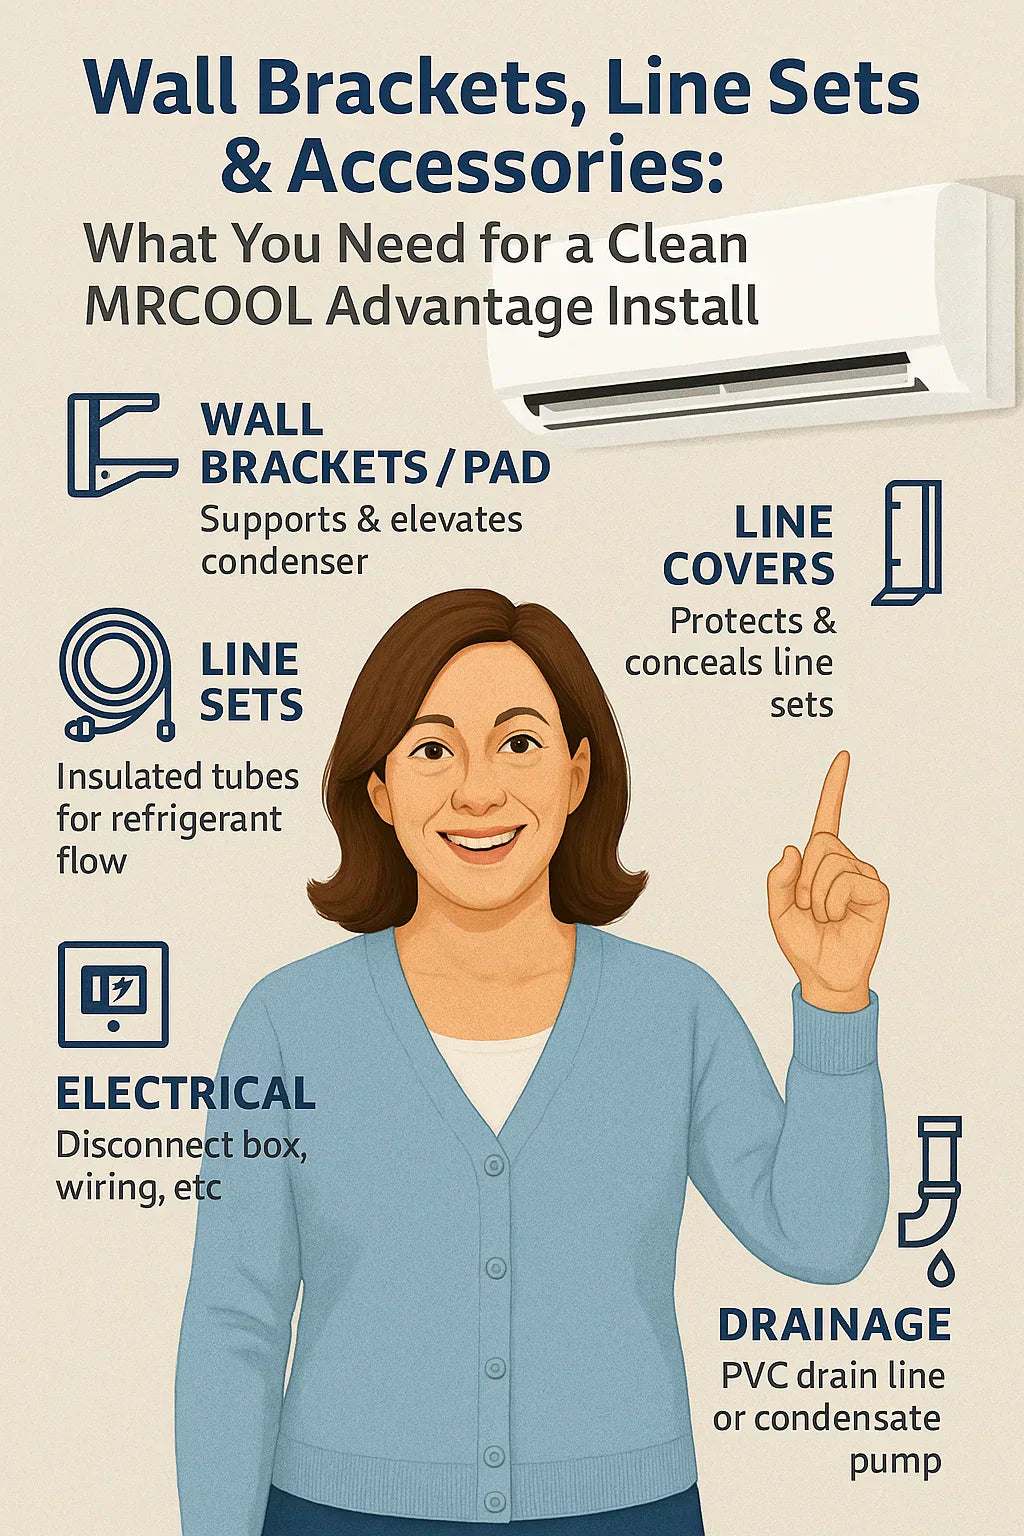
I’m talking about wall brackets, line sets, covers, electrical parts, and even small extras like vibration pads. These are the pieces that make the difference between a sloppy install that causes headaches later and a tidy setup that runs efficiently for years.
In this guide, I’ll share exactly what you need (and what you don’t), with cost ranges, installation tips, and a few lessons I learned along the way.
🪜 Wall Brackets & Condenser Pads
The outdoor condenser is the “engine” of your mini split. Where and how you mount it matters for both performance and longevity.
✅ Options for Mounting
1. Wall Brackets
-
Mount the condenser off the ground.
-
Keeps it safe from snow, dirt, and flooding.
-
Reduces vibration transfer to patios or decks.
-
Cost: $100–$200
2. Condenser Pads
-
A concrete or composite plastic base placed directly on the ground.
-
Stable, simple, and inexpensive.
-
Better for mild climates without heavy snow.
-
Cost: $50–$150
💡 Samantha’s Experience: I chose wall brackets because my backyard can get soggy after rain, and snow piles up in winter. Elevating the condenser gave me peace of mind and also cut down on vibration noise.
📦 Line Sets: The Lifeline of Your System
🔧 What They Do
Line sets are insulated copper tubes that carry refrigerant between your indoor air handler and outdoor condenser. Without them, your system can’t transfer heat.
📏 Sizing & Lengths
-
Standard lengths: 16–25 feet
-
Available in larger sizes if your indoor unit is far from the outdoor condenser.
-
Costs: $120–$250 depending on diameter and length
🚫 Mistakes to Avoid
-
Using the wrong diameter (must match your system).
-
Kinking or bending the copper line too tightly.
-
Leaving line sets exposed (they degrade in sunlight).
📌 Reference: Energy Star – Ductless Heat Pumps
💡 Samantha’s Tip: Measure carefully before you buy. I ended up needing an extra 5 feet, which cost me another $50 and delayed my install. Better to overestimate than underestimate!
🎨 Line Set Covers: The Finishing Touch
Line set covers are like the trim on your home—they don’t just look good, they also protect your investment.
✨ Why They Matter
-
Shield line sets from UV rays, rain, and wind.
-
Prevent accidental damage from pets, lawnmowers, or kids.
-
Make your install look professional instead of DIY.
-
Many covers are paintable to match your siding.
💲 Cost
-
$60–$150 depending on brand and length
📌 Reference: HVAC.com – Mini Split Install Accessories
💡 Samantha’s Tip: I painted my line set covers the same color as my siding, and now they practically disappear. It makes the whole install look seamless.
⚡ Electrical Accessories
No matter how handy you are, electricity isn’t something to take lightly. The MRCOOL Advantage requires dedicated electrical components to run safely and meet code.
🔌 Essentials
-
Disconnect Box: Required by code so technicians can safely cut power ($20–$50).
-
Breaker & Wiring: Dedicated breaker in your panel ($100–$300).
-
Surge Protector (optional but recommended): Protects your system from lightning or power surges ($50–$100).
📌 Reference: Carrier – Ductless Installation Insights
💡 Samantha’s Story: I hired an electrician for this part. It cost me about $250, but the peace of mind was worth every penny.
💧 Drainage Accessories
Mini splits naturally produce condensation while cooling. If it isn’t drained properly, you’ll end up with leaks, water damage, or mold.
🚰 Options
-
Gravity Drain Line: Simple PVC tubing that lets water flow outside ($20–$40).
-
Condensate Pump: If gravity isn’t possible (like in basements), a small pump pushes water outside ($100–$200).
📌 Reference: Energy.gov – Mini Split Overview
💡 Samantha’s Tip: If you can use gravity drainage, do it—it’s cheaper, simpler, and more reliable long term.
🏡 Extras That Make a Difference
These aren’t always required, but they can improve comfort, aesthetics, and system life.
🔇 Vibration Pads
Placed under the condenser feet to reduce humming or rattling. ($20–$40)
❄️ Snow & Wind Guards
Protect outdoor condenser coils in harsh winter climates. ($50–$200)
📱 Wi-Fi Smart Controller
Lets you control your mini split from your phone or via Alexa/Google. ($50–$120)
📌 Reference: MRCOOL Official Product Info
💡 Samantha’s Note: I added vibration pads after my first week—they cut down on low-level humming at night.
📊 Budget Breakdown
Here’s what a typical accessory budget looks like for a clean MRCOOL Advantage install:
| Accessory Type | Cost Range | Samantha’s Cost |
|---|---|---|
| Wall Brackets/Pad | $50–$200 | $150 (brackets) |
| Line Sets | $120–$250 | $180 |
| Line Set Covers | $60–$150 | $100 |
| Electrical Accessories | $100–$300 | $250 |
| Drainage Accessories | $20–$200 | $40 (PVC drain) |
| Extras (pads, guards) | $20–$200 | $50 |
👉 Total: $350–$700 depending on choices.
🏁 Conclusion
So, what do you really need for a clean MRCOOL Advantage install?
-
Wall brackets or condenser pad for stability
-
Line sets + covers for efficiency and aesthetics
-
Electrical accessories to keep it code-compliant
-
Drainage setup to prevent leaks
-
Optional extras like vibration pads and smart controllers
💡 Samantha’s Final Tip: “Don’t skimp on accessories. They may feel like extras, but they protect your investment, improve performance, and make your install look like a pro did it.”
In the next topic we will know more about: MRCOOL Advantage vs. MRCOOL DIY Series: Which One Should You Choose?


