There’s nothing worse than turning on your air conditioner on a hot day and realizing the air coming out feels warm. Or in the winter, you switch your through-the-wall unit to heat mode — and nothing but cold air blows.
Don’t panic — most of the time, this doesn’t mean your system’s dead. In fact, nearly 80% of wall AC problems can be solved with a few simple checks that don’t require a technician or special tools.
Best Through The Wall Air Conditioners
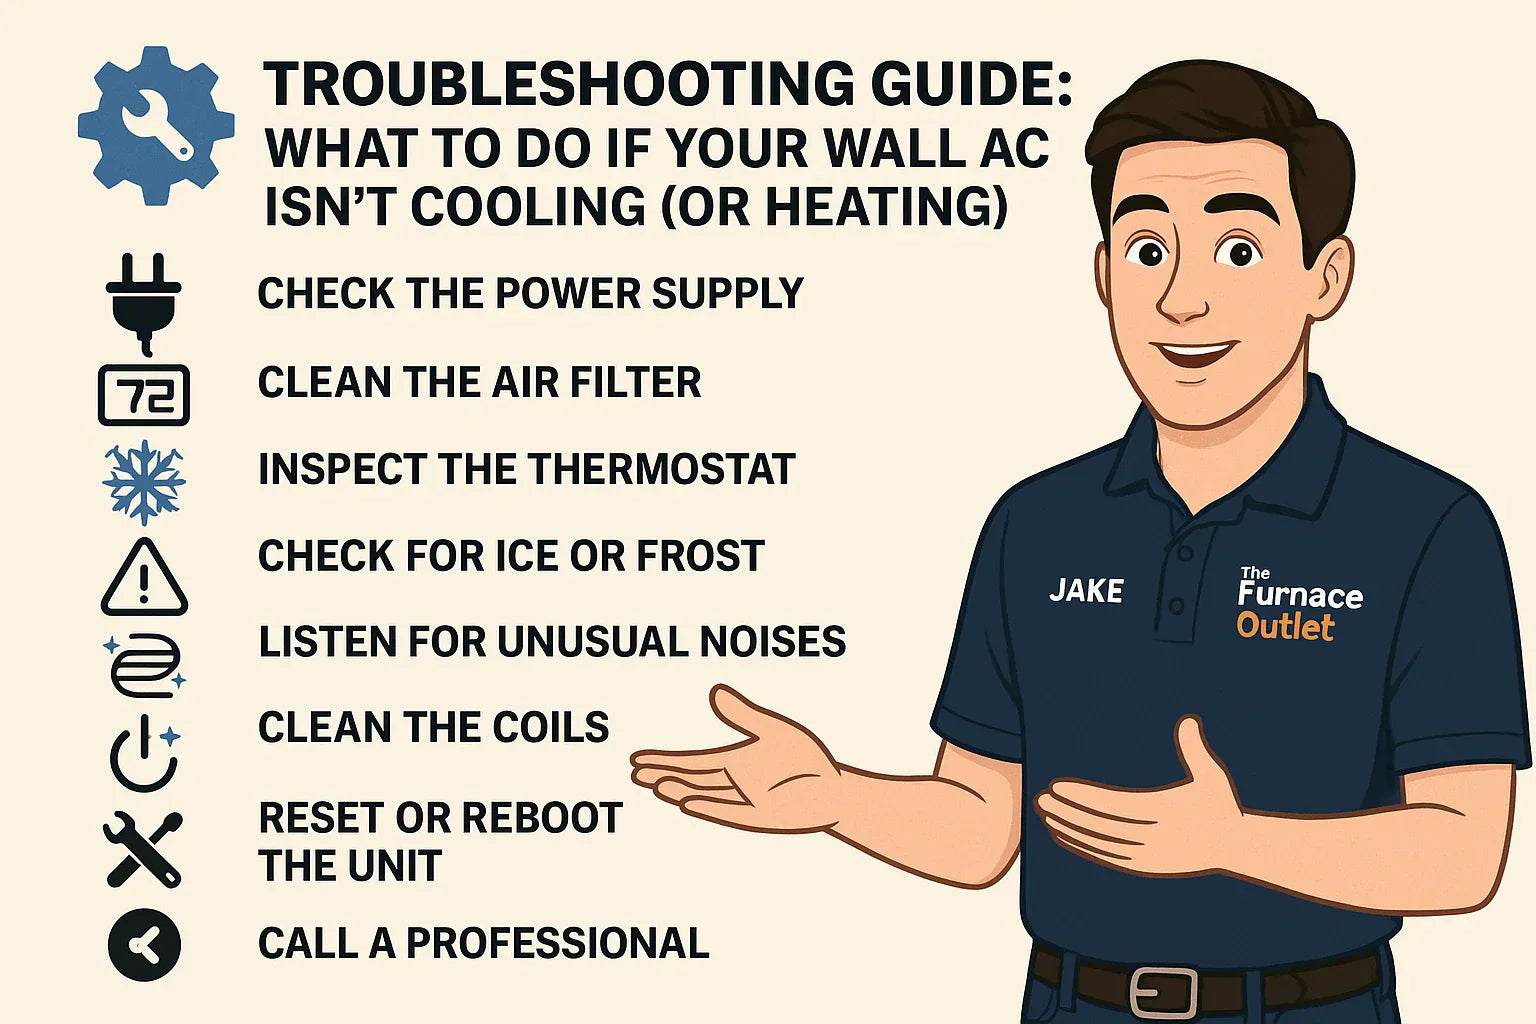
I’m Jake from The Furnace Outlet, and in this guide, I’ll walk you step-by-step through how to troubleshoot your through-the-wall AC or heat pump combo when it stops cooling or heating properly.
By the end, you’ll know how to:
✅ Diagnose the problem confidently
✅ Perform simple DIY fixes
✅ Know when it’s time to call a pro
Let’s dive in.
🧊 1. Don’t Panic — Your Wall AC Can Likely Be Fixed
Most through-the-wall air conditioners are built to last 10–15 years. They’re durable, simple, and made for long-term use — especially if you’ve maintained them.
If your unit isn’t cooling, heating, or turning on, the cause is often something simple: a dirty filter, a tripped breaker, or a clogged drain.
Before assuming the worst, start with these basic steps.
“Nine times out of ten, when I get a call about a wall unit that’s not cooling, it ends up being a filter or power issue — not a failed compressor.”
🔌 2. Step 1: Check the Power Supply
It sounds obvious, but power issues are the most common reason your wall AC won’t start or won’t blow cold air.
⚡ Here’s what to check:
-
Verify the outlet is working
Plug in another device (like a lamp or phone charger). If it doesn’t power up, the problem isn’t your AC — it’s your outlet. -
Reset your circuit breaker
Wall ACs draw a lot of current. A short surge can trip the breaker. Go to your electrical panel, find the corresponding breaker, and flip it off and back on. -
Check for a GFCI trip
If your outlet has a small reset button (common in bathrooms or older homes), press it firmly until it clicks. -
Inspect the plug and cord
Look for scorch marks, fraying, or loose plugs. Any heat or discoloration near the outlet means it’s time to replace that cord immediately. -
Press the reset button on the unit
Many models (GE, LG, Friedrich) include a small “RESET” button near the plug or control panel. Hold it for 5–10 seconds.
If power restores but your AC still doesn’t cool, move to the next step.
(Reference: Energy.gov – Room Air Conditioners)
💨 3. Step 2: Clean or Replace the Air Filter
A clogged air filter is the #1 cause of weak airflow and poor cooling performance.
When the filter gets dirty, the unit has to work harder to pull air through, reducing cooling output and even causing the coils to freeze.
🧽 How to Clean the Filter
-
Turn off and unplug the unit.
-
Remove the front grille (most pop off easily).
-
Pull out the filter.
-
If it’s reusable, rinse with warm, soapy water.
-
Let it dry completely before reinstalling.
Replace disposable filters every 3–6 months, depending on use.
Jake’s Tip:
“If you can’t see daylight through your filter, your AC can’t breathe through it either.”
After reinstalling, turn your unit back on and see if airflow improves.
(Cross-reference: Maintenance Tips to Keep Your Through-the-Wall AC Running Like New)
❄️ 4. Step 3: Inspect the Thermostat & Mode Settings
Sometimes the problem isn’t mechanical — it’s just the settings.
Modern wall ACs include multiple modes like Cool, Heat, Dry, and Fan Only. Accidentally setting it wrong can make the unit run without cooling or heating.
✅ Do a Quick Settings Check
-
Make sure the thermostat is set lower than room temperature when cooling, or higher when heating.
-
Confirm the unit is in Cool or Heat mode — not Fan or Dry.
-
If you’re using a remote, replace the batteries.
-
For smart models, verify that Wi-Fi or app settings haven’t overridden manual controls.
If you’ve ruled out settings and power, and it’s still blowing warm air, you might be dealing with an airflow or refrigerant issue.
🧊 5. Step 4: Check for Ice or Frost Buildup
If your AC runs but the air is weak or warm, shine a flashlight behind the grille.
Do you see frost or ice on the coils? That’s a red flag.
🧩 What Causes It:
-
Dirty filters or coils restricting airflow
-
Thermostat set too low
-
Low refrigerant levels
-
Fan motor failure
🧯 What to Do:
-
Turn off the unit immediately.
-
Set it to Fan Only mode for 1–2 hours to melt the ice.
-
Clean the filter and coil (see next section).
-
Restart the unit on Cool mode once it’s fully thawed.
If frost returns after a day or two, you may have a refrigerant leak — that’s a job for a licensed HVAC technician.
(Reference: Energy.gov – Maintaining Your Air Conditioner)
🧰 6. Step 5: Listen for Unusual Noises
A through-the-wall AC should hum quietly, not rattle, hiss, or buzz.
Each sound points to a different issue:
| Sound | Possible Cause | Fix |
|---|---|---|
| Rattling | Loose screws, fan blades hitting debris | Tighten or clean interior |
| Hissing | Refrigerant leak | Call an HVAC technician |
| Grinding | Worn motor bearings | Replace motor or fan assembly |
| Buzzing | Electrical short or capacitor issue | Unplug immediately |
| Clicking | Relay cycling or thermostat failure | Check mode settings or reset unit |
Jake’s Tip:
“If it’s louder than your refrigerator, something’s not right. Unplug it before it gets worse.”
(Reference: Air Conditioner Repair Costs)
🔥 7. Step 6: For Heat Pump Wall Units — When Heating Doesn’t Work
Many modern through-the-wall ACs also provide electric heat or heat pump functionality.
If yours stops heating, it could be one of these issues:
🔍 Check the Basics
-
Verify Heat Mode is selected, not Cool or Fan.
-
Raise the thermostat at least 5°F above current room temp.
-
Ensure outdoor vents aren’t blocked by debris or snow.
🧊 If It’s Blowing Cool Air in Heat Mode
-
Check for frost on the outdoor coil — your defrost cycle may be stuck.
-
Listen for clicking or buzzing — this can mean a faulty reversing valve.
-
Check your breaker — heat pump systems often run on a separate circuit.
If you have an electric heat kit installed, confirm it’s rated correctly (typically 3.5–5 kW). A burned-out element will stop producing heat even if the fan runs.
(Reference: EnergyStar.gov – Heat Pumps)
🧼 8. Step 7: Clean the Coils and Drainage
If your AC runs but doesn’t cool efficiently, your coils may be clogged.
When dust and grime build up, they trap heat inside instead of releasing it — causing poor performance and higher energy bills.
🧰 How to Clean the Coils
-
Unplug the unit.
-
Remove the front panel and gently vacuum the evaporator coil (inside).
-
Spray coil cleaner or a 50/50 mix of vinegar and water.
-
Allow it to foam for 5–10 minutes.
-
Rinse with a damp cloth or low-pressure spray.
For the condenser coil (rear), use a brush to clear debris.
Also, make sure the drain channel is open — water buildup reduces efficiency and can lead to mold.
(Reference: Family Handyman – AC Maintenance)
💧 9. Step 8: Inspect the Wall Sleeve & Drain Angle
Through-the-wall units rely on a sleeve installed in the wall to hold and support the chassis. If the sleeve isn’t angled correctly, condensation may drain inside instead of outdoors.
🧱 Quick Sleeve Check:
-
Your unit should tilt downward ¼ inch per foot toward the outside wall.
-
Remove debris or insulation blocking the drain holes.
-
Check for cracks or rust around the sleeve edges.
-
Reseal any gaps with exterior-grade silicone.
If the wall sleeve’s insulation is damp or damaged, it’s worth replacing — it directly affects efficiency and noise levels.
(Cross-link: Wall Sleeve 101 article)
💡 10. Step 9: Reset or Reboot the Unit
Many modern ACs include digital boards that can glitch after power surges or brownouts.
🔁 Try This Reset Procedure:
-
Unplug the unit for 60 seconds.
-
Hold the Power or Reset button for 5 seconds.
-
Plug it back in.
-
Restart in Cool or Heat mode.
If the display still flashes or doesn’t respond, your unit’s control board or capacitor might need replacement.
Most manufacturers (GE, LG, Friedrich) sell replacement control boards that can be swapped out easily by a technician.
🧰 11. Step 10: When to Call a Professional
Some issues are just not worth guessing at.
If you’ve worked through all these steps and your AC still refuses to cool or heat, it’s time to bring in an expert.
🚨 Call an HVAC Technician If:
-
You smell burning or electrical odors.
-
The breaker keeps tripping when you turn it on.
-
The compressor or fan motor won’t start.
-
Ice forms on the coils repeatedly.
-
The unit is over 10 years old and showing signs of wear.
A pro can check refrigerant pressure, test electrical components, and evaluate whether a recharge or part replacement is needed.
Jake’s Tip:
“Don’t ignore repeated issues. Fixing a refrigerant leak early is far cheaper than replacing a burnt-out compressor later.”
🧩 12. Troubleshooting Quick Reference Table
| Problem | Likely Cause | DIY Fix | Call a Pro? |
|---|---|---|---|
| AC won’t turn on | Power outage, tripped breaker | Check outlet and reset | — |
| Blowing warm air | Dirty filter or coil | Clean filter and coils | — |
| Frost forming | Low refrigerant or airflow | Melt ice, clean filter | ✅ |
| Water leaking inside | Clogged drain or wrong tilt | Clear drain, re-level | — |
| No heating in Heat Mode | Bad reversing valve or sensor | Check settings | ✅ |
| Buzzing or sparking | Electrical short | Unplug immediately | ✅ |
| Musty smell | Mold or moisture buildup | Clean coils, run fan-only | — |
Keep this table handy for quick diagnosis before calling a technician.
🔋 13. Prevent Future Problems
Prevention is easier (and cheaper) than repair. Follow these habits to keep your wall AC reliable for years:
-
🧽 Clean the filter monthly during heavy use.
-
🌬️ Vacuum coils every season.
-
💧 Check the drain channel before every summer.
-
⚙️ Run Fan-Only mode after use to dry out coils.
-
🧱 Seal the wall sleeve to prevent air leaks.
-
📆 Schedule annual tune-ups for older systems.
(Reference: Energy.gov – Air Conditioning Maintenance)
🧠 14. When It Might Be Time to Replace
If your system is:
-
Over 12 years old
-
No longer cooling efficiently even after cleaning
-
Using R-410A refrigerant (phasing out in favor of R-32)
-
Or costs more to repair than replace —
It may be time to consider a new ENERGY STAR-certified through-the-wall air conditioner.
Modern R-32 systems are quieter, more efficient, and eco-friendlier. Many also qualify for federal tax credits and local rebates.
(Cross-link: Energy Efficiency and Tax Credits article)
🏁 15. Jake’s Final Take
A through-the-wall air conditioner is one of the most dependable systems you can own — but like anything mechanical, it needs the right care and attention.
“When your wall AC isn’t cooling or heating, don’t assume it’s done for. Nine times out of ten, it’s a clogged filter, dirty coil, or blocked drain. With a little patience and a few basic tools, you can get it running like new again.”
So the next time your system acts up, run through this guide step-by-step. Odds are, you’ll fix it yourself — and if not, you’ll know exactly what to tell your technician, saving time and money.
In the next topic we will know more about: How Efficient Are Through-the-Wall ACs? Understanding EER, CEER & EnergyStar Ratings


