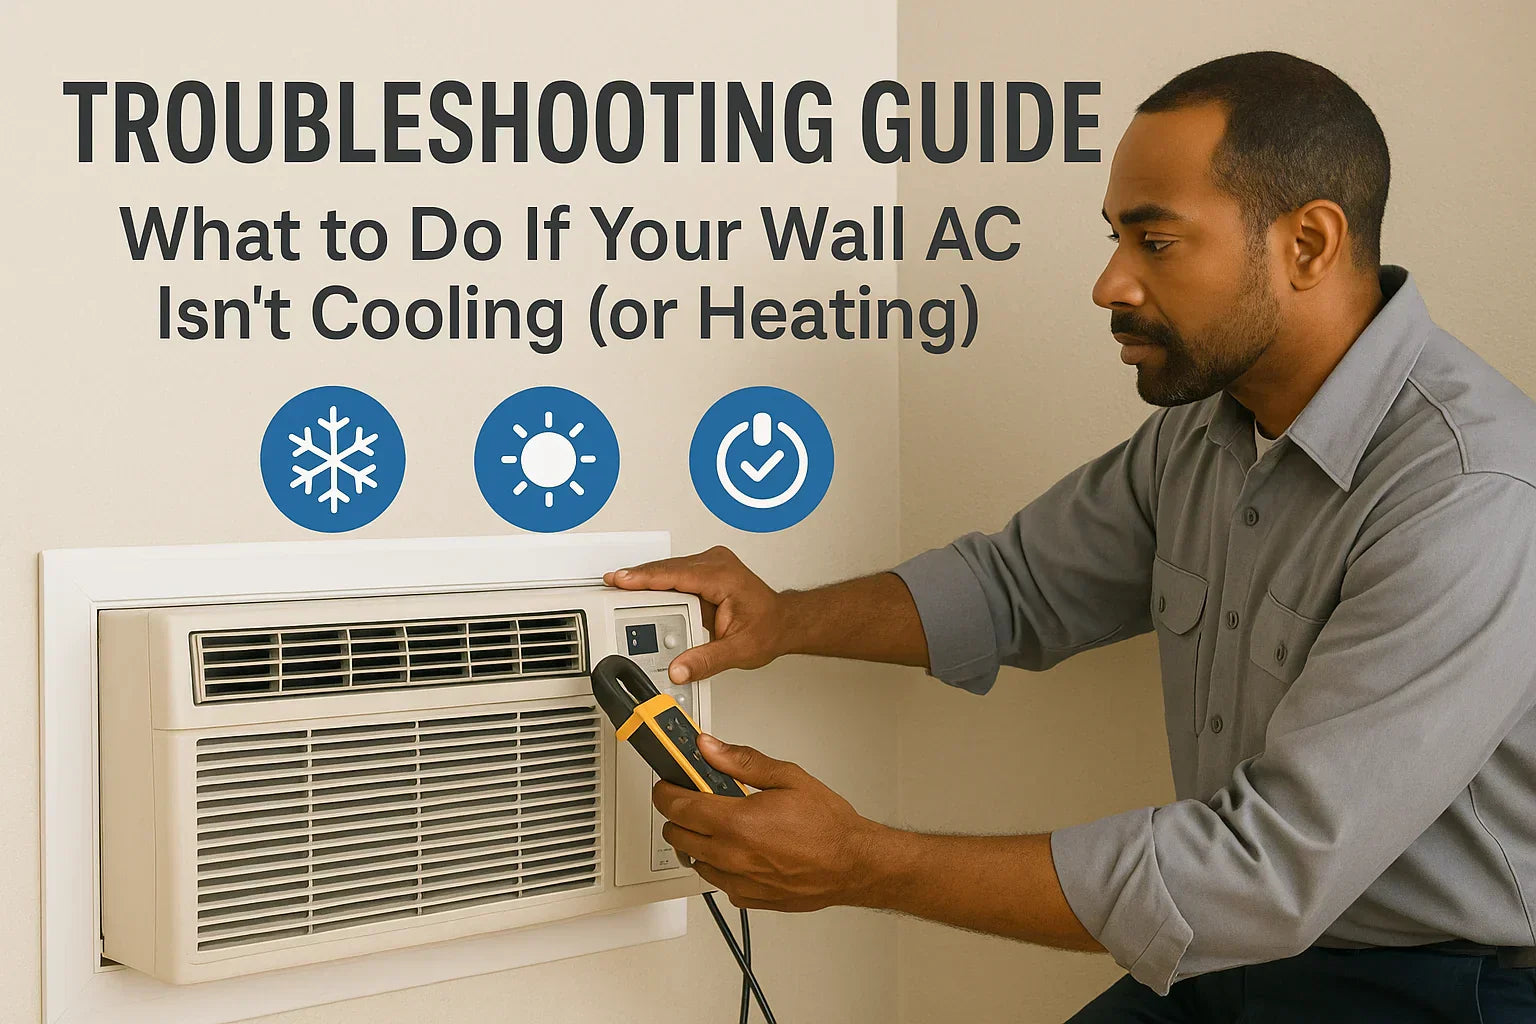
You flip on your through-the-wall air conditioner, expecting that cool rush of air — but instead, you get… nothing. Or worse, warm air.
Sound familiar?
You’re not alone. Even the best through-the-wall AC units occasionally lose their edge, especially after long months of use. But here’s the good news: most of the time, the problem isn’t serious — and you can fix it yourself in under an hour.
In this guide, we’ll walk step-by-step through what to check when your wall AC isn’t cooling or heating properly, so you can restore comfort quickly and confidently — without immediately calling a technician.
💬 Mark’s Perspective:
“I’ve been in HVAC service for over a decade, and nine times out of ten, a non-cooling wall unit isn’t broken — it’s dirty, clogged, or just set wrong.”
🏠 1. Understanding the Basics: How Your Wall AC Works
Before troubleshooting, it helps to know what’s happening behind the wall.
A through-the-wall air conditioner uses refrigeration principles to move heat, not create it. When cooling, it pulls warm air from your room, removes heat through an evaporator coil, and releases that heat outside through a condenser coil. When heating (in heat pump models), the process reverses.
Here are the key components doing the work:
-
Compressor – circulates refrigerant between coils.
-
Evaporator Coil – absorbs heat from indoor air.
-
Condenser Coil – releases heat outdoors.
-
Fan Blades – move air across both coils.
-
Thermostat/Control Board – tells the unit when to run cooling or heating cycles.
-
Drainage System – removes condensation formed during operation.
Understanding these parts makes it easier to pinpoint where things go wrong.
Learn more:
➡️ HowStuffWorks – How Air Conditioners Work
🌬️ 2. The Most Common Symptoms (and What They Mean)
When your wall AC isn’t cooling or heating, start by noting exactly what’s happening. The pattern usually hints at the cause.
| Symptom | Likely Issue |
|---|---|
| Blows warm air on Cool | Dirty filters, incorrect mode, or frozen coils |
| Won’t turn on | Power issue, breaker tripped, or bad outlet |
| Runs but doesn’t cool | Low refrigerant or blocked airflow |
| Leaks water | Drainage or tilt issue |
| Blows cold air on Heat | Defrost cycle or faulty reversing valve |
| Loud or rattling | Loose parts, dirt buildup, or damaged fan |
🧠 Mark’s Advice:
“The key to troubleshooting is working from easiest to hardest — start with power and airflow before diving into internal components.”
⚙️ 3. Step One: Check Power and Controls
Before opening panels or buying parts, confirm that your AC actually has power and is set correctly.
🔌 Power Checklist:
-
Verify it’s plugged in securely.
Avoid extension cords — wall units require full amperage. -
Test the outlet using another appliance (like a lamp).
-
Check the breaker panel.
Look for tripped breakers or blown fuses. Reset if necessary. -
Press the reset button on your AC’s plug (some models include this feature).
-
Inspect the cord for heat marks or fraying.
🕹️ Settings Checklist:
-
Mode should be set to Cool (not Fan or Dry).
-
Temperature should be 3–5°F below current room temp.
-
Fan speed: medium or high for better airflow.
-
For heating units, make sure “Heat” is selected and fan speed is normal.
💬 Mark’s Tip:
“You’d be surprised how many service calls are fixed by just changing the mode from ‘Fan’ to ‘Cool.’ It happens all the time.”
Reference: The Spruce – AC Not Turning On
🧽 4. Step Two: Check the Air Filter (and Clean It Monthly)
A clogged filter is the number one cause of weak cooling and poor airflow. It forces your system to work harder and can even freeze the evaporator coil.
🧰 What To Do:
-
Turn off and unplug the unit.
-
Remove the front grille and slide out the filter.
-
Rinse it gently with warm water or mild soap.
-
Let it dry completely before reinserting.
If it’s torn or heavily discolored, replace it. Most filters should be cleaned monthly and replaced every 6–12 months.
🧠 Mark’s Reminder:
“I tell every homeowner: clean the filter every four weeks. It’s the cheapest and most effective maintenance you can do.”
Reference: ENERGY STAR – Room Air Conditioner Tips
❄️ 5. Step Three: Check for Frozen Coils
If your wall unit runs but air feels warm or weak, ice buildup on the evaporator coil may be the problem.
🧊 Signs of Frozen Coils:
-
Airflow feels weak or nonexistent.
-
You hear hissing sounds.
-
You see frost inside the front grille.
🧯 How to Fix:
-
Turn off the unit and unplug it.
-
Let the ice melt completely (use towels underneath to catch drips).
-
Clean the coils with coil cleaner or a soft brush.
-
Restart after 2–3 hours.
-
Check that the fan and filter are clean — restricted airflow causes re-freezing.
If it happens again, you might have a low refrigerant level — a job for a licensed HVAC technician.
Reference: Family Handyman – Air Conditioner Not Cooling
🔥 6. Step Four: If It’s a Heat Pump, Check Heating Mode
Through-the-wall ACs with heating functions use heat pump technology, which can behave differently than you might expect.
Common “Cold Heat” Issues:
| Problem | Fix |
|---|---|
| Unit set to wrong mode | Switch to “Heat” mode |
| Outdoor coil dirty | Clean with coil-safe cleaner |
| Defrost mode active | Wait 5–10 minutes; system will resume heating |
| Low refrigerant | Professional inspection required |
| Reversing valve malfunction | Requires service technician |
💬 Mark’s Experience:
“Heat pumps go into defrost mode during cold weather — it might blow cool air for a few minutes. Don’t panic unless it stays that way.”
Reference: Energy.gov – Heat Pump Troubleshooting
💧 7. Step Five: Address Water Leaks and Moisture
Water leaking inside your home means your condensate drainage isn’t working properly.
Check These Areas:
-
Drain hole or pan may be clogged — use a straw or pipe cleaner to clear it.
-
Tilt angle: The unit should lean slightly outward (¼ inch) to drain water outdoors.
-
Foam insulation or dust buildup can trap moisture.
If water drips only in humid weather, it’s often normal condensation — but constant leaks mean drainage needs cleaning.
🧰 Mark’s Tip:
“Don’t seal your unit too tightly into the wall sleeve — it needs that tiny slope to drain right.”
Reference: The Spruce – Fixing AC Water Leaks
🔇 8. Step Six: Eliminate Unusual Noises
Through-the-wall units are generally quiet, so any new sounds deserve attention.
| Noise Type | Likely Cause | Fix |
|---|---|---|
| Rattling | Loose grille or screws | Tighten panels |
| Buzzing | Dirt in fan motor | Clean coils/fan |
| Humming | Compressor cycling | Normal |
| Grinding | Motor bearings worn | Turn off & call a pro |
💬 Mark’s Rule:
“If it rattles, it’s mechanical. If it buzzes or smells, it’s electrical. Handle accordingly.”
A soft vibration is normal, but metallic or grinding sounds are not.
🌡️ 9. Step Seven: Check Temperature Accuracy
Sometimes the system works fine — but reads temperature wrong.
-
Place a thermometer near the unit.
-
Compare it with the thermostat reading.
-
If there’s a 3°F or greater difference, recalibrate or replace the thermostat.
Smart wall units (like GE SmartHQ or LG ThinQ) often let you recalibrate via their mobile apps.
🧰 10. Step Eight: Clean the Condenser Coils
If your unit runs constantly but doesn’t cool efficiently, the outside condenser coil might be coated in dust or pollen. This traps heat and prevents efficient cooling.
Cleaning Steps:
-
Unplug the unit.
-
Remove exterior grille or back panel.
-
Vacuum the fins gently.
-
Spray with coil cleaner and let it foam.
-
Rinse carefully (avoid soaking electrical components).
-
Straighten bent fins with a fin comb.
Clean coils can improve performance by up to 20% and reduce energy use significantly.
Reference: Energy.gov – Air Conditioner Maintenance Tips
🧠 11. Troubleshooting Quick Reference Chart
| Problem | Likely Cause | Quick Fix |
|---|---|---|
| AC not turning on | Power or outlet issue | Reset breaker, test outlet |
| Blowing warm air | Dirty filter or frozen coil | Clean and thaw |
| Weak airflow | Fan blocked or dirty | Clean fan and vent |
| Leaking water | Drain clogged or wrong tilt | Clear drain, adjust angle |
| Loud noise | Loose screw or fan issue | Tighten and clean |
| Not heating | Wrong mode or coil dirt | Switch to heat, clean coil |
🧾 12. When to Call a Professional
If you’ve tried all DIY fixes but the issue persists, call a certified HVAC technician.
Call for Service When:
-
The compressor runs constantly or not at all.
-
You suspect a refrigerant leak (hissing, no cooling).
-
The unit trips breakers repeatedly.
-
You notice burning smells or melted wires.
-
Airflow is zero even after cleaning filters and fans.
Typical Repair Costs:
| Repair Type | Cost Range |
|---|---|
| Refrigerant Recharge | $150–$400 |
| Fan Motor Replacement | $200–$350 |
| Compressor Repair | $500–$800 |
| Control Board Replacement | $150–$300 |
💬 Mark’s Perspective:
“Don’t open refrigerant lines or wiring yourself — you could void your warranty. For anything electrical or sealed, call a pro.”
🧹 13. Preventing Future Problems
The best troubleshooting is prevention. Here’s Mark’s easy Wall AC Maintenance Calendar:
| Season | To-Do List |
|---|---|
| Spring | Deep clean coils, check sleeve, test cooling mode |
| Summer | Clean filter monthly, clear drain hole |
| Fall | Switch to heat mode, inspect electrical connections |
| Winter | Cover exterior vent, vacuum interior sleeve |
💡 Mark’s Tip:
“Run your unit in Fan Mode for 15 minutes once a month, even off-season. It keeps parts lubricated and prevents mildew.”
🔋 14. How Maintenance Saves You Money
| Preventive Step | Issue Avoided | Annual Savings |
|---|---|---|
| Filter cleaning | Overworked compressor | $75–$100 in energy costs |
| Coil cleaning | Poor cooling efficiency | $40–$60 |
| Drain clearing | Water damage repairs | $150+ |
| Seal inspection | Air leakage | $50–$75 |
Even small habits like filter cleaning can extend your system’s life by several years.
🧠 15. Mark’s Real-World Troubleshooting Story
“A customer once called me because their wall AC wasn’t cooling. When I arrived, I found the filter was packed solid with pet hair, and the unit had frozen. I cleaned the filter, defrosted the coils, and it was back to normal within 45 minutes.
The total cost? Zero dollars.
It’s always the simple stuff first.”
🏁 16. Final Thoughts: Simple Fixes, Big Payoffs
Through-the-wall air conditioners are built tough. With just a little DIY care, most problems are simple to identify and fix yourself.
Quick Recap:
✅ Check your power and settings first.
✅ Clean your filter and coils regularly.
✅ Keep your drain hole clear and unit slightly tilted.
✅ Don’t ignore unusual noises or weak airflow.
✅ Call a pro for refrigerant or electrical issues.
💬 Mark’s Final Word:
“If you stay ahead of dirt and airflow issues, your wall AC will outlast most window units by years — and you’ll save a fortune in service calls.”
In the next topic we will know more about: Do These Units Work in the Winter? Heating Options for Year-Round Comfort


