🔧 Tools and Materials You’ll Need
-
Tape measure & level
-
Stud finder
-
Drywall saw or reciprocating saw
-
Drill & masonry bit
-
Wall sleeve (usually sold separately)
-
Caulk & weatherproof sealant
-
Through-the-wall AC unit
-
Support brackets (optional but recommended)
📚 Source: Lowe’s – Wall AC Installation Guide
📐 Step 1: Choose the Location
Pick a spot:
-
On an exterior wall (not an interior or load-bearing one)
-
Between studs, away from electrical/plumbing
-
Near an electrical outlet (check amperage requirements!)
Use a stud finder to avoid framing and mark out the wall opening size per your unit’s manual.
🪚 Step 2: Cut the Wall Opening
-
Turn off power to the area.
-
Mark the cutout for the sleeve using a level and pencil.
-
Use a drywall saw to cut through the interior wall, then a reciprocating saw for the exterior wall and sheathing.
-
Remove insulation and reinforce framing if needed.
Pro Tip: If your wall is brick or masonry, use a masonry blade or hire a pro for safe cutting.
🧱 Step 3: Install the Sleeve
Slide in the metal wall sleeve, ensuring it’s sloped slightly outward for proper drainage. Use shims to level it and secure it to wall framing with screws.
Apply weatherproof caulk around all edges—especially on the outside—to prevent leaks and drafts.
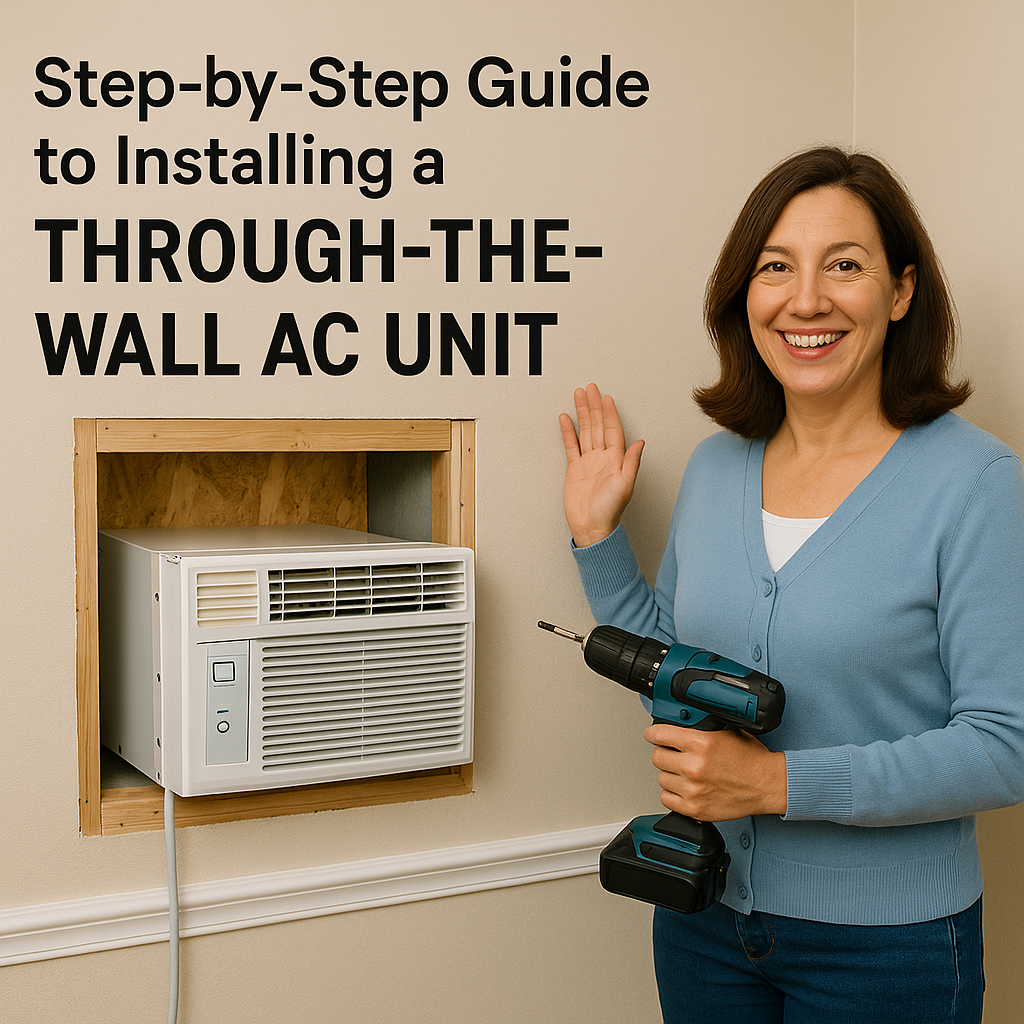
❄️ Step 4: Insert and Secure the AC Unit
-
Carefully slide the AC into the sleeve until it locks or stops.
-
Secure the front grille and fasten any mounting hardware.
-
Plug it in or connect to the dedicated circuit (some higher BTU models may require 230V).
Check operation and listen for unusual vibrations—reposition if needed.
📚 Source: GE Appliances – TTW AC Installation Tips
🧼 Step 5: Seal and Finish
-
Apply interior caulking or trim for a clean indoor look
-
Test the unit’s drainage and airflow
-
Register your warranty online if available
🧠 Final Tips for Savvy Homeowners
-
Measure twice, cut once—be precise with your framing
-
Always slope the sleeve slightly downward to the outside
-
Consider an insulated wall sleeve for better energy performance
-
If unsure, hire a licensed HVAC tech for electrical hookup
🔚 Wrap-Up: Is DIY Right for You?
Installing a TTW unit like the Amana 11,800 BTU AC can save you hundreds in professional labor, while giving you full control over placement and sealing.
If you enjoy hands-on projects and have basic carpentry tools, this could be your next weekend win.
In the next topc you will read about: Do You Need a Sleeve for Your Through-the-Wall AC?


