When folks shop for a garage or workshop heater, they almost always size it for right now.
They measure their square footage, check their ceiling height, run the BTU calculator — and then buy the exact model that covers that number.
But here’s the thing: most garages, workshops, and home businesses don’t stay the same for long. You add a new toolbench, insulate the walls, maybe build a second bay or close off a small office.
👉 Try the Reznor UDX 60k Propane Unit Heater — it’s efficient, quiet, and flexible for future expansion.
And before you know it, that “perfectly sized” heater from year one starts to feel undersized.
“I’ve lost count of how many people call me two winters in, saying their 45,000 BTU unit just can’t keep up anymore. Nine times out of ten, the problem isn’t the heater — it’s that their shop outgrew it.”
That’s why I always tell my customers:
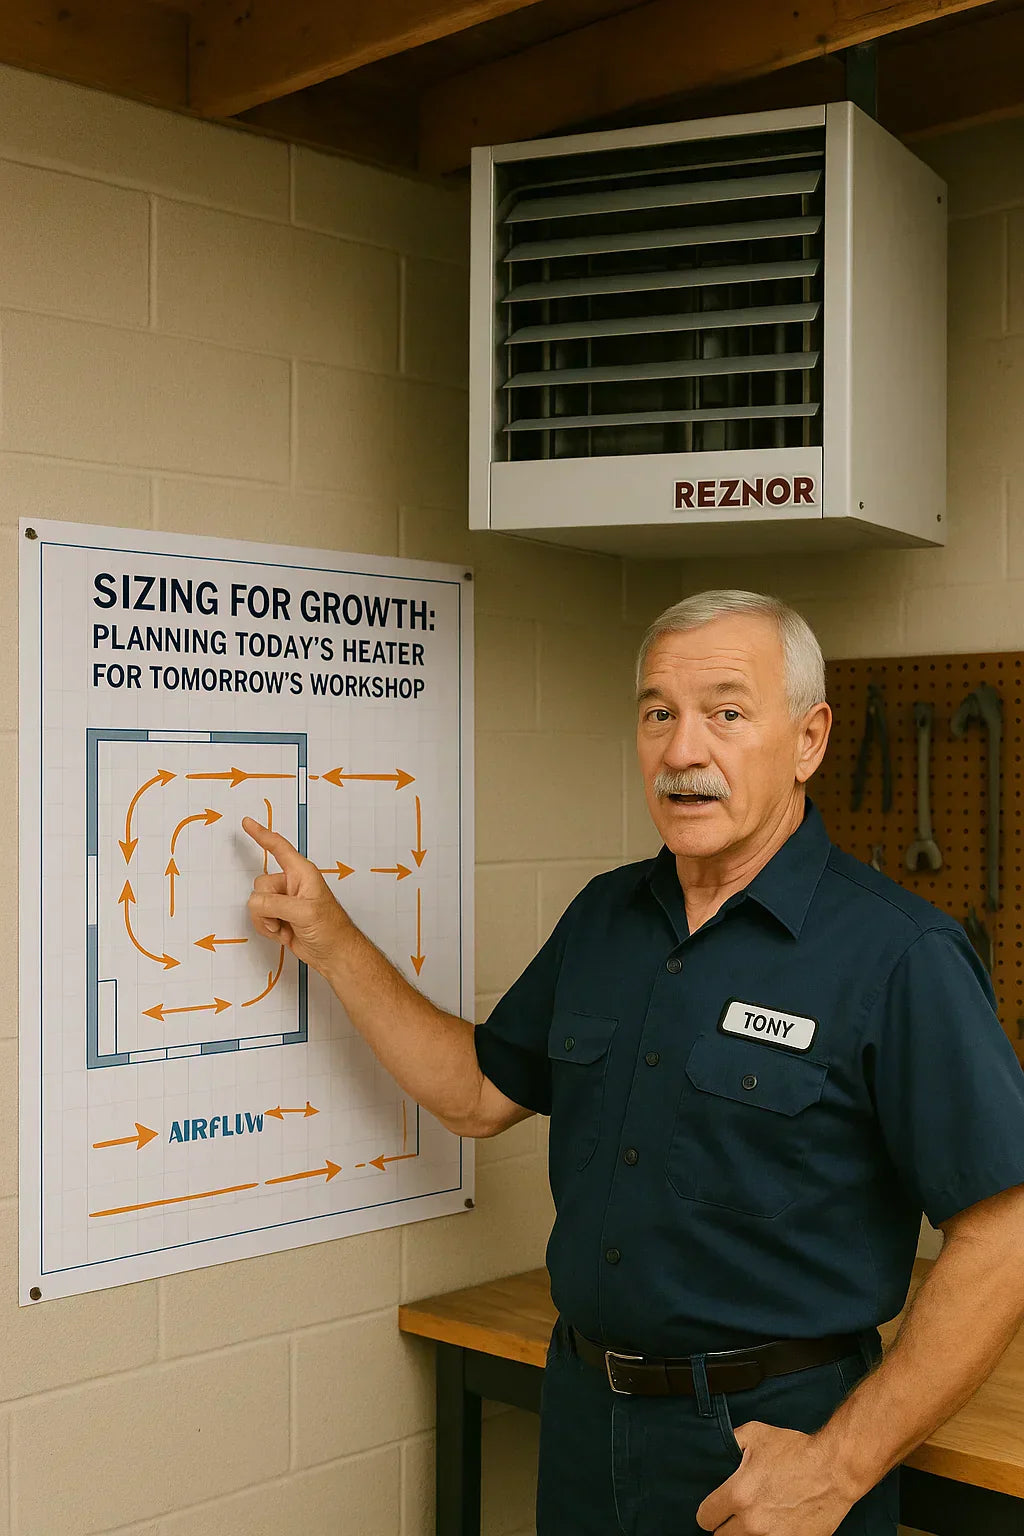
Don’t just size your heater for today’s space. Size it for tomorrow’s upgrades.
In this guide, I’ll show you how to plan ahead — how to pick a heater that’s efficient now but still strong enough to handle your workshop’s future.
We’ll cover:
-
What “growth” really means for a workshop
-
How to factor expansion, insulation, and tools into your BTU sizing
-
When it’s smart to size up (and when it’s not)
-
How to future-proof your setup so you never waste money
🧱 1. The Problem with “Just Enough” Sizing
When you start from scratch, it’s tempting to pick the smallest heater that fits your math.
Let’s say your garage is 20x24 feet, 8 feet tall — that’s 480 square feet, or about 4,000 cubic feet of air.
You plug that into a BTU calculator, get something around 30,000 BTUs for a moderate climate, and call it good.
For now, it works. The garage warms up, your tools don’t freeze, and life’s good.
But next year you decide to add a wall, insulate better, and set up a small office corner. Suddenly, you’ve changed how the air moves and how the heat distributes.
Now your single 30k heater struggles to keep the new space balanced — even though your total square footage didn’t change that much.
Or maybe you extend the garage, add a second bay, or start keeping the door open longer for projects.
Every one of those changes alters your heat load — and your heater doesn’t know how to adjust.
Tony’s rule:
“If you know you’re the kind of person who’s always improving your space, size your heater like you size your boots — with a little room to grow.”
🧮 2. What “Growth” Really Means for a Workshop
When I say “plan for growth,” most people think I mean adding square footage.
But that’s only one part of the equation.
Growth can mean:
-
Adding insulation or finishing the walls
-
Creating separate temperature zones (like an office)
-
Installing ventilation fans or dust collectors
-
Increasing ceiling height
-
Or simply changing how often the doors open
Each of these changes affects how your heater performs — even if the overall size doesn’t change much.
Let’s say you add an exhaust fan to your auto shop. Every minute that fan runs, you’re pulling warm air out and sucking in cold air from outside.
That could easily add 10–15% more BTU demand.
Or you build a small enclosed office with drywall and insulation — now that office might hold heat well, but the main workshop loses some airflow circulation.
Growth isn’t just about square feet — it’s about airflow, insulation, and how your shop actually breathes.
🔧 3. The BTU Math Behind Expansion
You can plan for this kind of growth easily by building a “future buffer” into your BTU calculation.
Here’s the formula I use in the field:
BTUs = (Square Footage × Ceiling Height ÷ 8) × Climate Multiplier × Insulation Factor
Then, if you expect any expansion in the next 3–5 years, add 10–25% to that number.
Example
Let’s take a 20x24x9 garage (480 sq. ft.).
You live in Michigan (cold climate ×50).
Your insulation is decent (×1.1).
(480 × 9 ÷ 8) × 50 × 1.1 = 29,700 BTUs
That’s your base load — for today.
Now let’s say you plan to add a second bay or partition off a 10x10 office. That’s about a 25% increase in total volume or airflow complexity.
29,700 × 1.25 = 37,125 BTUs.
A 30k unit might feel fine now, but when you add that bay or office, it’ll be underpowered.
A 45k unit, though? That’ll handle today’s load easily and be ready for what’s next.
Tony’s take:
“Buy once, heat twice. It’s cheaper to add 10k BTUs now than buy a second heater later.”
🏗️ 4. Sizing for More Than Space
🔹 Equipment and Ventilation
Every exhaust fan, dust collector, or air compressor that moves air out of your shop forces cold air in.
That’s extra load your heater has to overcome.
And while those systems might not run all the time, even occasional use adds up.
-
For light exhaust use: add 5% BTUs
-
For heavy ventilation (paint booths, dust collection, auto shops): add 10–15%
Tony’s example:
“I had a customer with two 1,200 CFM exhaust fans in his woodworking shop. His 60k heater worked like a 45k because he was bleeding warm air out faster than it could replace it.”
🔹 Ceiling Height Changes
If you plan to raise your ceiling or build a loft, you’ll need more heating power — and better circulation.
For every extra foot over 8 feet in ceiling height, add 5% BTUs.
-
8 ft = base load
-
10 ft = +10% BTUs
-
12 ft = +20% BTUs
💡 5. Don’t Oversize Without Purpose
Now here’s where people go wrong: they hear “plan for the future” and double their heater size.
That’s a mistake.
A heater that’s too big for your space can short-cycle — turning on and off too quickly. That leads to:
-
Wasted energy
-
Inconsistent temperatures
-
Extra wear and tear on the equipment
Your goal isn’t to overpower the room — it’s to right-size with intention.
Tony’s rule:
“Go up one size, not two. You’re planning ahead, not heating a warehouse.”
If your math says you need 45,000 BTUs, it’s fine to buy a 60k unit — but don’t jump to 80k “just in case.”
🧱 6. How Layout Changes Affect Sizing
When you change your shop layout, you change how heat moves.
🔹 Adding Rooms or Zones
If you add a small office or storage area, your heater might need help distributing air evenly.
Options include:
-
Installing transfer vents between rooms
-
Adding a circulation fan
-
Running short ducts from your unit heater
If your office is insulated separately, it might need its own small supplemental heater.
Tony’s advice:
“If you can’t see your main heater from the office door, it probably can’t heat that room evenly.”
🔹 Adding a Partition or Bay
Divide your garage in half, and now one side may trap heat while the other loses it faster.
Plan your mounting so your heater can cover both zones — or leave a spot open for a second unit later.
⚙️ 7. The Hidden Benefits of Future-Sizing
A heater with a 10–20% capacity buffer gives you more than just peace of mind.
🔹 1. Faster Warm-Up
A slightly larger heater reaches set temperature quicker — ideal for garages you heat intermittently.
🔹 2. Longer Equipment Life
A unit that doesn’t have to run constantly lasts longer. It cycles less often, burns cleaner, and stays quieter.
🔹 3. Flexible Efficiency
If you later insulate your garage or seal the doors, that same heater will run less often — using its buffer as built-in efficiency.
Tony’s insight:
“I’d rather see a 60k heater idling at 50% output all winter than a 45k gasping at full throttle.”
🔋 8. Infrastructure: Plan It Once, Use It Twice
If you think you’ll ever add another heater or expand your shop, plan your infrastructure now.
🔹 Mounting
-
Mount your heater where airflow can expand — not in a corner.
-
Leave 3–4 feet of wall space for a potential second unit.
🔹 Fuel and Power
-
Use slightly oversized gas lines to handle a potential second heater.
-
Leave an extra breaker slot in your electrical panel.
-
Install an outlet nearby for fans or thermostats.
🔹 Venting
-
Choose sidewall venting that’s easy to extend or duplicate.
-
Keep clear access to vent ports in case you expand later.
Tony’s field tip:
“It costs $40 more in pipe and wiring to plan ahead. It costs $400 later to redo it.”
🧯 9. Real-World Example: Mike’s Workshop Upgrade
Year 1:
Mike had a 20x20 single-bay garage with bare walls and a 45k BTU Reznor heater. It worked great — heated fast, low bills.
Year 2:
He built a small 12x20 addition for tools and insulation. Same heater now struggled to hold 60°F in January.
Year 3:
We added a second 30k Reznor on the opposite wall, each controlled by a single thermostat.
The result? Even 65°F across both rooms, lower runtime per unit, and 15% less propane use than before.
Mike’s takeaway:
“I should’ve planned for two zones from the start. It would’ve saved me a whole weekend and a hundred bucks in fittings.”
🧰 10. The Smart Upgrade Path
If you’re building your workshop or garage in phases, here’s the sequence I recommend:
Phase 1: Install for current size with 10–20% extra BTU buffer.
Pick a reliable unit heater, like the Reznor UDX 60,000 BTU Propane Unit Heater.
Phase 2: Improve airflow before upgrading BTUs.
Add a ceiling or wall fan to push heat around evenly.
Phase 3: When expanding, add a second unit or zone.
Two medium heaters often outperform one oversized one — and you can control each area independently.
Tony’s take:
“Two 45s beat one 90 any day. You get faster warm-up, better coverage, and less wasted heat.”
🧠 11. Tony’s Future-Proofing Checklist
Here’s how to make sure your system can handle whatever you throw at it later:
✅ Sizing
-
Add 10–25% BTUs for planned expansion
-
Account for ventilation or added tools
✅ Mounting
-
Leave wall space for a second unit
-
Mount where airflow reaches future zones
✅ Power & Fuel
-
Slightly oversize gas line diameter
-
Add spare breaker or outlet for fans
✅ Airflow
-
Add ceiling fan(s) now — saves hassle later
-
Keep open pathways for circulation
Tony’s note:
“You can’t see future BTUs, but you can make room for them.”
🔥 12. Recommended Heaters That Grow with You
| Model | BTU | Fuel | Best Use |
|---|---|---|---|
| Reznor UDX 60k | 60,000 | Propane/Natural Gas | Small-to-mid garages with growth plans |
| Hot Dawg HD75 | 75,000 | Propane | Workshops expecting added bays |
| Goodman GMVC96 80k | 80,000 | Natural Gas | Large shops or commercial projects |
🧩 13. BTU Planning Table for Expansion
| Current Area | Planned Expansion | Base BTUs | Future BTUs | Recommended Size |
|---|---|---|---|---|
| 400 sq. ft. | +25% | 25,000 | 31,000 | 30–35k |
| 600 sq. ft. | +25% | 35,000 | 44,000 | 45–50k |
| 800 sq. ft. | +30% | 45,000 | 58,000 | 60–65k |
| 1,000 sq. ft. | +40% | 50,000 | 70,000 | 75–80k |
💬 14. Common Future-Sizing Mistakes (and Fixes)
| Mistake | Result | Fix |
|---|---|---|
| Oversizing by 2–3 models | Short cycling | Add fans or zoning |
| Ignoring venting for future | Costly rework later | Use flexible vent path |
| No air circulation plan | Uneven temps | Install ceiling fans early |
| No electrical capacity left | Can’t expand later | Add circuit now |
| Buying cheap to “upgrade later” | Replacements cost more | Buy efficient from the start |
🏁 15. Tony’s Final Word — “Buy for the Shop You’re Building, Not the One You Have”
When it comes to heating, planning ahead isn’t about wasting money — it’s about saving time, energy, and headaches down the line.
Your workshop is going to change. You’ll add tools, upgrade insulation, maybe even knock out a wall.
If your heater’s ready for that, you’ll never have to start over.
“Every good shop starts small. But the smart ones heat like they’re going to be big.”
So before you order your unit, take ten extra minutes to think about what your space will look like in three years — not just three months.
It’ll be the best “future investment” you make this winter.
👉 Check out the Furnace Outlet Sizing Guide for tools that help you size for your current — and future — workshop layout.
Buy this on Amazon at: https://amzn.to/4oCrGcV
In the next topic we will know more about: How Many BTUs Do You Really Need for a Two-Car Garage? A Sizing Guide That Actually Works


