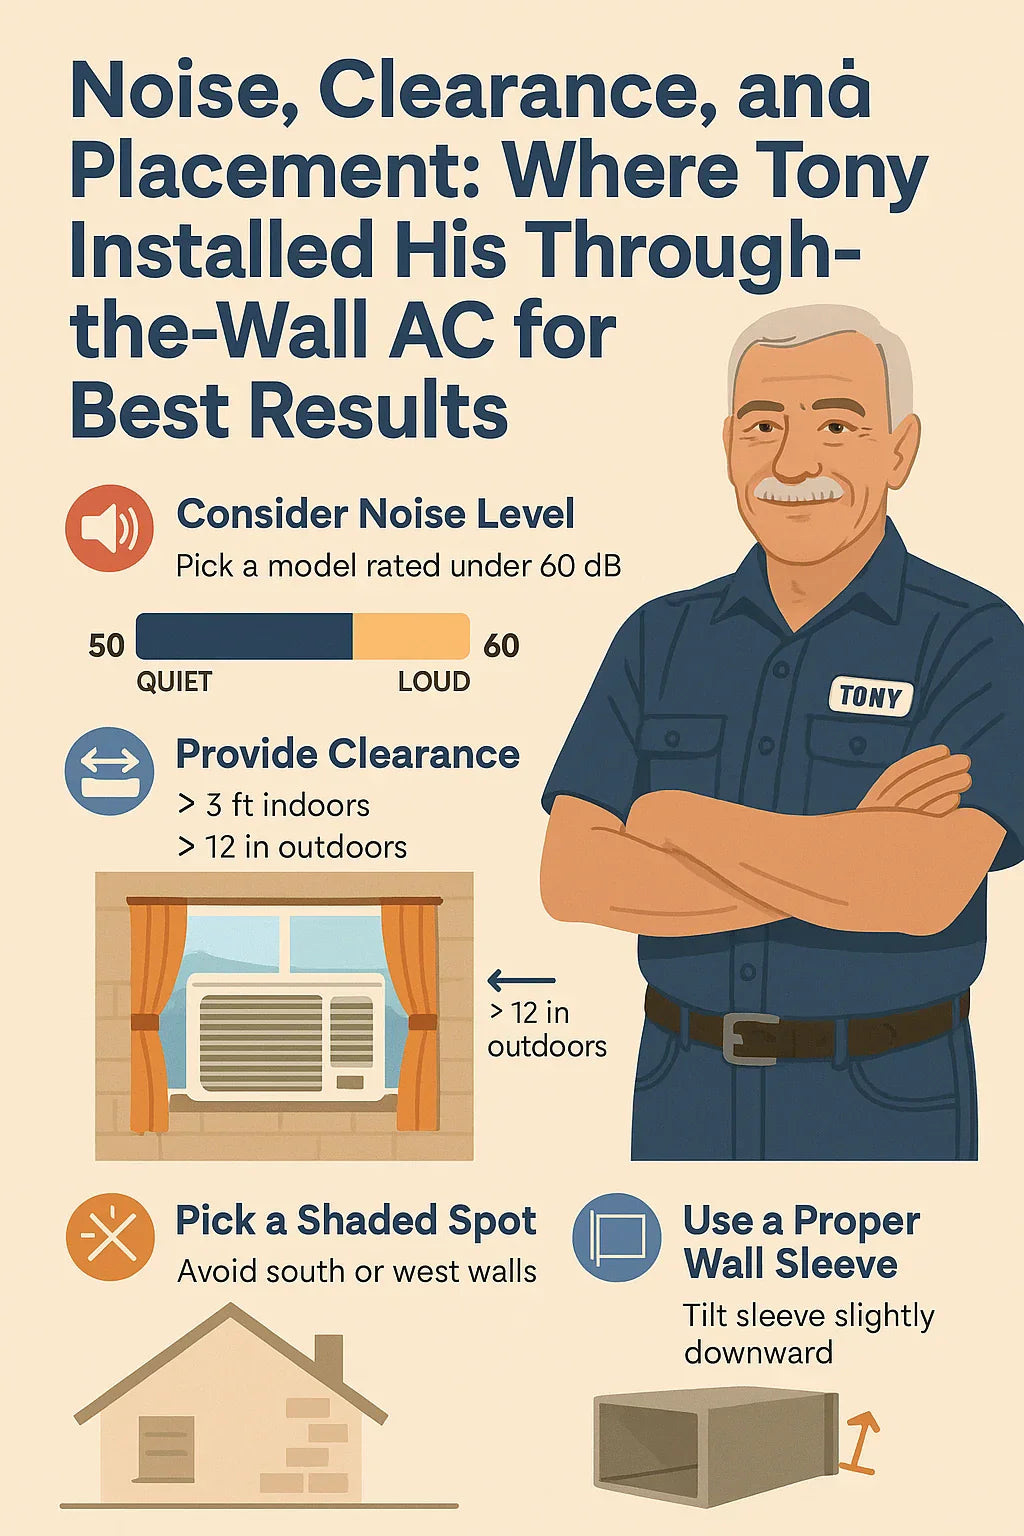
By Tony Marino — A homeowner who believes placement is just as important as BTUs.
📘 Introduction
When I bought my 12,000 BTU through‑the‑wall AC, I figured the hardest part would be cutting the wall. I quickly learned that placement makes all the difference in how quiet, efficient, and effective your unit will be.
My first attempt? I installed it on a west‑facing wall, right above the TV. Bad call — it ran loud, fought the afternoon sun, and made movie nights miserable.
After doing my research and reinstalling it properly, the difference was night and day.
This guide will walk you through everything I wish I knew before my first install: noise, clearance, wall selection, sleeves, and seasonal upkeep.
👉 According to Energy Star, correct placement can improve both comfort and efficiency by up to 15%.
🔊 1. Understanding Noise Levels in Wall ACs
📌 Normal Noise Ranges
-
Most through‑the‑wall ACs operate between 50–60 decibels.
-
For context:
-
50 dB = quiet conversation
-
60 dB = normal office noise
-
📍 Why Placement Matters for Noise
-
Thin walls amplify vibrations.
-
Bedrooms need quieter models or added insulation.
-
Hard surfaces (like bare floors) reflect sound.
Tony’s Story:
“I first put mine right in the living room wall behind the TV. Between the hum and the rattling, it was unbearable. After moving it to a north wall in a sturdier frame, it became barely noticeable.”
👉 See Consumer Reports’ AC Noise Ratings.
📏 2. Clearance Requirements for Airflow
🛠️ Indoor Clearance
-
Leave 3 feet of space in front of the unit.
-
Don’t block vents with curtains, couches, or bookshelves.
🛠️ Outdoor Clearance
-
12–24 inches free from shrubs, fences, or exterior walls.
-
Keep grass clippings, leaves, and debris cleared away.
🛠️ Above & Below
-
Avoid installing under shelves or over furniture that blocks airflow.
-
Keep at least 6 inches clearance above and below the grille.
👉 Energy Star Installation Guide stresses the importance of airflow for efficiency.
🏠 3. Choosing the Right Wall
Picking the right wall saves you headaches down the road.
✅ Best Choices
-
North‑facing walls: Avoids afternoon sun, keeping cooling steady.
-
Shaded exterior walls: Prevents heat buildup.
-
Non‑load‑bearing walls: Easier to cut and reinforce.
❌ Avoid
-
South & west walls: Hot sun exposure increases workload.
-
Interior walls: No ventilation outdoors.
-
Walls with plumbing or wiring: Risk of costly damage.
Tony’s Tip: Use a stud finder to check for wiring or pipes before cutting.
🧱 4. Using the Right Wall Sleeve
The wall sleeve is your AC’s frame and seal. Without it, expect leaks, noise, and poor drainage.
📌 Key Features of a Good Sleeve
-
Steel or heavy‑duty plastic: For stability and durability.
-
Slight outward tilt (¼ inch): Ensures condensation drains properly.
-
Insulated edges: Reduces noise and energy loss.
Tony’s Experience:
“My first install had a cheap sleeve, and I dealt with leaks every rainstorm. Upgrading to a heavy‑duty sleeve solved the problem instantly.”
👉 More info: HVAC.com – Wall Sleeve Guide.
🔌 5. Power Supply Considerations
✅ Check Voltage
-
10k–12k BTU models typically use 115V or 230V.
-
Confirm your home wiring supports the unit.
⚠️ Safety Notes
-
Never use extension cords — risk of overheating.
-
Use a dedicated circuit if recommended by the manufacturer.
-
Ensure outlet is grounded.
👉 DOE Energy Saver lists AC safety basics.
🌬️ 6. Best Rooms for Installation
🛋️ Living Room
-
Great for family spaces.
-
Position where airflow spreads evenly.
🛏️ Bedroom
-
Choose a quiet model (<55 dB).
-
Avoid pointing airflow directly at the bed.
💻 Home Office
-
Install off to the side, not behind your chair.
-
Helps keep comfort without drying your eyes.
❌ Not Ideal
-
Kitchens: added heat from cooking reduces efficiency.
-
Bathrooms: moisture can damage components.
🔇 7. Tips for Reducing Noise
Even a good placement sometimes needs fine‑tuning.
🛠️ Quick Fixes
-
Add foam weather stripping between sleeve and wall.
-
Tighten all mounting screws.
-
Seal exterior edges with caulk to reduce rattling.
-
Choose curtains or rugs to dampen reflected sound.
🧰 8. Tony’s Seasonal Placement Checkups
🌸 Spring
-
Inspect outdoor grille for winter debris.
-
Re‑caulk if you notice gaps around sleeve.
☀️ Summer
-
Check weekly for leaves or blockages outside.
-
Adjust curtains or blinds to reduce sun load.
🍂 Fall
-
Clear falling leaves from outdoor grille.
-
Inspect sleeve for water damage.
❄️ Winter
-
Use a breathable cover on the exterior portion.
-
Add insulation around the sleeve to prevent drafts.
🧠 9. Common Placement Mistakes to Avoid
-
❌ Installing in an interior wall with no outside vent.
-
❌ Cutting too close to a corner, limiting airflow.
-
❌ Forgetting to slope the sleeve outward, leading to leaks.
-
❌ Mounting too low, where airflow is blocked by furniture.
-
❌ Ignoring sun exposure — west‑facing walls work the unit harder.
⭐ Tony’s Final Advice
“When I finally moved my AC to a shaded north wall with a proper sleeve, it became quieter, cooler, and way more efficient. Placement isn’t just cosmetic — it’s a performance upgrade.”
Tony’s Quick Checklist:
-
✅ Pick a shaded exterior wall
-
✅ Leave clearance indoors & outdoors
-
✅ Use a proper tilted wall sleeve
-
✅ Avoid wires, pipes, and load‑bearing walls
-
✅ Add weather stripping for noise control
👉 Browse Through‑the‑Wall ACs 10k–12k BTUs designed for efficient, quiet operation.
In the next topic we will know more about: Is 10,000 or 12,000 BTUs Enough? Tony’s Guide to Sizing Your Through-the-Wall AC


