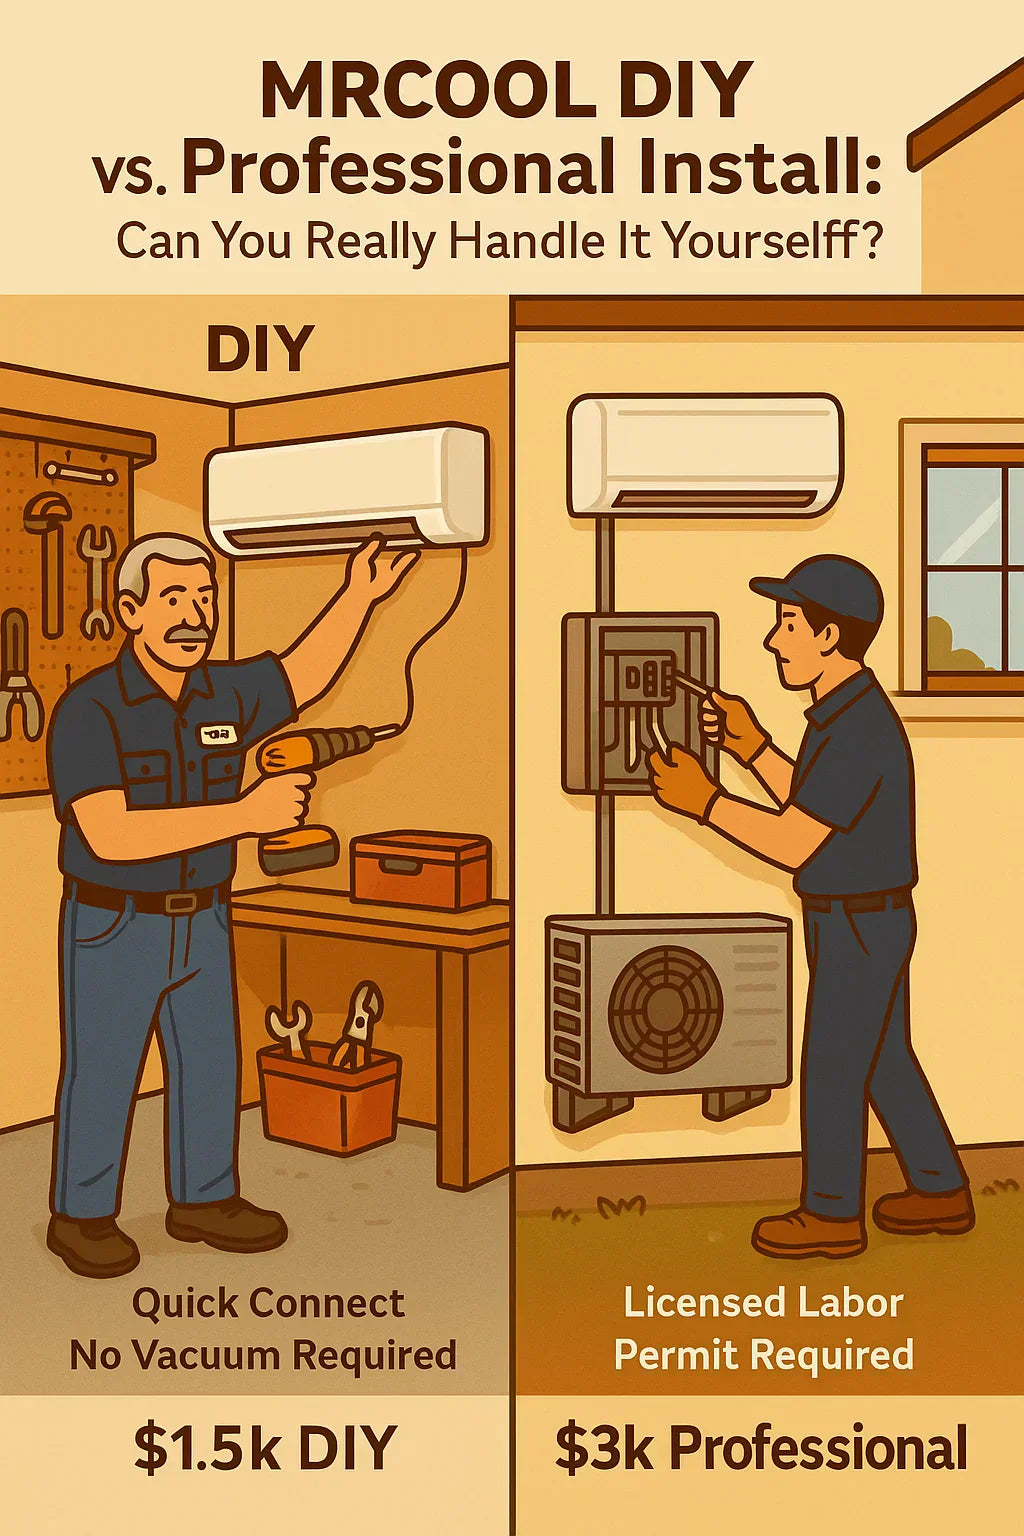
✅ 1. What Makes MRCOOL DIY-Friendly?
The MRCOOL DIY Mini Split Series is uniquely designed for non-certified homeowners. Its standout feature is:
-
Pre-charged Quick Connect line sets
-
No vacuum pump or gauge manifold required
-
No EPA certification needed
Other brands require connecting refrigerant lines manually, vacuuming out air, and charging with refrigerant — which legally must be done by a licensed HVAC tech. MRCOOL bypasses that entirely.
External Resource:
🪜 2. What Tools Do You Actually Need?
Standard tool checklist:
-
Drill with hole saw (3.5” or 4” bit)
-
Level and tape measure
-
Stud finder
-
Screwdriver set
-
Adjustable wrench or socket set
-
Ladder (for indoor and outdoor work)
-
Utility knife
Electrical work:
-
Wire stripper
-
Voltage tester
-
Torque screwdriver
Extras (optional but helpful):
-
Line set covers
-
Caulk and foam sealant
Electrical Panel Requirements:
-
You’ll need to install a dedicated 220-240V breaker (typically 30-40 amp)
-
May require pulling permit depending on your area
Verified Resource:
⏳ 3. Step-by-Step Install Overview
🏠 Indoor Units:
-
Mark location on wall (7–8 feet high, away from obstacles)
-
Drill pilot hole, then core hole for line set
-
Mount wall bracket
-
Feed refrigerant lines, drain, and control cable
-
Hang indoor unit
🚼 Outdoor Unit:
-
Set condenser on a pad or wall bracket
-
Connect pre-charged lines using Quick Connect fittings
-
Secure connections with supplied wrenches
🔌 Electrical:
-
Run outdoor power from disconnect box
-
Connect indoor and outdoor control wiring (color-coded)
🔢 Test Run:
-
Power up system
-
Test each zone for heating and cooling
-
Use remote/app to check mode switching
Optional: Install line set covers, caulk wall penetrations
Watch It:
🌄 4. Time & Difficulty Breakdown
| Task | Time Estimate (5-Zone) | Skill Level |
|---|---|---|
| Planning/Layout | 1–2 hours | Easy |
| Indoor Mounting (x5) | 4–8 hours | Moderate |
| Line Set Routing | 3–5 hours | Moderate |
| Outdoor Unit Setup | 1–2 hours | Easy |
| Electrical Panel Work | 2–4 hours | Moderate-Hard |
| Final Test + Cleanup | 1–2 hours | Easy |
Total Install Time: ~12–20 hours solo, ~1 weekend with help
👷️ 5. What the Pros Offer
Even with DIY-friendly features, HVAC professionals bring:
-
Code-compliant electrical hookups
-
Custom conduit and line routing
-
Fast, clean installation
-
Troubleshooting if issues arise
When a pro makes sense:
-
You lack breaker box access or experience
-
Installing on second floor with difficult routing
-
Building permits or HOAs require licensed labor
💸 6. DIY vs. Pro: Cost Comparison
| Expense Category | DIY (5-Zone) | Pro Install (5-Zone) |
| Equipment | $5,200 (kit) | $5,200 |
| Electrical Materials | $150 | Included |
| Permit (if needed) | $50–100 | Included |
| Labor | $0 | $2,000–$3,000 |
| Total | $5,400–5,500 | $7,200–8,300 |
Savings: ~$1,800–2,800
Resources:
⚠️ 7. Red Flags: When to Call a Professional
Tony should bring in a licensed pro if:
-
Electrical panel upgrades are required
-
Condenser needs roof or elevated mounting
-
Line set length exceeds spec limits
-
Indoor units can't be mounted securely
-
You live in an area with strict permit/code enforcement
Tip: Always check local code and permit office before starting.
📄 8. Final Verdict: Can Tony DIY It?
If Tony is:
-
Comfortable using power tools
-
Can follow detailed instructions
-
Understands basic wiring
-
Has a helper for lifting/line routing
Then yes — Tony can absolutely DIY his MRCOOL 5-zone system.
It’s not just possible — it’s designed for it.
You’ll save thousands and gain full control of the project timeline. Just plan ahead, follow safety rules, and enjoy the satisfaction of a professional-grade system you installed yourself.


