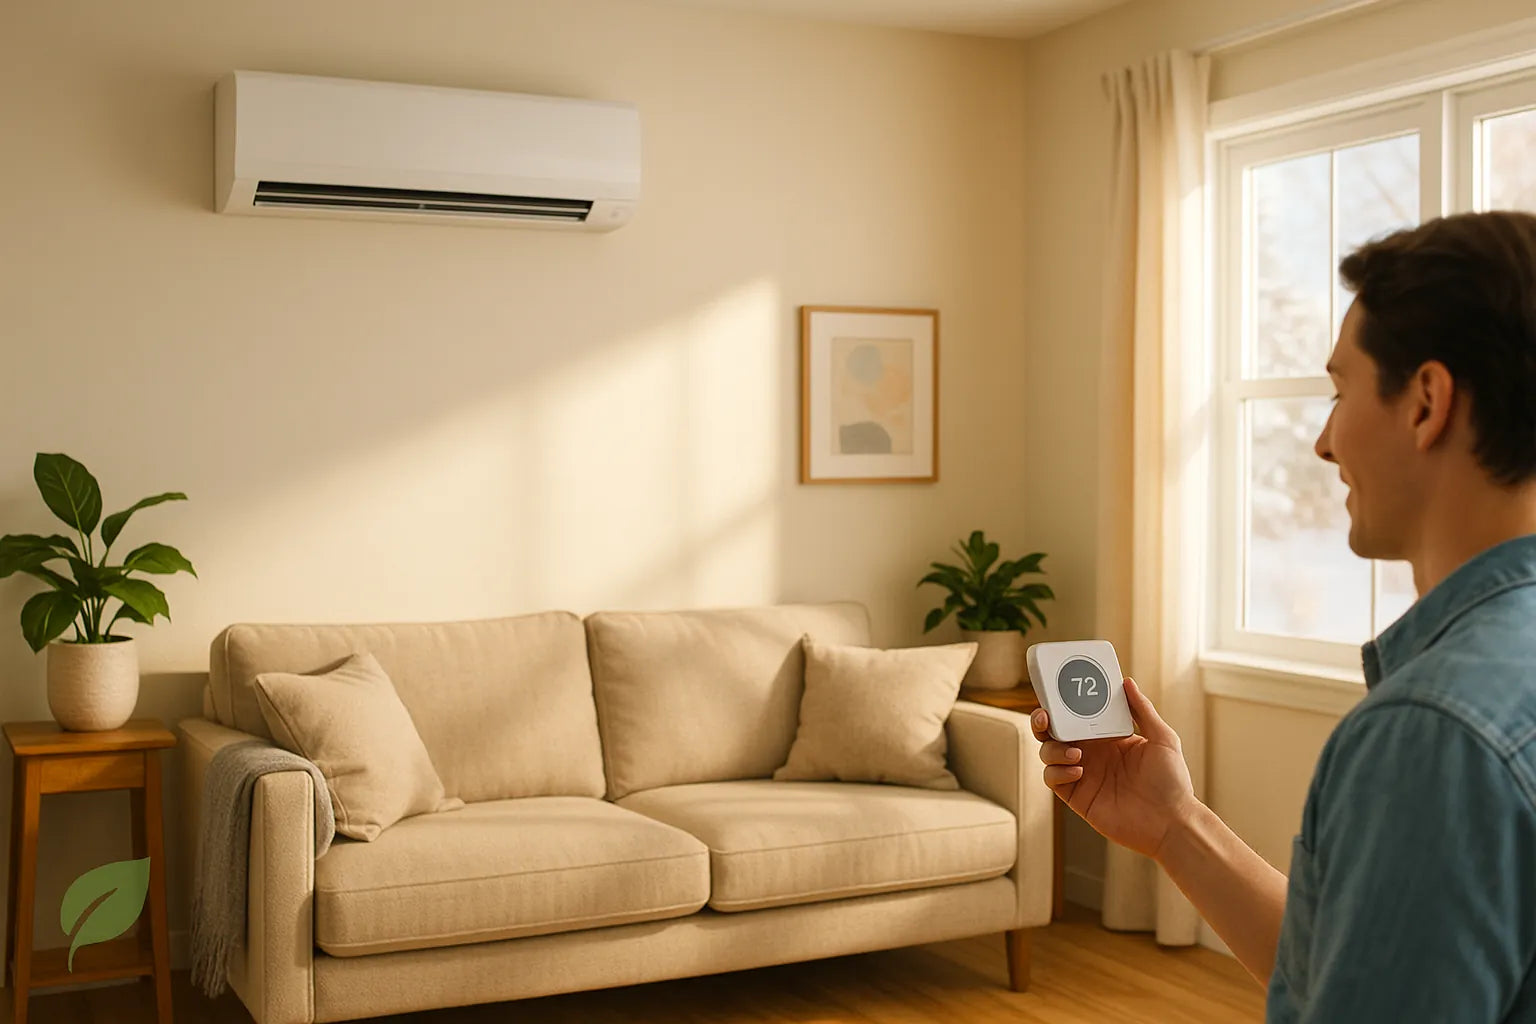
What “Mini-Split Sizing (Multi-Zone)” Actually Means
When we say mini-split sizing, we’re talking about how many BTUs (cooling/heating capacity) your system needs to keep a space comfortable without wasting energy. In single-zone setups, one outdoor unit supports one indoor head for one space (like a garage or addition). In multi-zone, one outdoor unit supports separate indoor heads across multiple rooms, each sized to its own needs. Think of it like giving every room its own thermostat brain.
Why it matters: the right size reduces noise, stops hot/cold spots, and protects your utility bill. If you’re just browsing options, start with the ductless mini-splits collection or check the quick references in our Sizing Guide.
The Quick Single-Zone Rule of Thumb (and When to Adjust)
For single-zone spaces—garages, bonus rooms, sunrooms—start with a simple estimate:
Square footage × ~20 BTU per sq. ft.
Example: a 300 sq. ft. garage ≈ 6,000 BTU.
Now adjust the number if needed:
-
High ceilings (9–12 ft): add 10–30%
-
Poor insulation or leaky doors: add 15–40%
-
Hot climates or direct afternoon sun: add 10–30%
-
Heat-adding activities (workshop, gym, kitchen): add 10–50%
This gets you close for shopping, then you can dial it in with a proper Manual J later. Compare wall, cassette, or floor styles in our indoor unit categories: Wall-Mounted | Ceiling Cassette.
When a Single-Zone Is the Smart, Simple Choice
Use single-zone when you’re conditioning one connected area: a converted garage, attic, home office, or in-law suite. One indoor unit, one thermostat, one set of line sets. It’s straightforward, keeps costs clean, and avoids overcomplicating the design.
A quick scenario: You turned a 250 sq. ft. den into a studio. It has average insulation and an 8-ft ceiling. Starting point is ~5,000 BTU (250 × 20). No heavy sun or heat-making equipment? A 6,000–9,000 BTU single-zone often nails it. From there, look at install details (mounting, condensate, electrical) and check compatible gear in our DIY Ductless Mini-Splits or get quick advice through the Help Center.
Multi-Zone Sizing: Do Each Room First, Then Add Them Up
For multi-zone systems, size each room separately (its own indoor unit) and then sum all room BTUs to size the outdoor unit. Steps:
-
Measure each room’s square footage.
-
Estimate BTU (sq. ft. × ~20) for each room.
-
Adjust for sun, insulation, ceiling height, and usage.
-
Select head type (wall, cassette, concealed) per room layout.
-
Add the adjusted BTUs for the total outdoor capacity.
This approach gives bedrooms quieter heads and kitchens the extra muscle they need without oversizing everything else. Need help picking combinations? Our Design Center can translate your room list into a matched system using inventory we actually stock.
Smart Adjustments That Change the Number (10–50% Range)
Your first estimate is just that an estimate. Bump capacity when you see:
-
High ceilings (9–12 ft): 10–30% more BTU
-
Weak insulation or lots of air leaks: 15–40% more
-
Big west-facing windows or sunrooms: 10–30% more
-
Heat-making rooms (kitchen, shop, home gym): 10–50% moreAlso consider occupancy (many people add heat) and equipment (servers, appliances).
If you’re unsure, send photos for a quick reality check via Quote by Photo, or browse our quick-answer articles in HVAC Tips.
The Big Traps: Oversizing and Undersizing
Oversizing sounds safe but causes short cycling—the unit turns on/off quickly, missing proper dehumidification and wearing parts faster. You might feel chilly then sticky, and bills climb.
Undersizing makes the system run constantly, still not hitting setpoint on extreme days. Rooms feel uneven, and the outdoor unit never gets a break.
The cure:
-
Use the 20 BTU/sq. ft. as a starting point.
-
Apply room-specific adjustments (sun, ceiling, insulation).
-
Validate with a Manual J if you’re on the edge or retrofitting a full home.
If you want a quick human gut-check before buying, ping the Help Center or ask the Design Center to sanity-check your picks.
Matching the Indoor Unit to the Room (Layout Matters)
Choosing the indoor head style is about air throw, ceiling height, and wall availability:
-
Wall-Mounted: Most common, easy to service, great for bedrooms and offices. Explore Wall-Mounted Systems.
-
Ceiling Cassette: Even air distribution and hidden footprint; ideal for open living areas. See Ceiling Cassettes.
-
Concealed Duct: Minimal look, can serve two small adjacent rooms with short ducts. Browse Concealed-Duct Systems.
-
Mini Floor Console: Handy for knee-wall rooms or where wall mounting is tough. Check Floor Consoles.
Right head + right size = quiet operation and fewer cold corners.
Efficiency and Refrigerant: Planning for the Next 10–15 Years
Today’s mini-splits use inverter compressors and higher SEER2 ratings to trim bills and keep temps steady. Many modern systems also use R-32 refrigerant, chosen for efficiency and a lower global warming potential than older blends. If you’re aiming to future-proof a home retrofit, consider a multi-zone heat pump lineup that balances capacity with smart controls. Start with our R-32 Heat Pump Systems or compare air handler pairings if you’re blending ducted and ductless zones: Air Handlers. When in doubt, the Sizing Guide explains how efficiency and sizing work together in real homes.
What You’ll Need Beyond the Boxes (Install Checklist)
Even perfect sizing stumbles without the right accessories:
-
Line sets (length, diameter, insulation): see Line Sets
-
Mounting (wall brackets or pads), vibration isolators, condensate pumps, whips/disconnects, and surge protection: browse Accessories
-
A tidy plan for penetrations and sealing to avoid leaks and noise
DIY-inclined? Compare options in DIY Ductless Mini-Splits. Prefer a pro? Share a few pictures for a fast take via Quote by Photo. Either way, a clean install preserves capacity and quiet operation.
Edge Cases & Alternatives (If a Mini-Split Isn’t the Fit)
Some projects call for different tools:
-
Hotel-style rooms or rentals that need easy change-outs: consider PTAC units or PTAC heat pumps.
-
Through-the-wall spaces where you can’t run lines long distances: see Through-the-Wall AC.
-
Packaged rooftop/ground units for light commercial or large open areas: explore Package Units.
If budget is the hurdle, check HVAC Financing. And if you want someone to look over your load assumptions, the Design Center can help you verify before you buy.
Tips You Can Use Today
-
Start simple: room sq. ft. × ~20 BTU, then adjust for sun, insulation, ceiling, and usage.
-
Multi-zone rule: size each room first, then sum for the outdoor unit.
-
Don’t oversize “just in case.” It causes short cycling and clammy air.
-
Noisy or uneven rooms? You might be mis-sized or using the wrong indoor head type.
-
Document your rooms: dimensions, windows, sun exposure, ceiling height—then run it by the Sizing Guide.
-
Plan accessories early—line sets, mounts, drains—so install day is smooth.
-
Unsure? Send photos and get a fast reality check with Quote by Photo or browse options in Ductless Mini-Splits.


