Key Takeaways
-
Use anchors and slope the hole on brick or concrete walls.
-
Must-have tools: hammer drill, 5–8 mm bits, 65 mm core bit.
-
Set outdoor unit on a level pad or bracket with vibration pads.
-
Seal wall holes to prevent water and pests from entering.
-
Get up to 30% federal tax credit on qualifying mini-splits through 2032.
Why Brick and Concrete Are Different
Brick and concrete walls are solid, but they can crumble if drilled incorrectly. When you hang a mini-split indoor unit that weighs 25–35 pounds, normal drywall anchors can pop loose within months. Masonry anchors spread their grip inside the brick or concrete, letting the bracket carry the load for years. The same idea applies outdoors: a condenser must sit dead level so refrigerant oil flows back to the compressor. That’s why installers pour a small, reinforced pad or bolt a steel bracket into the wall. In short, hard walls demand hard‑wearing hardware—and a little planning saves a lot of patching later.
Need the right mini-split kit? Shop DIY-ready ductless systems
Essential Tools and Materials
Gather the following before opening the shipping box: a hammer drill or rotary hammer, 5 mm and 8 mm masonry bits, a 65 mm diamond hole saw, sleeve or expansion anchors rated for 200 lb shear, a four-foot level, and UV-resistant silicone. Pros also use anti‑vibration pads, a torque wrench for flare nuts, and a vacuum pump with digital gauges. Having everything at arm’s length keeps you from rushing—rushed holes wander off‑level and ruin drainage.
If you are new to mini‑splits, skim the Mini‑Split Installation Guide for an overview of safety gear.
Pre‑Install Checks: Wall Strength and Hidden Hazards
First, rap on the wall with your knuckles; a hollow thud means cavity brick that can’t support heavy loads without special anchors. Next, use a stud finder with live‑wire alert or a cheap borescope to avoid hidden power lines and pipes. Mark clearances: Most mini-splits require 6 inches above and 8 inches to the sides indoors, plus 12 inches behind and 20 inches in front of the condenser for adequate airflow. Double-check that the line-set run is shorter than the factory charge limit; longer runs require extra refrigerant, as specified in the manual.
Installing on brick or block? Explore mounting bracket options
Mounting the Indoor Unit Securely
Tape the paper template to the wall and level it. Drill 5 mm pilot holes, blow out the dust, and tap in sleeve anchors. Tighten screws until the bracket sits flush—no daylight behind it. Before hanging the head, wrap the drain hose, power cable, and refrigerant lines together so they pass through the wall in one motion, preventing kinks.
For a step‑by‑step guide, see What Is a Ductless Mini‑Split? Technical Specs.
Drilling the Line‑Set Hole: Slope and Seal
Start a ¼‑inch pilot hole from indoors, sighting a 5–7 mm downward slope. Switch to the 65 mm core bit and drill halfway, then finish from the outside to avoid spalling. Slide a plastic or metal wall sleeve into the opening and caulk both ends. The sleeve guards soft copper tubes against brick edges and keeps warm air from condensing in the wall cavity. A poorly sealed hole is the number one cause of musty smells in finished basements, so take the extra five minutes to do it right.
Secure your install from the start Find wall-mount indoor units
Choosing and Preparing the Outdoor Mount
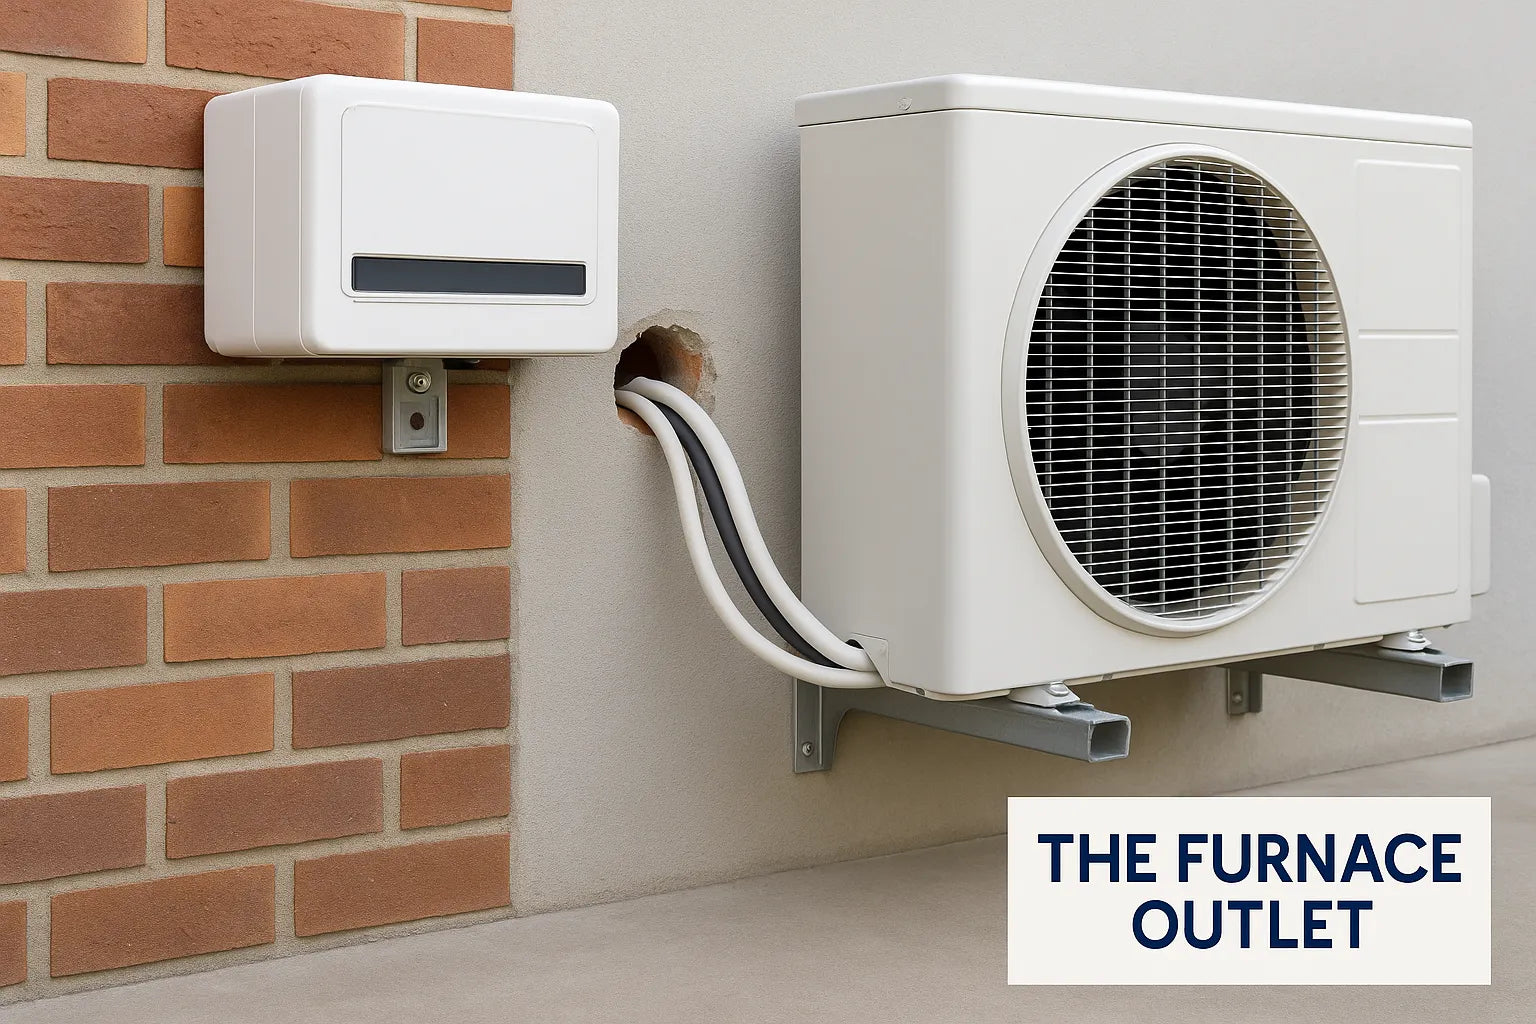
Ground pad or wall bracket? In areas with deep snow or yard flooding, a wall bracket 18 in above grade wins. Otherwise, pour a 4‑inch‑thick, fiber‑reinforced pad extending at least 4 in past each foot. While the concrete cures, pre‑assemble vibration pads and stainless bolts. A bracket requires four expansion anchors, each drilled 3 inches deep into solid masonry—never into mortar joints.
Stop the nighttime hum Use anti-vibration pads and anchors
Anchoring and Anti‑Vibration Best Practices
Torque anchor bolts to the value in the bracket manual (usually 18–22 ft‑lb). Slide rubber pads between the condenser feet and the bracket or pad; this cuts harmonics that make brick walls “hum” at night. After tightening, nudge the unit—side-to-side movement should be under ⅛ inch. Finally, pull a vacuum to 500 microns and weigh in any additional refrigerant per foot of extra line. This step is where many DIY installs fall short, leading to low capacity in July.
For long‑term care tips, bookmark Mini‑Split Maintenance & DIY Care.
Weatherproofing and Final Inspection Steps
Seal the sleeve with UV‑rated silicone, then snap on the line‑set cover. Verify that condensate drains freely by pouring a cup of water into the pan; it should appear outside within 30 seconds. Use a clamp meter to confirm running amps match the data plate (±10 %). A quick thermal‑imaging scan of the brick face can spot missed voids in insulation. Record model and serial numbers for warranty and, if you live in the U.S., file the Energy Efficient Home Improvement Credit when tax season rolls around—30 % back is worth the paperwork
Maximize efficiency and rebates. Check 2025 mini-split models
FAQs: Simple Answers from an Expert
Q: Do I need a permit in the U.S.?
A: Yes—most counties require at least an electrical permit; some also ask for a mechanical permit. Call your local building office first.
Q: How big should the breaker be?
A: Match the condenser nameplate; a 12 k BTU unit often needs a 15 A two‑pole breaker on a dedicated circuit.
Q: Can I run the line set longer than 25 ft?
A: Yes, but add factory‑specified refrigerant (about 0.2 oz per extra foot) and insulate completely.
Q: How do I stop vibration through brick walls?
A: Use rubber pads and tighten anchors evenly; unbalanced legs cause most noise complaints.
Q: What maintenance keeps warranties valid?
A: Clean filters monthly and schedule a professional coil wash once a year.


