🛠 Maintenance Tips to Keep Your Through-the-Wall Heat Pump Running Like New
Persona: Jake – I believe that 30 minutes of regular upkeep can save you thousands in repairs. I’ve seen too many people treat their heat pump like a “set it and forget it” appliance—only to pay the price later.
☕ 1. Introduction — Why Maintenance Matters
A buddy of mine, Matt, bought a nice through-the-wall heat pump for his rental. He never cleaned the filters, never checked the drain, never even looked at the unit unless it stopped working. By year five, the compressor gave out. The replacement cost? Over $1,200—basically the price of a new unit.
Moral of the story: neglect is expensive.
Regular maintenance can:
-
Extend lifespan from 8 years to 15+ years.
-
Keep energy bills lower.
-
Prevent surprise breakdowns in the middle of summer or winter.
Best Through The Wall Heat Pumps
🧠 2. Understanding Your Through-the-Wall Heat Pump
Before we get into the “what” of maintenance, let’s cover the “why.”
Your unit has several key parts that need attention:
-
Air Filter – Keeps dust and debris out of the coils.
-
Evaporator Coil (inside) – Absorbs heat from the room.
-
Condenser Coil (outside) – Releases heat outdoors.
-
Drainage System – Removes condensation from the unit.
-
Wall Sleeve & Seals – Supports the unit, keeps weather out, and minimizes vibration.
-
Electrical Components – Control board, fan motor, compressor.
If you want a refresher on how heat pumps work, check Energy.gov Heat Pump Basics.
📅 3. Monthly or Seasonal Checks
When your unit is in heavy use (summer cooling or winter heating), these quick checks keep it breathing freely:
Clean or Replace Filters
-
Frequency: Monthly during peak use.
-
How: Remove filter, vacuum loose debris, wash in warm soapy water, rinse, dry completely before reinstalling.
-
Tip: Have a spare filter so you can swap immediately and clean the dirty one later.
Wipe Down Exterior Grilles
-
Dust and pollen can build up on the intake and exhaust grilles.
-
Use a damp cloth or soft brush.
Listen for Unusual Noises
-
Rattles may mean loose mounting screws.
-
Squealing could mean a fan motor bearing problem.
Reference: ENERGY STAR Maintenance Tips.
🧽 4. Deep Cleaning Twice a Year
I like to schedule these in spring (before cooling season) and fall (before heating season).
Step 1: Power Down
-
Unplug the unit or switch off the breaker.
-
Safety first—electricity and water don’t mix.
Step 2: Remove & Clean the Filter
-
Same method as monthly cleaning.
Step 3: Clean the Coils
-
Remove front cover.
-
Use a coil brush or soft paintbrush to loosen dirt.
-
Spray with a no-rinse coil cleaner (available at hardware stores).
-
Let sit for 5–10 minutes, then wipe gently.
Step 4: Flush the Drain
-
Locate the drain pan and drain hole.
-
Use a pipe cleaner or flexible brush to clear debris.
-
Pour a small cup of vinegar mixed with water to prevent algae growth.
Reference: Family Handyman AC Cleaning Guide.
🧱 5. Checking the Wall Sleeve & Seals
Your wall sleeve is the “housing” for the unit—it’s critical for weather protection and efficiency.
What to Look For:
-
Foam Gaskets: Replace if cracked or compressed.
-
Sleeve Pitch: Should tilt slightly toward the outside for proper drainage.
-
Caulking: Reseal if you see gaps around the sleeve.
Even small leaks can cause drafts, water damage, and pests.
❄ 6. Winterizing if Not in Use
If you don’t plan to use your heat pump for heating:
-
Clean it first – No sense sealing in dirt.
-
Cover the exterior with a breathable cover (never airtight plastic—traps moisture).
-
Seal inside gaps with a removable foam insert or fabric draft blocker.
This keeps out cold drafts and extends the life of the unit.
🔧 7. Annual Professional Service
Even if you DIY most tasks, once a year it’s worth having a pro:
-
Check refrigerant levels – Low levels mean a leak, which can wreck the compressor.
-
Inspect electrical components – Loose wires, burnt connectors.
-
Test thermostat and controls – Ensures accurate cycling.
-
Lubricate moving parts – If your model requires it.
It’s cheaper to fix a small refrigerant leak now than replace a seized compressor later.
Reference: HVAC.com Maintenance Checklist.
⚠ 8. Troubleshooting Common Issues
| Problem | Likely Cause | Quick Fix |
|---|---|---|
| Weak airflow | Dirty filter or coil blockage | Clean/replace filter, clean coils |
| Water leaks inside | Clogged drain or bad sleeve pitch | Clear drain, adjust pitch |
| Strange noise | Loose screws, fan obstruction, worn bearing | Tighten, clear obstruction, call tech |
| Unit won’t start | Tripped breaker, bad control board | Reset breaker, call tech if persists |
Reference: From the Ground Up: Building an Efficient HVAC System
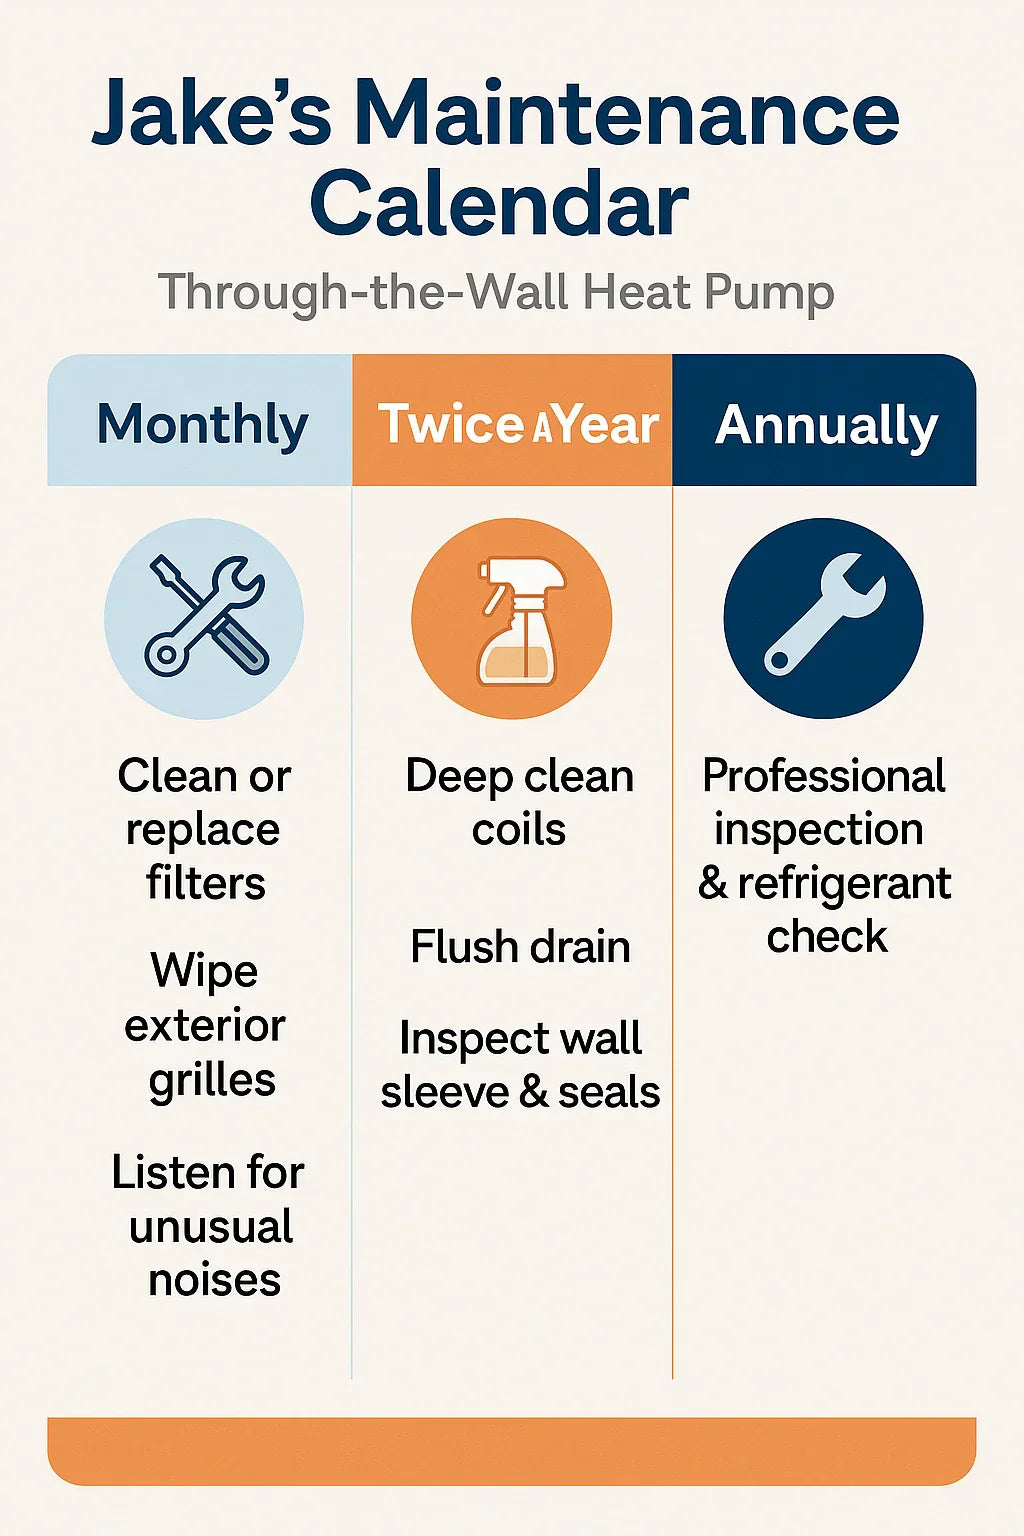
🗓 9. Jake’s Maintenance Calendar
Monthly (during heavy use):
-
Clean/replace filters.
-
Wipe exterior grilles.
-
Listen for unusual noises.
Twice a Year:
-
Deep clean coils.
-
Flush drain.
-
Inspect wall sleeve & seals.
Annually:
-
Professional inspection & refrigerant check.
✅ 10. Final Thoughts — Pay Now or Pay Later
I’ve said it before: a dirty coil today is a dead compressor tomorrow.
The cost of neglect is almost always higher than the cost of prevention.
My advice:
-
Set calendar reminders for maintenance tasks.
-
Keep a spare filter on hand.
-
Don’t ignore small changes in performance—they’re usually early warnings.
In the Next Topic we will know more about: Energy Efficiency and Tax Credits: Do Through-the-Wall Heat Pumps Qualify in 2025?


