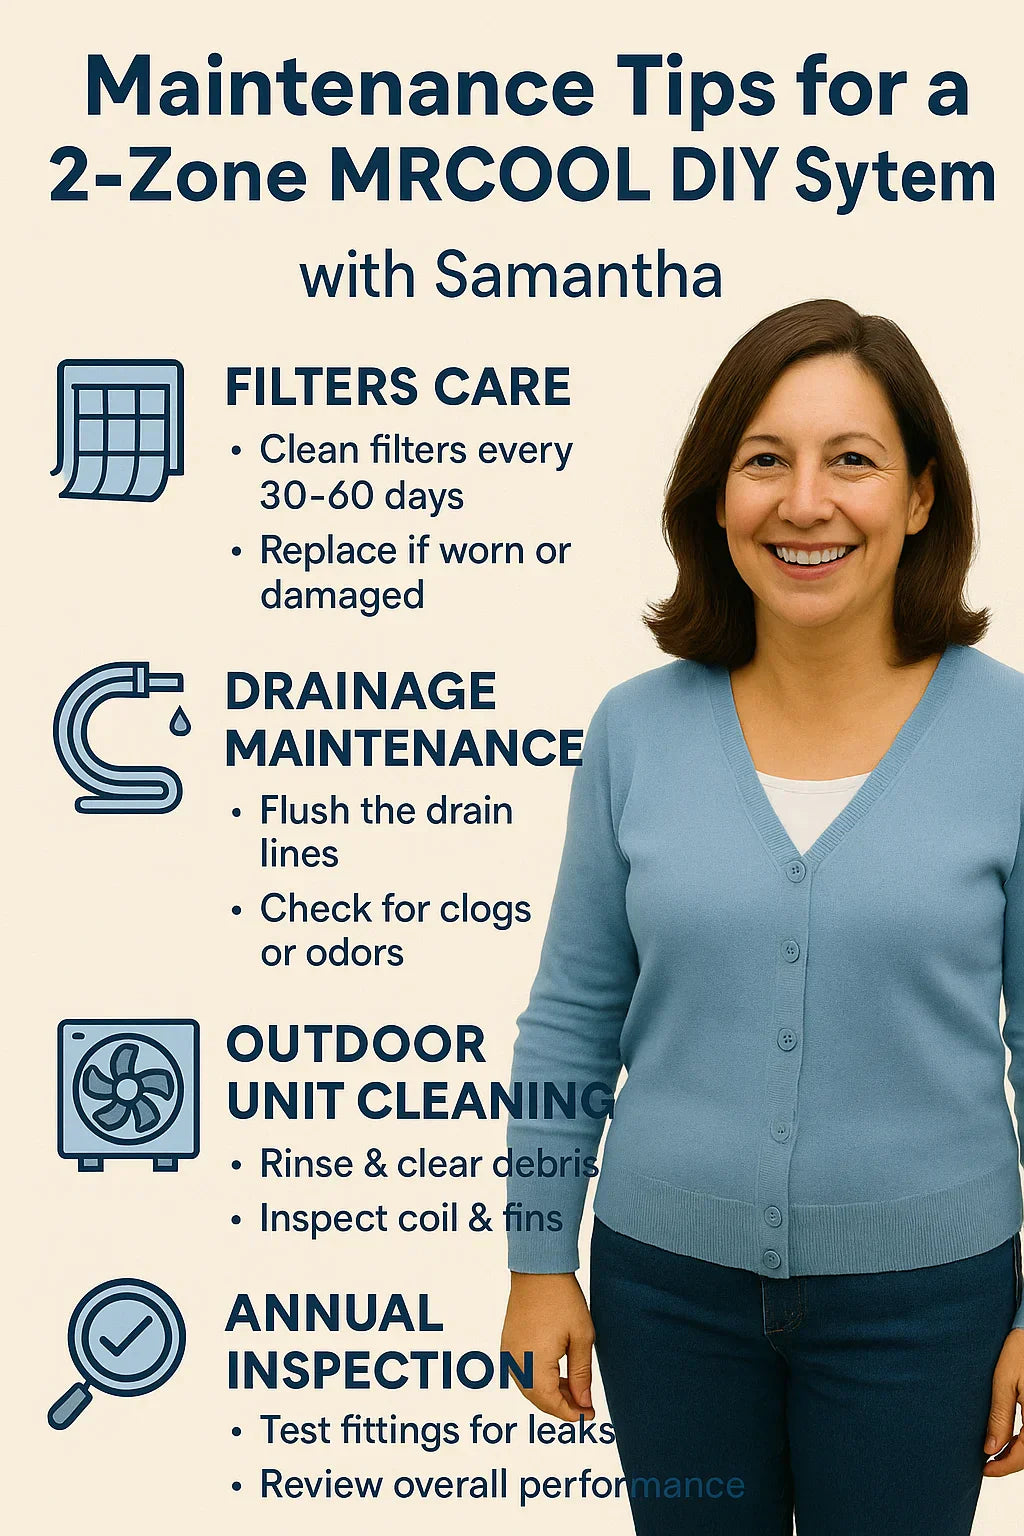
The beauty of the MRCOOL DIY 2-zone mini split system lies not just in its easy installation, but in how simple it is to maintain. For Samantha—a proactive homeowner looking to protect her investment—regular care means fewer breakdowns, lower energy bills, and reliable performance year-round.
This guide walks you through essential maintenance tasks for the 27k BTU dual-zone setup, with tips on keeping filters clean, drain lines clear, and the system operating at peak performance.
🧹 1. Filter Care: Your First Line of Defense
Dirty filters are the #1 reason for reduced airflow and overworked compressors. Fortunately, MRCOOL's indoor units make filter maintenance a breeze.
📌 Where to Find the Filters
Each air handler (9k and 18k) includes a washable mesh filter located just behind the front cover. Open the panel, and the filter slides out easily.
🔄 Cleaning Frequency
-
Every 30–60 days during peak usage
-
More often if you have pets, allergies, or live in a dusty area
🧼 Cleaning Method
-
Turn off the unit.
-
Remove and rinse the filter with lukewarm water.
-
Allow to air dry fully before reinserting.
-
Wipe down the internal surfaces gently.
💡 Replace the filters once a year if washable mesh shows signs of wear or deformation.
💧 2. Drainage Maintenance: Avoiding Leaks & Mold
Each indoor unit expels condensate through a drain hose. A clogged or misrouted drain can result in leaks, mildew, or water damage.
🚨 Signs of Drain Trouble
-
Water dripping from air handler
-
Musty odors or wall staining
-
Overflow switch tripping
🧰 Flush the Line (Seasonally or When Needed)
-
Turn off the system.
-
Disconnect the drain hose at the lowest point or condensate pump.
-
Use a wet/dry vacuum or hand pump to suck out debris.
-
Pour a diluted vinegar solution (50/50 with water) into the drain line to break down algae.
-
Reattach and test for flow.
💡 Tip: Add a condensate line float switch to automatically shut off the system in the event of backup.
🧊 3. Outdoor Unit Maintenance: Clean and Clear
Your outdoor condenser is exposed to leaves, bugs, lawn clippings, and weather—keeping it clean helps avoid efficiency loss and system strain.
📅 Do This Every Spring and Fall:
-
Shut off the power at the disconnect box.
-
Use a garden hose (light spray only) to rinse debris from the coil fins.
-
Clear leaves, mulch, and vegetation from around the base.
-
Use a fin comb to gently straighten bent fins.
-
Check that the pad or wall bracket is still level and firmly mounted.
🔍 4. Listen and Look: Noise, Alerts, and App Warnings
One of the easiest forms of maintenance is observation.
👂 Listen For:
-
Clicking or humming sounds = relay or fan motor issue
-
Gurgling sounds = possible refrigerant flow restriction
-
High-pitched whine = motor or communication fault
🖥️ Use the SmartHVAC App:
-
Check for zone error messages
-
Monitor indoor/outdoor temperatures
-
Schedule operating times to reduce wear
🧰 5. Maintenance Tools Every DIYer Should Have
| Tool | Purpose |
|---|---|
| Soft brush / microfiber cloth | Indoor unit cleaning |
| Garden hose | Condenser rinse |
| Fin comb | Straighten bent coil fins |
| White vinegar | Drain line flush |
| Wet/dry vacuum | Clear condensate clogs |
| Screwdriver set | Access panels |
| HVAC-safe coil cleaner | Seasonal outdoor cleanings |
📝 6. Seasonal Checklist: Keep It Simple
🌸 Spring Prep
-
Clean both air handler filters
-
Flush drain lines
-
Rinse outdoor condenser coil
-
Ensure Wi-Fi/app controls are synced
☀️ Summer Mid-Season
-
Check refrigerant line insulation
-
Look for signs of moisture backup
-
Clean outdoor coils again if needed
🍂 Fall Prep
-
Remove leaves/debris from around condenser
-
Clean and dry filters
-
Inspect for insulation wear or wiring exposure
❄️ Winter Readiness
-
Elevate or cover the outdoor unit if snow is common
-
Set heat swing range to prevent over-cycling
-
Confirm proper condensate drainage for heating mode
🔧 7. Annual System Checkups: Your DIY Inspection
Even for a DIYer, an annual deep check is worth the time.
🔍 Visual & Mechanical Checks:
-
Inspect Quick Connect fittings for leaks or corrosion
-
Feel air temperature from each handler—any differences?
-
Look for mold or condensation near indoor units
-
Check that refrigerant line insulation is intact and secure
🧯 Warning Signs to Watch For:
-
Significant noise increase
-
Foul smells during start-up
-
System struggling to hold temperature
🚨 8. When to Call a Pro
While MRCOOL’s DIY system reduces the need for tech visits, some situations do require licensed help:
-
Refrigerant leaks or pressure errors
-
Electrical faults, especially at the disconnect box
-
Consistently frozen coils (usually airflow or refrigerant issue)
-
Unusual blinking codes or SmartHVAC system errors
In many cases, MRCOOL’s customer service can walk you through troubleshooting before you bring in a pro.
✅ 9. Final Thoughts for Samantha
Staying on top of your 2-zone MRCOOL system’s maintenance doesn’t require a tech degree. With just a few hours each season, Samantha—and homeowners like her—can:
-
Prevent costly breakdowns
-
Keep energy bills low
-
Ensure consistent heating and cooling
-
Maximize system lifespan
Print out the seasonal checklist, set calendar reminders, and enjoy the comfort and peace of mind that come with taking control of your home climate system.
In the next topic we will read about: How the MRCOOL 5th Gen DIY 2‑Zone Stands Out from the 4th Gen & Competitors


