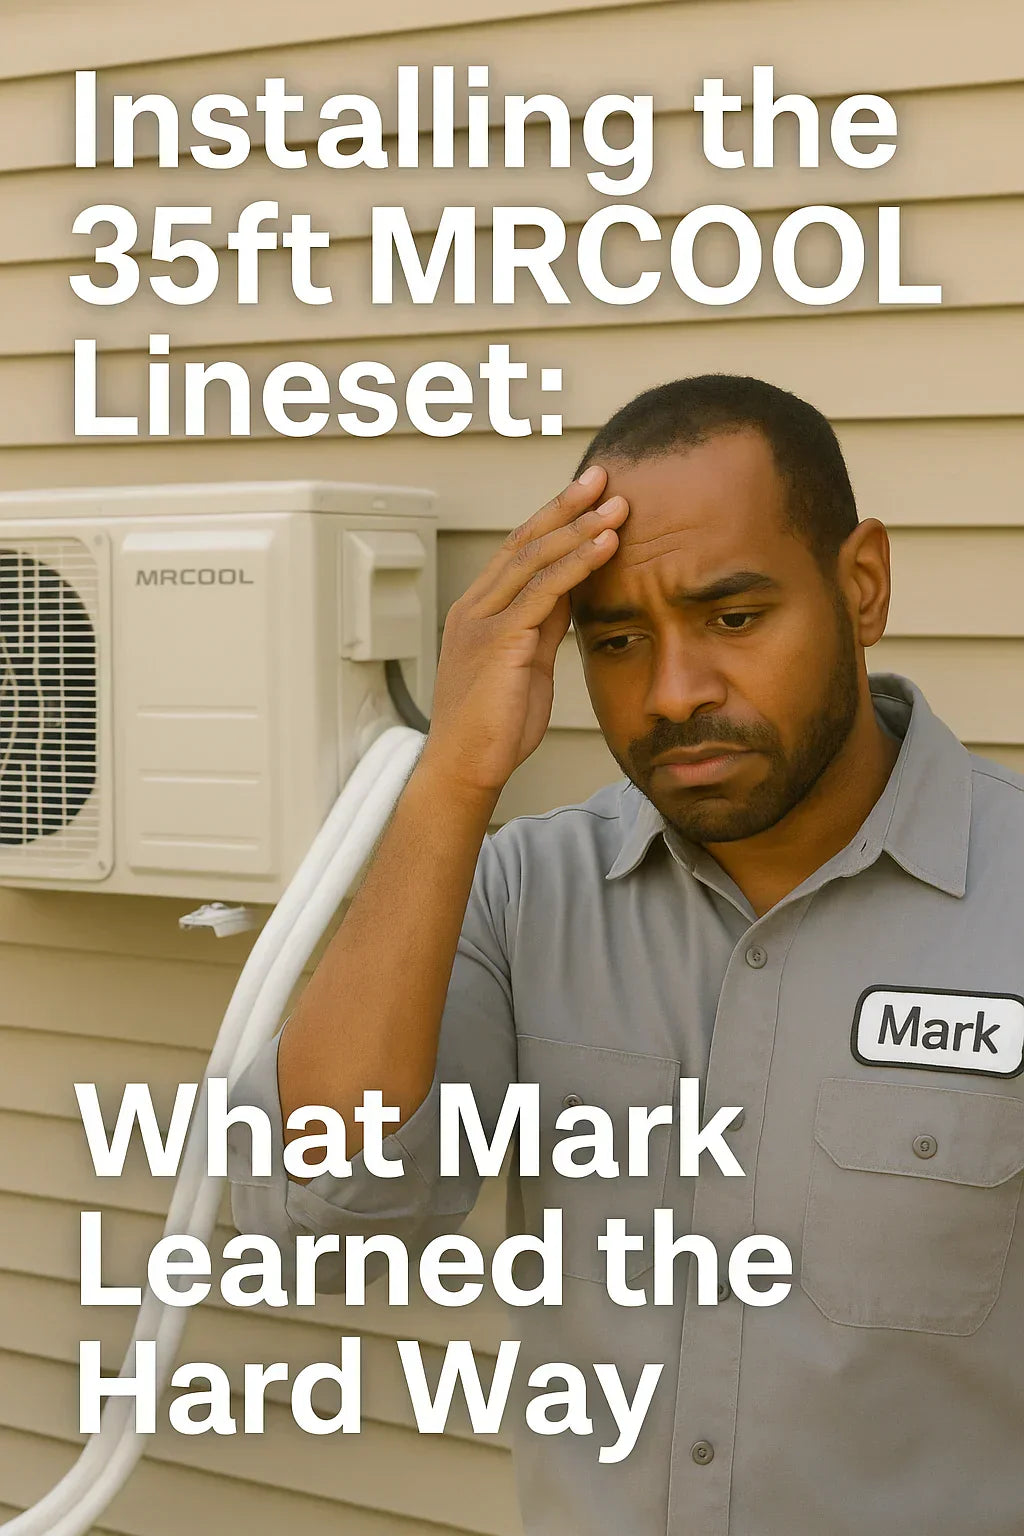
When I decided to install a MRCOOL DIY mini split system in my upstairs bonus room, I thought the hardest part would be lifting the condenser into place. Turns out, the lineset nearly got the better of me.
If you're planning to install the MRCOOL DIY35-1412C 35ft Pre-Charged Lineset, this guide is everything I wish someone had told me before I started. Here’s the full story of my install—missteps and all.
🏠 Why I Chose the MRCOOL DIY System
As a hands-on homeowner, I wanted a heating and cooling solution I could install myself without EPA certification or special tools. MRCOOL's DIY line offered exactly that: pre-charged refrigerant, quick-connect fittings, and a solid reputation.
The DIY35-1412C 35ft line set seemed like the right length for my layout, with the outdoor unit mounted on the ground and the air handler in the second-floor bonus room. I measured it out—or so I thought.
📅 First Impressions: Unboxing the DIY35-1412C
Right out of the box, the lineset looked professionally packed and well-insulated. It came tightly coiled with both copper lines bundled together, wrapped in thick UV-resistant foam.
What stood out:
-
Clearly labeled 1/4" and 1/2" lines
-
High-quality quick-connect fittings
-
Pre-attached sealing caps
I thought, "This looks easy enough." That feeling didn’t last long.
🌐 My First Mistake: Underestimating the Route
I had measured about 33 feet from the condenser to the air handler, so 35ft seemed perfect. But here’s what I didn’t account for:
-
The vertical rise through the wall cavity
-
A soffit I had to route around
-
Slack needed for gentle bends and coil support
Lesson #1: Always add 10–15% extra length to your total measurement to account for bends, slack, and routing around obstacles.
⚡ Second Mistake: Skipping the Wall Sleeve
I drilled the hole through the wall for the lineset, but I skipped installing a proper wall sleeve first. I figured the foam insulation on the lineset would act as a seal.
Result? I had to pull everything back out and install the sleeve after the fact because:
-
Moisture started building up in the insulation
-
Bugs found their way inside
Lesson #2: Always use a wall sleeve when passing a lineset through the exterior wall. It prevents moisture intrusion and helps preserve your insulation foam.
🔄 Mistake #3: Over-Torquing the Fittings
MRCOOL makes the installation nearly foolproof with quick-connect fittings, but there’s one critical rule: use a torque wrench. I ignored this and went with "feel."
Big mistake.
-
I over-tightened one of the connections
-
The threads got slightly damaged
-
I had to order a replacement coupler to fix it
Lesson #3: Use a torque wrench and follow the spec: 33–35 ft-lbs for most fittings.
🔗 MRCOOL Torque Chart – Installation Manual
🤜 A Few Things I Did Right
Let’s not be too hard on myself. A few parts of the install went exactly as planned:
✅ Mount First, Route Later
I coiled and secured the lineset to the condenser side first before fully uncoiling it. This helped me:
-
Avoid kinks or sharp bends
-
Manage the weight of the coil
-
Thread it through the wall more cleanly
✅ Zip Ties for Routing
I used zip ties every few feet to secure the lineset to the studs in the wall cavity. This kept it supported and reduced vibration noise.
✅ Color-Coding Ends
I wrapped red and blue electrical tape around the ends of the lineset to avoid mixing up suction and liquid lines during connection.
🔗 Extending with a Coupler Kit
Despite the "35ft should be enough" plan, I fell short by about 4 feet. My attic had more elevation than I estimated, and I needed to loop around a duct.
Thankfully, MRCOOL makes a DIY Coupler Kit. It worked like a charm:
-
Simple screw-on installation
-
Sealed tight, no leaks
-
Allowed me to add a 16ft section for a total of 51ft
Lesson #4: Always have a backup line and coupler kit on hand.
🚀 Final Result: A Few Bruises, but a Working System
After the learning curve, everything came together. I powered the unit, and it started cooling immediately. Here’s how it turned out:
✔ What Went Right
-
Quick-connects sealed perfectly
-
No vacuuming or charging needed
-
Reliable, consistent cooling
❌ What I Would Do Differently
-
Add 5 extra feet to all lineset estimates
-
Pre-plan the routing path fully, including obstacles
-
Watch the MRCOOL install video before starting, not during
🔗 Watch the Official MRCOOL DIY Video
🧠 Mark’s Top 5 Takeaways
-
Measure your actual path – not just point-to-point
-
Torque to spec – over-tightening ruins the fittings
-
Use a wall sleeve to protect insulation
-
Support the line every 4–6 feet to prevent sag
-
Order an extra coupler kit just in case
🧰 Tools I Recommend
-
Torque wrench (with ft-lb scale)
-
Hole saw (for wall penetration)
-
Pipe clamps or cable straps
-
Wall sleeve kit
-
Zip ties & foam tape
-
Level and chalk line
If you're thinking about using the DIY35-1412C for your own MRCOOL install, take it from me: it absolutely works — but planning ahead and knowing where things can go wrong makes all the difference.
Need help choosing the right lineset or accessories? Visit The Furnace Outlet for expert advice and support.
"A smart install is a smooth install. Measure, plan, and torque it right the first time." — Mark
In the next topic we will know more about: Line Set Extensions and Couplers: When 35ft Still Isn’t Enough


