If you’ve decided on the GE 12,000 BTU 208/230 Volt Through-the-Wall Air Conditioner with Electric Heat (Model AJEQ12DWJ), congratulations—you’ve selected a highly versatile unit ideal for cooling and supplemental heating. But before you enjoy year-round comfort, you’ll need to plan for a smooth installation.
This in-depth guide walks you through everything homeowners like Mark need to know before, during, and after installation—from wall sleeve selection and electrical requirements to sealing, insulation, and troubleshooting.
📦 What Comes in the Box—and What Doesn’t
The GE AJEQ12DWJ includes:
-
The AC/heater unit
-
A front grille
-
Mounting hardware for connecting to the sleeve
-
Installation manual
Not included (but required):
-
Wall sleeve (recommended: GE RAB46A or compatible)
-
208/230V power source
-
Wall support brackets (if required)
-
Weatherproofing materials (foam tape, sealant)
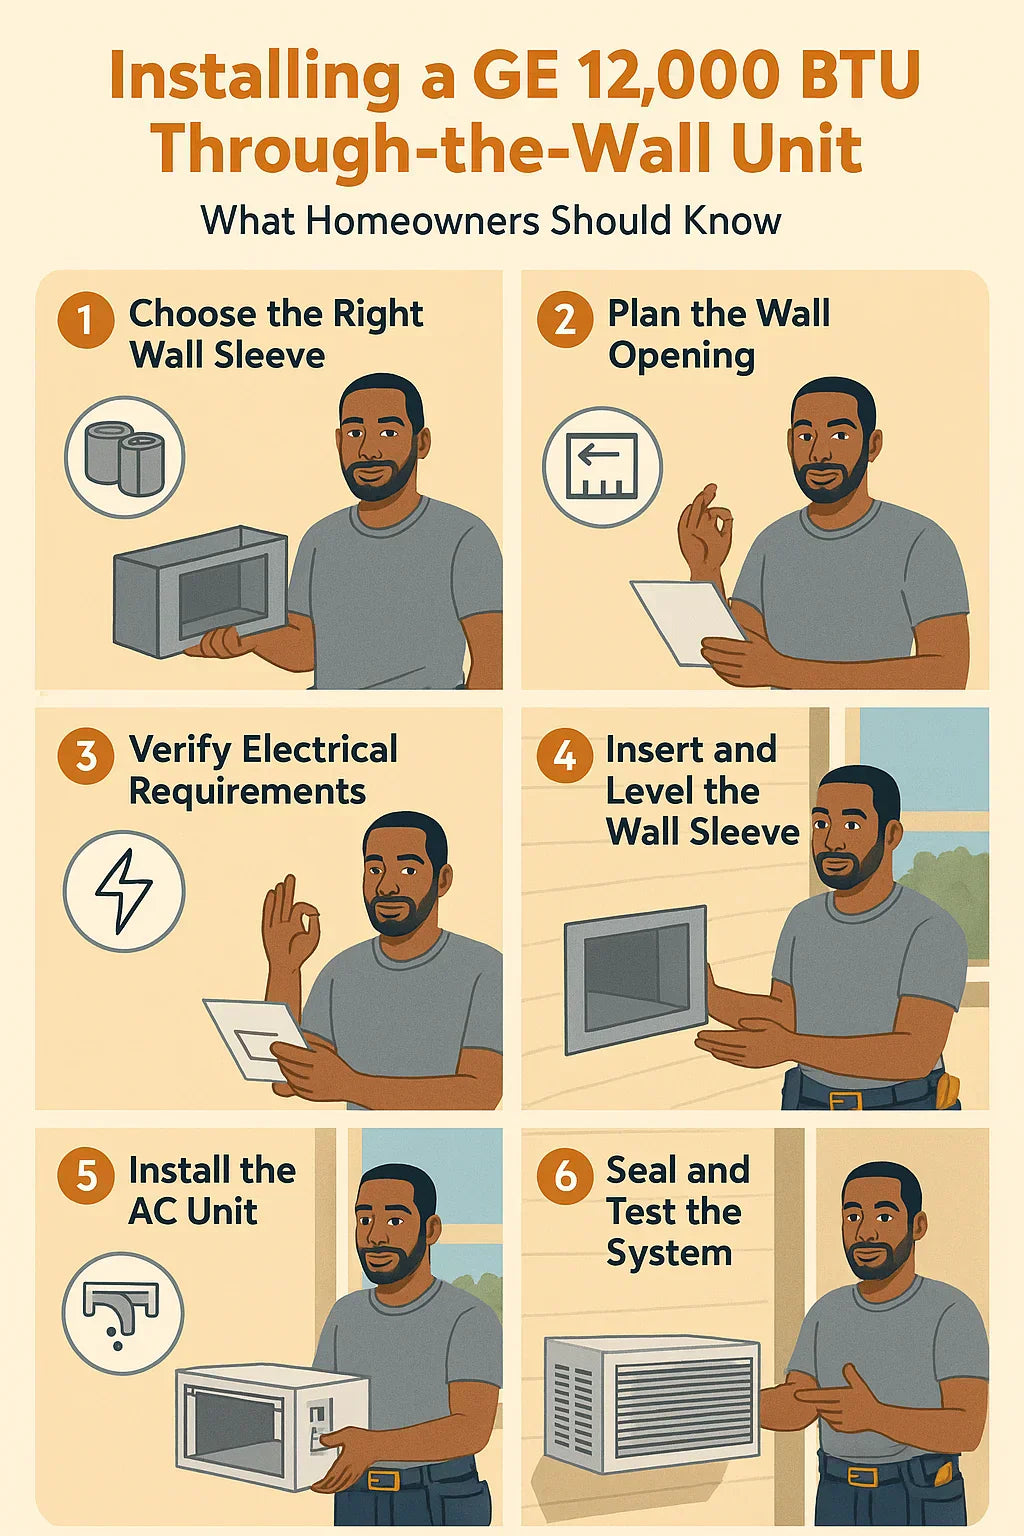
🧱 Step 1: Choosing the Right Wall Sleeve
A through-the-wall AC unit cannot be installed directly into drywall or studs. You need a metal wall sleeve that provides structural support and protects the unit from weather.
✅ Compatible Sleeves
-
GE RAB46A: Official GE sleeve, weather-sealed, powder-coated for rust resistance
-
Friedrich USC Sleeve: Fits many GE models if dimensions match (26"W x 15 5/8"H x 16 3/4"D)
⚠️ What to Avoid
-
Old sleeves with rust or improper drainage
-
Open-back sleeves designed for window units
Need help picking a sleeve? Read our full Wall Sleeve 101 guide.
📐 Step 2: Planning the Opening
📏 Unit Dimensions
-
Width: 26 inches
-
Height: 15 5/8 inches
-
Depth: 21 13/16 inches
🔨 Wall Opening Guidelines
-
Frame an opening with 2x4 studs or steel framing
-
Add 2 inches clearance around for sleeve installation
-
Ensure interior framing is level to prevent water intrusion
🪚 Wall Type Considerations
-
Vinyl siding: Use j-channel or drip flashing for waterproofing
-
Brick: Use a diamond blade masonry saw
-
Stucco: Cut carefully and use sealant around sleeve
Always verify structural integrity and check for wiring or plumbing behind the wall.
⚡ Step 3: Electrical Requirements
The GE AJEQ12DWJ requires:
-
208/230 Volt power supply
-
Dedicated 15-amp or 20-amp circuit (check label)
-
A NEMA 6-15P or 6-20P receptacle
⚠️ Important Safety Tips
-
Never plug into a 120V outlet
-
Confirm ground wire connection
-
Use a licensed electrician if you’re unsure
🧰 Step 4: Sleeve Installation
-
Insert the wall sleeve into the framed opening.
-
Make sure the rear end of the sleeve is pitched slightly downward to allow condensation drainage.
-
Secure sleeve to wall studs with mounting brackets or screws.
-
Seal around the outside using weatherproof caulk and foam backer rod.
-
Inside, apply insulating foam or spray foam around gaps.
Use this opportunity to clean the sleeve if it’s reused from an older unit.
🌀 Step 5: Installing the Unit
-
Slide the AC unit into the wall sleeve. It should fit snugly.
-
Align locking brackets and tighten mounting screws.
-
Snap on the interior front grille.
-
Plug into the correct electrical outlet.
-
Test operation in both cool and heat modes.
Check:
-
Air blowing steadily from vents
-
Drainage is clear (outside water drip OK)
-
No rattling or vibration
🧽 Step 6: Weatherproofing & Noise Control
Weather resistance is crucial for long-term performance.
✅ Seal the following:
-
Around sleeve exterior using caulk
-
Inside gaps with foam insulation
-
Rear drainage holes—ensure they remain unblocked
🔇 For Noise Reduction:
-
Ensure unit is level
-
Tighten all screws and brackets
-
Place rubber pads between sleeve and wall if needed
🧑🔧 DIY or Professional Installation?
You can DIY if:
-
You’re comfortable with basic framing and electrical work
-
You have a pre-existing wall sleeve
Hire a professional if:
-
You’re cutting a new wall opening
-
You need a new 230V circuit installed
-
Your home has complex siding or masonry
For best results, use a licensed HVAC or general contractor.
🧊 Testing Heating and Cooling Modes
After install:
-
Run the unit in cooling mode for 15 minutes
-
Test heating mode on a cold day (or override sensor for testing)
Common Troubleshooting:
-
No power: Check breaker, verify voltage
-
Dripping inside: Drainage slope may be wrong
-
Weak airflow: Clean filters and confirm unobstructed vents
Full troubleshooting guide available at GE Appliances Support.
🛒 Must-Have Accessories
-
GE RAB46A Wall Sleeve
-
Weatherproof caulk (silicone-based)
-
Foam insulation tape
-
Drainage kit (for high-moisture environments)
-
Smart plug or GE-compatible thermostat
🧠 Maintenance Tips from Mark
-
Clean the filter monthly during heavy use
-
Check for mold or debris in the wall sleeve
-
Ensure vents are never blocked by curtains or furniture
-
Test heating mode at least twice each year
🔗 Verified External Resources
🏁 Final Word
Installing the GE AJEQ12DWJ through-the-wall unit is well within reach for experienced DIYers and straightforward for professionals. The key is proper wall preparation, correct electrical supply, and a sealed, secure sleeve. With a little planning—and a few pro tips from Mark—you’ll have reliable year-round climate control in no time.
In the next topic we will know more about: What’s the Ideal Wall Sleeve for Your GE Through-the-Wall AC? A Compatibility Guide


