Installing a new air conditioning system can be daunting, especially a high-capacity, environmentally advanced 4-ton R-32 system. But before Savvy even dialed a pro, she had a game plan—and it saved her time, confusion, and hundreds in potential labor costs. Here’s a look at what she tackled on her own, and what every smart homeowner should consider before the install crew arrives.
1. Why Savvy Prepped Before the Pros Arrived
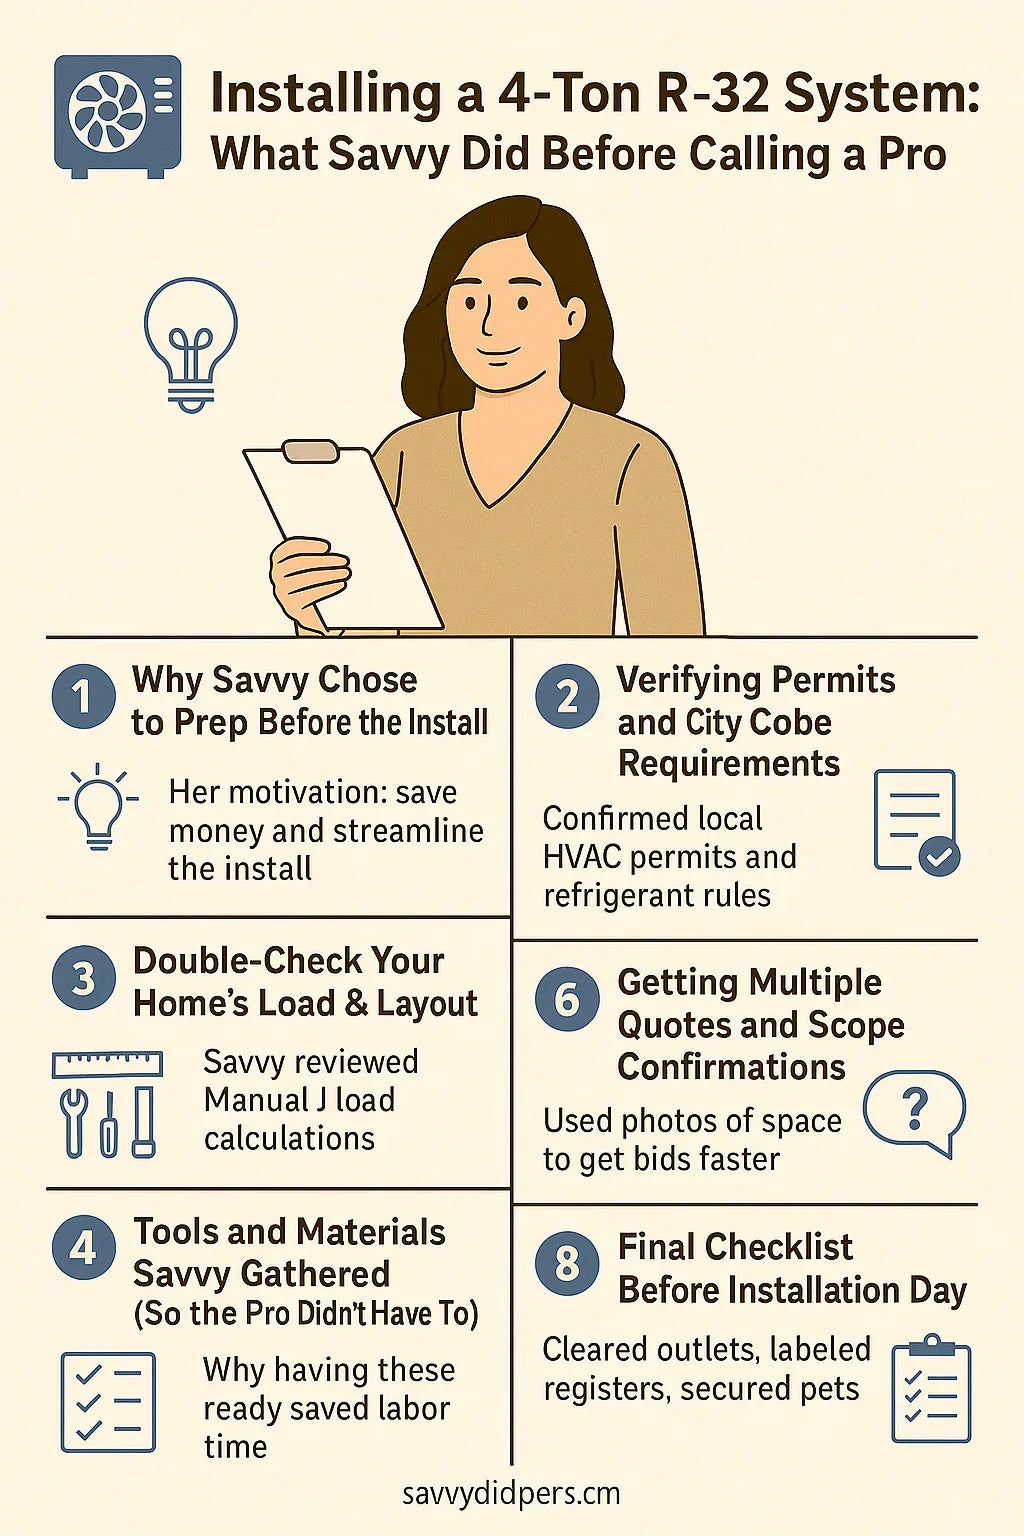
Savvy's philosophy: control what you can before handing off to the pros. Her reasoning? Installers often charge by the hour, and disorganization equals delays. She wanted to:
-
Avoid hidden labor fees
-
Prevent last-minute installation hiccups
-
Ensure she chose the right-sized system with the right accessories
By taking initiative, she kept her installation under budget and on schedule.
2. Verifying Her Home's Load and Layout
First stop: confirming her home really needed a 4-ton system. Savvy used a Manual J load calculator to analyze insulation, window types, room orientation, and square footage. Her home, just under 2,300 sq ft in a hot climate zone, needed the full 4-ton punch.
She also:
-
Sketched a duct map for airflow review
-
Noted all supply and return register sizes
-
Evaluated ceiling heights and attic insulation
Tool she used: CoolCalc Manual J
3. Checking Space, Electrical, and Line Set Requirements
A 4-ton condenser isn’t compact. Savvy:
-
Measured her outdoor slab (it needed to be at least 36" x 36")
-
Verified 24" clearance on all sides per manufacturer recommendations
-
Checked that her electric panel had a dedicated 40-50 amp double-pole breaker
She also planned the line set route, ensuring:
-
It was under the 50-ft maximum recommended length
-
It avoided sharp bends or obstructions
-
The walls and attic were accessible for mounting line cover kits
Link: Family Handyman Electrical Panel Tips
4. Gathering Materials to Save Time (and Money)
Savvy wanted the HVAC techs to walk in and get right to work. So she pre-purchased:
-
Wall sleeve & bracket kit
-
Pre-poured pad & vibration pads
-
Line cover kit & caulking
-
60-amp disconnect box with whip
-
Drain line with check valve
Plus, she had:
-
A ladder, flashlight, stud finder, and vacuum ready
-
All attic areas cleared for easy movement
-
Photos printed for installer walkthroughs
5. Getting Permits and Checking Local Rules
She knew R-32 is flammable and regulated differently than R-410A, so she called the local building department. They required:
-
A mechanical permit for HVAC work
-
A licensed installer for refrigerant handling
-
Proof the unit met local efficiency code (SEER2 compliance)
Resource: EPA R-32 Factsheet
6. Gathering Quotes & Using the Quote by Photo Tool
Savvy uploaded photos of her current condenser, electrical panel, attic access, and ductwork to request quotes remotely. That let her:
-
Get accurate bids without multiple site visits
-
Ask smart questions about refrigerant line reuse
-
Compare warranty offers from installers
She used The Furnace Outlet’s Quote by Photo tool and received three competitive bids in under 48 hours.
7. Key Questions She Asked Before Signing
To avoid surprises, Savvy asked every installer:
-
"Will you pressurize and leak test the lines before vacuum?"
-
"Will you check total system static pressure and airflow?"
-
"Can you reuse the line set or recommend a new one?"
-
"Are you familiar with R-32 and its charge requirements?"
She even asked about thermostat compatibility to avoid miscommunication on install day.
8. What She Wished She Had Done Differently
Even the most prepared DIYers miss a few things. Savvy reflected on:
-
Forgetting to install a surge protector at the panel
-
Not upgrading her attic lighting (caused delays)
-
Leaving a pet door open, which delayed the crawlspace inspection
Final Thought
You don’t need to be an HVAC pro to prep like one. With the right checklist, tools, and strategy, your 4-ton R-32 installation can go smoother, faster, and more affordably. Just ask Savvy—it worked for her.
In the next topic we will know more about: How Efficient Are 4-Ton R-32 Systems? Understanding SEER2, EER & Real Savings


