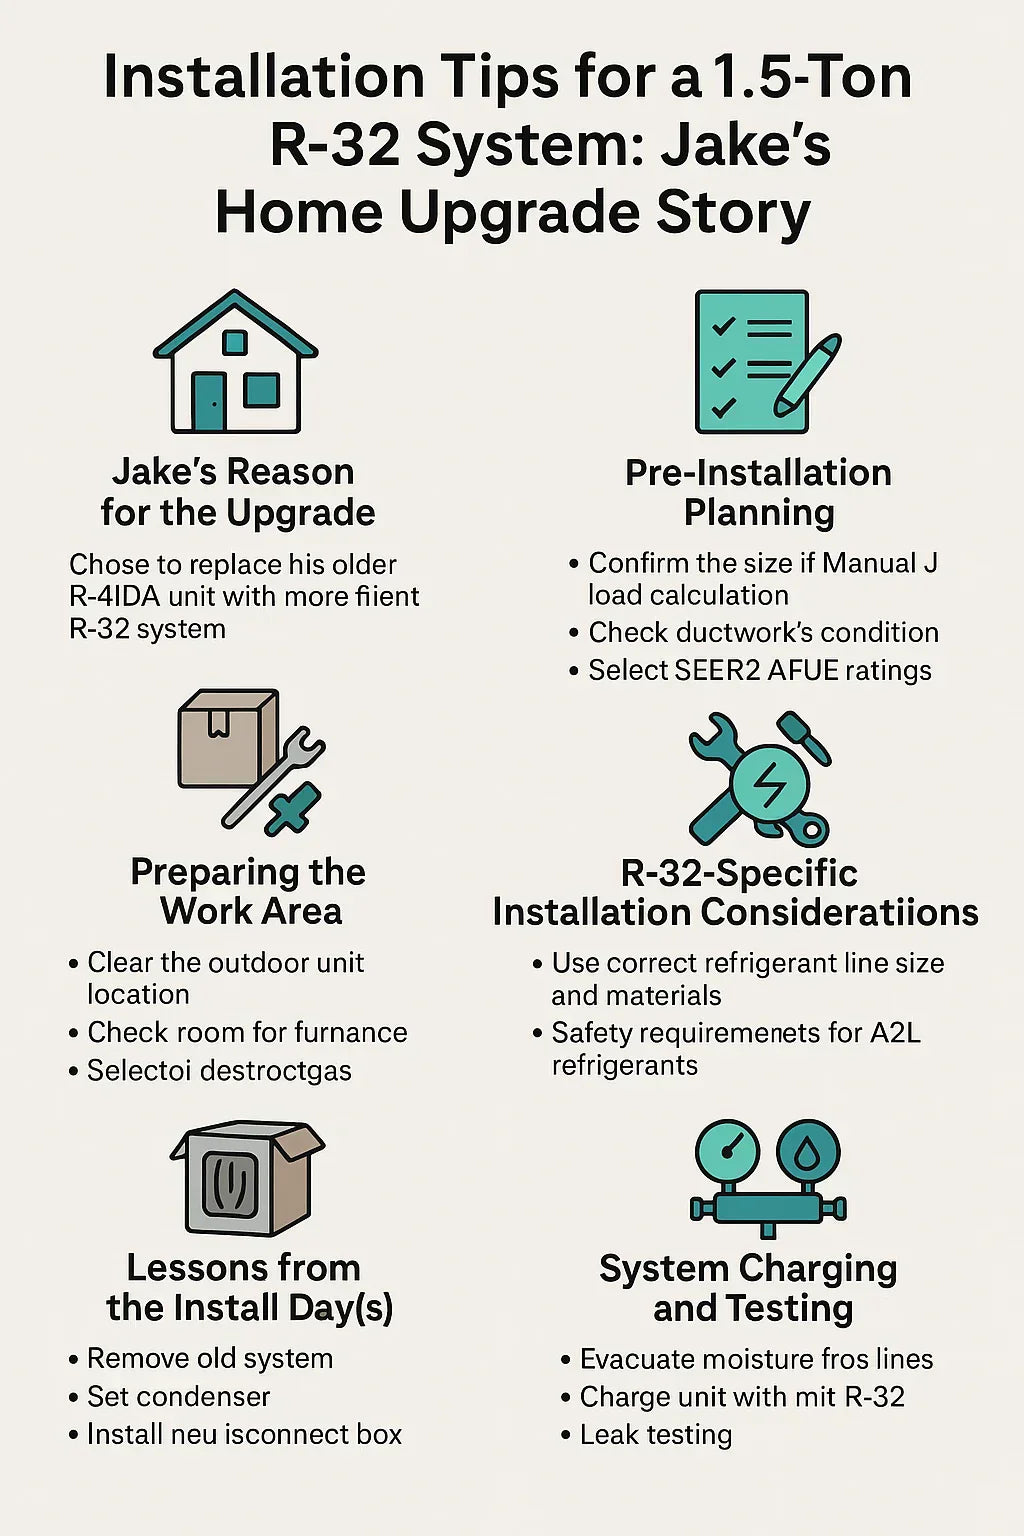
🏠 Why I Finally Upgraded to a 1.5-Ton R-32 System
I’d been nursing my old R-410A AC and gas furnace combo for years — patching refrigerant leaks, replacing capacitors, and hoping each spring that it would last just “one more summer.”
By 2024, the writing was on the wall:
-
My electric bills were climbing even though I wasn’t changing my thermostat settings.
-
The system was short-cycling in mild weather and running non-stop in peak heat.
-
My tech warned that R-410A was getting expensive and harder to source.
I’d already read up on R-32 refrigerant and knew it was more efficient and environmentally friendly than R-410A.
When a tax rebate program popped up for high-efficiency systems in my area, I decided it was time to pull the trigger.
Best 1.5 Ton AC and Gas Furnaces
📋 Pre-Installation Planning
Before anyone touched a wrench, I did some homework.
This prep phase is critical — and can save you thousands in the long run.
🧮 Step 1: Manual J Load Calculation
Even though my home is about 900 sq ft, I didn’t want to assume a 1.5-ton system was perfect without proof.
My HVAC contractor ran a Manual J load calculation (ACCA Manual J Overview) factoring in:
-
Wall and attic insulation
-
Window type and direction
-
Ceiling height
-
Local climate zone
-
Occupancy and appliances
Result? 1.46 tons of cooling needed. That confirmed a 1.5-ton R-32 AC was spot-on.
📏 Step 2: Ductwork Assessment
My ductwork was original to the house — 20+ years old. We found:
-
A few air leaks at joints and boots
-
Slight undersizing in one branch run
We sealed leaks and upsized one duct to avoid airflow restrictions.
If you skip this step, even the best R-32 system can’t perform at its peak.
🎯 Step 3: Choosing Efficiency Ratings
I went with:
-
15.2 SEER2 R-32 condenser
-
96% AFUE two-stage gas furnace
The sweet spot for my budget and climate — higher efficiency than my old unit, but not the extreme cost of 18+ SEER2 or modulating furnaces.
📎 Understanding SEER2 and AFUE
🛠 Step 4: Selecting an Installer
I chose a licensed, insured HVAC contractor with:
-
A2L refrigerant handling certification
-
R-32-compatible tools
-
Positive reviews mentioning neat, code-compliant work
🧰 Preparing the Work Area
🏡 Outside: Condenser Location
We cleared:
-
Overgrown shrubs within 3 feet of the pad
-
Debris from the coil exhaust path
-
A path for installers to move equipment in and out
🏚 Inside: Furnace & Coil Area
-
Cleared space around the furnace in the utility room
-
Removed stored boxes and shelving that blocked access
-
Ensured 120V outlet for service tools was working
⚡ Utility Prep
-
Verified electrical panel capacity
-
Shut-off valves for gas and water tested
-
Space for a new disconnect box outside
🔧 R-32-Specific Installation Considerations
R-32 is an A2L mildly flammable refrigerant, so it comes with special requirements.
🧵 Refrigerant Line Materials & Sizing
-
Copper tubing rated for A2L refrigerants
-
Line length matched to manufacturer specs to ensure proper charge
🛡 Safety Measures
-
Leak detectors rated for R-32
-
Adequate ventilation in work areas
-
Technicians wore PPE and followed R-32 safety guidelines (ASHRAE A2L Safety Sheet)
🔩 Component Compatibility
The indoor coil and expansion valve must be R-32-specific — R-410A parts won’t work properly.
💡 Lessons from the Install Day(s)
My install took two full days.
📆 Day 1: Removal and Prep
-
Recovered R-410A refrigerant per EPA guidelines (EPA Refrigerant Handling Rules)
-
Removed old condenser and furnace
-
Disposed of equipment through certified recycling
-
Installed new furnace, leveled and secured it
-
Modified duct connections for better fit and airflow
📆 Day 2: Coil, Condenser & Connections
-
Mounted and leveled new R-32 condenser
-
Ran new refrigerant lines with proper insulation
-
Installed R-32 indoor coil and sealed plenum
-
Connected electrical wiring to code
-
Pressure-tested and evacuated lines
Jake’s note: The tech showed me how they purged nitrogen while brazing to prevent scale inside copper lines — something many homeowners don’t realize matters.
⚡ Electrical & Gas Connections
-
Electrical: Matched breaker size to manufacturer specs; installed new outdoor disconnect
-
Gas: Checked line size and pressure; tested for leaks with electronic sniffer
🌀 System Charging and Testing
1. Evacuation
Pulled a deep vacuum to remove air/moisture — crucial for R-32 efficiency.
2. Weigh-In Charge
Charged the system by weight using manufacturer’s chart for my line length.
3. Leak Test
Electronic leak detector pass + soap bubble check.
📎 HVAC School — Charging A2L Refrigerants
📜 Permits and Inspections
My city required:
-
Mechanical permit
-
Gas permit
-
Final inspection for both
We passed on the first try — largely because my installer followed code to the letter.
✅ Jake’s Post-Install Checklist
-
Smart Thermostat Setup — Integrated with my Wi-Fi and programmed schedules
-
Warranty Registration — Both furnace and condenser registered within 60 days
-
First Maintenance Appointment — Booked for 6 months after install to recheck charge and airflow
🛠 Pro Tips I Learned Firsthand
-
Don’t skimp on duct sealing — my airflow gain was noticeable.
-
Ask your installer to label refrigerant type clearly on the unit.
-
Be home during install so you can see and ask questions — I learned a ton.
-
If you’re adding accessories (humidifier, purifier), install them now, not later.
-
Keep your permit documents and inspection reports — they help with resale.
📊 Time & Cost Recap
-
Prep & planning: 1 week
-
Install: 2 days
-
Total cost: $9,200 before rebates, $8,000 after
-
ROI: Estimated payback in ~5 years from efficiency gains
In the next topic we will know more about: Maintaining Your 1.5-Ton R-32 AC and Gas Furnace: Filters, Coils & Seasonal Care


