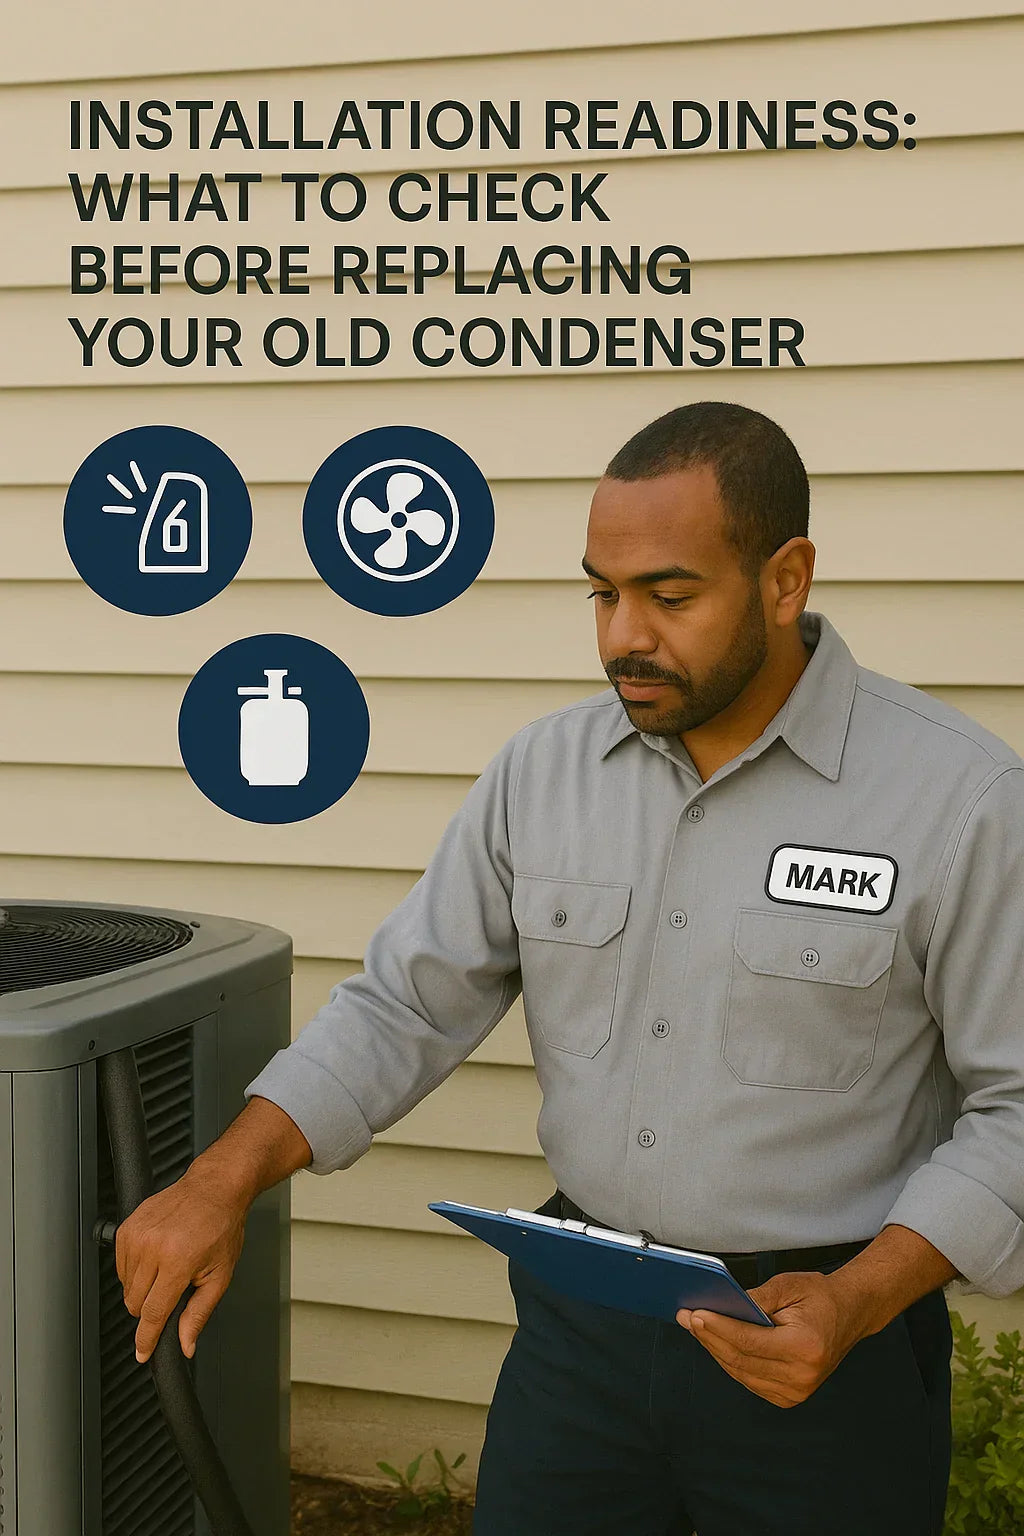
When Mark finally decided to replace his decade-old air conditioner, he did everything right — or so he thought. He researched the best brands, found a high-efficiency R-32 condenser, and scheduled installation for the weekend.
But when the HVAC crew arrived, the surprises began:
-
The electrical disconnect box was rusted and out of code.
-
The line set couldn’t be reused because it wasn’t R-32 compatible.
-
And the concrete pad had shifted, causing vibration issues.
Suddenly, what was supposed to be a one-day installation turned into a three-day headache.
If Mark had done a few simple checks before replacing his condenser, he could have avoided the extra cost and delays.
This guide walks you through everything you should inspect or upgrade before your new R-32 system is delivered — so your installation goes smoothly, safely, and efficiently.
⚙️ 1️⃣ Why Installation Readiness Matters
Upgrading from an older R-410A or R-22 system to an R-32 condenser isn’t just a swap-and-go project. These systems are designed with new efficiency standards, refrigerant pressures, and electrical requirements.
Failing to prepare can result in:
-
Reduced system efficiency (SEER2 ratings drop 10–15%)
-
Leaks or contamination from old line sets
-
Electrical mismatches that can damage components
-
Voided manufacturer warranties
Think of it like putting a brand-new engine into a car with bad tires and worn brakes — the performance can’t shine if the rest of the system isn’t ready.
(Reference: U.S. Department of Energy – R-32 Transition Standards)
⚡ 2️⃣ Step 1: Check Your Electrical Compatibility
Your condenser’s power source is the foundation of a safe and efficient installation.
Before the new system arrives, inspect these four key areas:
| Component | What to Check | Why It Matters |
|---|---|---|
| Breaker Size | Match the amperage listed on your condenser’s spec label. | Prevents tripped breakers or electrical overload. |
| Wire Gauge | #10 or #12 gauge typically recommended for 20–30A circuits. | Ensures consistent voltage and safety. |
| Disconnect Box | Replace if rusted or uses old-style fuses. | Required for modern R-32 safety codes. |
| Ground Wire | Confirm secure connection to the main panel. | Protects against electrical faults. |
Mark learned this one the hard way — his old fuse disconnect wasn’t up to code, forcing a same-day hardware store run.
Pro Tip: The 2025 National Electrical Code (NEC) will require GFCI protection for most new outdoor units, so now’s the perfect time to upgrade.
(Reference: NFPA – National Electrical Code)
🧱 3️⃣ Step 2: Inspect the Concrete Slab or Mounting Pad
A condenser needs a stable, level surface to operate correctly.
Over time, pads can shift or sink, especially if installed on soil or near downspouts. This small tilt can lead to:
-
Compressor vibration and noise
-
Oil migration in refrigerant lines
-
Strain on copper connections
What to Do Before Install:
-
Use a level to check for tilt greater than ½ inch.
-
Replace cracked or sunken pads.
-
Consider an elevated plastic composite pad — they resist rot, moisture, and insects.
-
Add rubber isolation mounts for quieter operation.
Mark’s pad had sunk nearly an inch, causing the compressor to vibrate during startup. His installer replaced it with a reinforced pad and vibration dampeners — a quick fix that made the new R-32 condenser nearly silent.
🔄 4️⃣ Step 3: Evaluate Your Line Set — The Most Overlooked Component
Your line set (the copper tubing that carries refrigerant) is crucial — but many homeowners and even contractors underestimate its role in a successful upgrade.
R-32 refrigerant operates at different pressure levels than R-410A or R-22, and it’s extremely sensitive to contamination.
| Checkpoint | Recommendation | Reason |
|---|---|---|
| Material Type | Replace if kinked, pitted, or oil-contaminated. | Old R-22 mineral oil is incompatible with R-32. |
| Size | Match to manufacturer specs (commonly ¼" × ¾"). | Ensures proper refrigerant flow. |
| Length | Keep within approved limits (usually ≤ 50 ft). | Prevents pressure drops. |
| Fittings | Replace flare connections. | R-32 requires new torque and sealing standards. |
| Insulation | Always replace. | UV-resistant foam prevents heat loss and condensation. |
If your old line set came from an R-22 system, do not reuse it — residual oil will react with R-32, causing chemical breakdown and compressor failure.
(Reference: AHRI – R-32 Line Set Guidelines)
🌀 5️⃣ Step 4: Check Airflow and Indoor Coil Compatibility
Your condenser can only perform as efficiently as the indoor coil and airflow allow.
Steps to Verify:
-
Inspect the blower motor — if it’s an older PSC type, consider upgrading to an ECM motor for better airflow control.
-
Clean or replace all air filters and return grilles.
-
Confirm the indoor evaporator coil is rated for R-32 refrigerant and matches the condenser’s capacity.
-
Replace mismatched coils — otherwise, you risk poor cooling and reduced SEER2 performance.
Mark’s contractor discovered that his old coil couldn’t handle R-32’s operating pressure. Replacing it ensured optimal refrigerant flow and restored full 15 SEER2 efficiency.
💡 6️⃣ Step 5: Verify Thermostat and Control Wiring
Today’s R-32 systems often integrate smart thermostats and two-stage or variable controls.
Before installation:
-
Ensure your thermostat supports your new system’s staging (single, two-stage, or variable).
-
Check for a C-wire (common wire) — smart thermostats won’t function reliably without it.
-
Replace cracked or brittle low-voltage wiring to prevent intermittent communication failures.
Mark upgraded to a Wi-Fi thermostat that tracks humidity levels — a perfect match for his two-stage R-32 condenser.
(Reference: Energy Star – Smart Thermostat Standards)
🌬️ 7️⃣ Step 6: Inspect Ductwork and Airflow Balance
Even the most efficient R-32 system will underperform if your ductwork isn’t ready.
Before installation, test and inspect:
-
Seal duct joints with foil tape or mastic (not cloth duct tape).
-
Insulate attic or crawlspace ducts to at least R-8 rating.
-
Measure airflow to confirm 350–400 CFM per ton of cooling.
-
Clean return vents and supply registers.
Mark’s technician found a 20% airflow imbalance due to a crushed flex duct. Fixing it boosted comfort and efficiency immediately.
🌿 8️⃣ Step 7: Clear the Outdoor Space
Your condenser needs space to “breathe.” R-32 units operate more efficiently with proper airflow and reduced recirculation of hot exhaust air.
Installation Clearance Guidelines:
-
24 inches minimum on all sides.
-
60 inches of unobstructed space above.
-
Avoid placing near dryer vents or gas meters.
-
Maintain a gentle slope for water runoff.
-
Trim shrubs, fences, or overhanging branches.
“I never realized how much airflow mattered,” Mark said. “My installer moved the unit 2 feet away from a bush, and the noise dropped noticeably.”
Pro Tip: Shading your condenser (without blocking it) can improve SEER2 efficiency by up to 5% during peak summer months.
💧 9️⃣ Step 8: Condensate and Drainage Prep
Before connecting your new system, make sure condensation drains properly:
-
Flush the drain line with vinegar or a mild bleach solution.
-
Check the slope — 1 inch drop per 10 feet of run.
-
Replace or clean the drain pan if rusted.
-
Test condensate pumps for noise and reliability.
Standing water or blockages can cause humidity issues, bacterial growth, and sensor faults — especially in high-efficiency R-32 systems that run longer on low speeds.
🔒 10️⃣ Step 9: Confirm Matched Components and Warranty Registration
Your condenser and indoor coil must be matched for the system to operate as designed. Mismatched equipment often voids the warranty and lowers the SEER2 rating.
Before installation day:
-
Look up your system’s AHRI number on the AHRI Certified Directory.
-
Ensure the condenser and coil are listed as a certified pairing.
-
Register your equipment within 90 days for full warranty coverage.
Mark’s installer double-checked his Goodman R-32 condenser and matching coil, ensuring it met DOE standards and qualified for manufacturer rebates.
🧾 11️⃣ Mark’s Pre-Installation Checklist
Here’s how Mark prepped after his first experience:
| Task | Status | Notes |
|---|---|---|
| Breaker & Wiring Checked | ✅ | Upgraded to 30A breaker with #10 wire |
| Concrete Pad Replaced | ✅ | Installed new composite pad |
| Line Set Replaced | ✅ | R-32 compatible ⅜″ × ¾″ copper |
| Indoor Coil Verified | ✅ | R-32 rated Goodman model |
| Thermostat Upgraded | ✅ | Wi-Fi two-stage compatible |
| Ducts Sealed | ✅ | Found two leaks near return plenum |
| Outdoor Space Cleared | ✅ | Added 2 ft clearance |
| Drain Line Flushed | ✅ | Vinegar rinse |
| Warranty Registered | ✅ | Completed online same day |
The result? A same-day, no-surprise installation that hit full rated SEER2 efficiency and kept Mark’s home cooler — with lower bills to match.
🌎 12️⃣ Environmental & Efficiency Benefits of Proper Prep
Doing the prep work pays off far beyond installation day.
✅ Higher Efficiency
-
Systems perform 5–10% better when airflow, electrical, and line set conditions are optimal.
-
Prevents early compressor wear and refrigerant loss.
✅ Lower Carbon Footprint
-
R-32 refrigerant has 70% lower GWP than R-410A.
-
When paired with efficient installation, reduces lifetime CO₂ output by over 1 ton per household.
✅ Regulatory Compliance
-
Meets 2025 DOE SEER2 and EPA AIM Act refrigerant standards.
-
Future-proofs your system for the next 10–15 years.
(Reference: EPA – AIM Act and HFC Reduction Plan)
💬 13️⃣ Mark’s Takeaway
“I used to think replacing an AC was just about picking a new unit. But prepping ahead saved me time, money, and stress. My installer said it was the easiest job he’d done all month.”
When your home is installation-ready, your system performs better, lasts longer, and starts paying for itself immediately.
🔚 14️⃣ The Bottom Line — Be Ready Before the Truck Arrives
A well-prepared home = a worry-free installation.
Before your new R-32 condenser arrives:
-
Confirm your electrical setup.
-
Level your pad.
-
Replace your line set if in doubt.
-
Match your coil and condenser.
-
Clean your ducts and drains.
You’ll save money, avoid delays, and protect your investment for years to come.
In the next topic we will know more about: Maintenance Guide: Keeping Your R-32 Condenser Running Efficiently Year After Year


