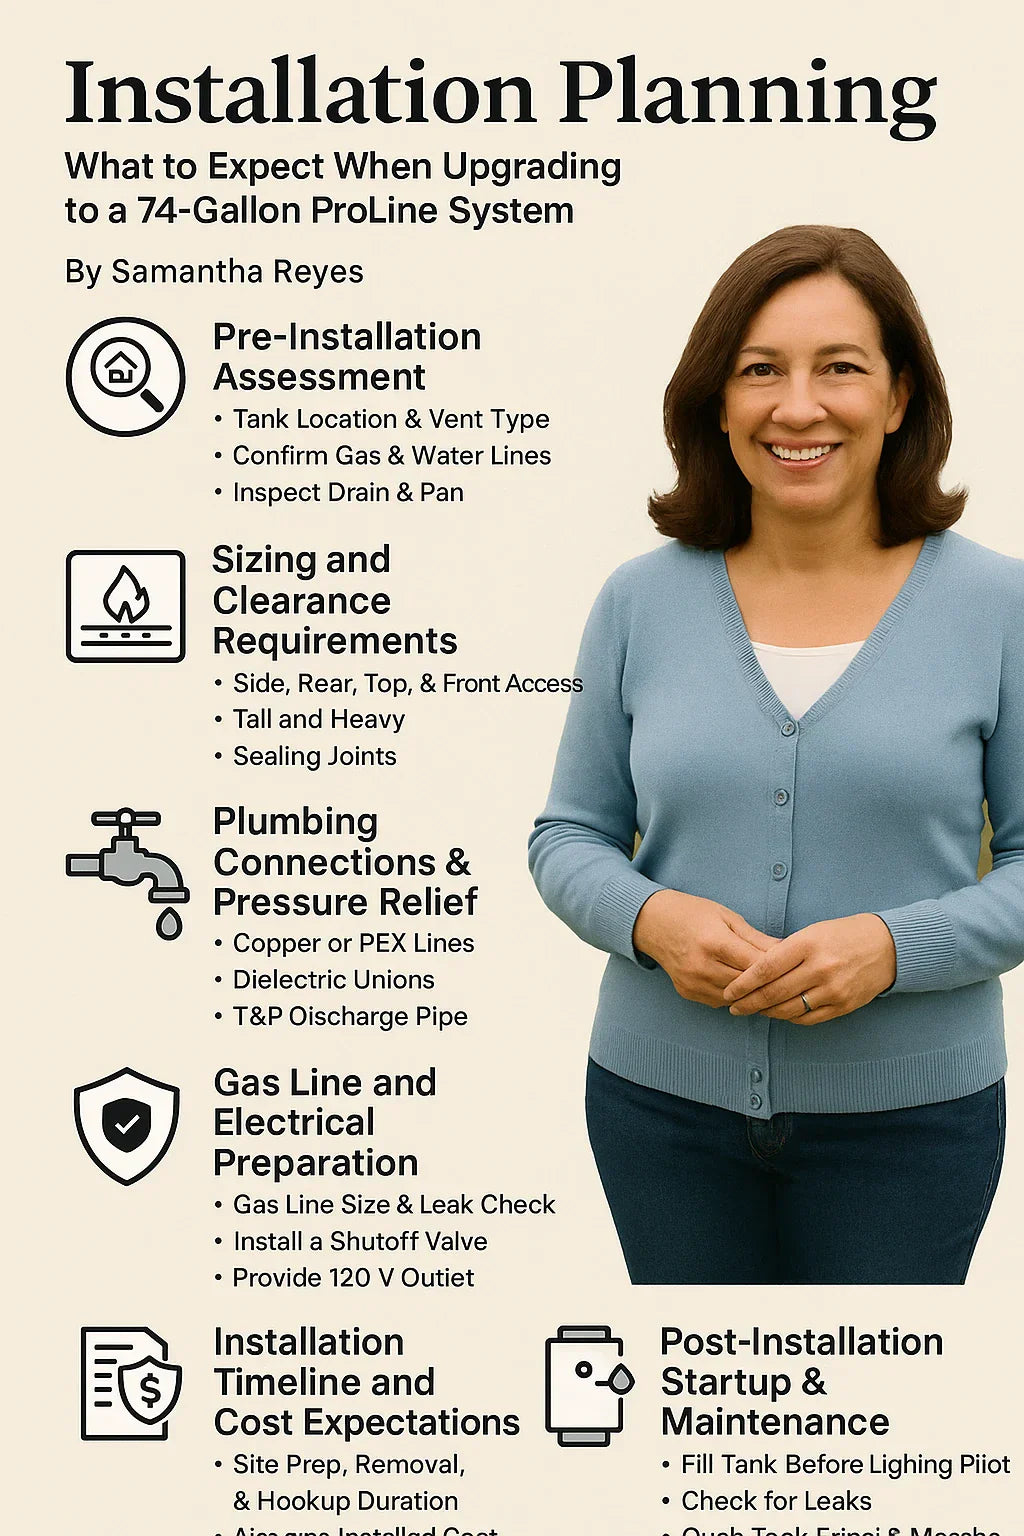
Upgrading to a 74-gallon State ProLine High Capacity Atmospheric Vent Gas Water Heater (75,100 BTU) can transform how your home handles high hot-water demand—but it’s not a simple swap. Large-capacity units require careful planning, from physical space and venting to gas-line sizing and safety clearance.
Here’s your step-by-step guide to what to expect during installation so you can prepare your space, your schedule, and your budget with confidence.
🧩 1. Pre-Installation Assessment — Know Your Starting Point
Before any equipment arrives, assess your current system and space.
🔍 Evaluate Your Existing Setup
-
Tank Location: Is your current heater in a basement, utility closet, or garage? Measure ceiling height, width, and vent proximity.
-
Vent Type: The ProLine 74-gallon model uses an atmospheric vent, which relies on natural draft into a vertical flue. Confirm your vent meets current code.
-
Gas Supply: Verify the gas line diameter and pressure meet the 75,100 BTU input requirement.
-
Water Lines: Inspect for corrosion, leaks, or restricted valves that might need updating.
-
Drain and Pan: Ensure an accessible drain and a pan for overflow protection are in place.
➡️ Helpful Guide: Energy.gov – Selecting a New Water Heater
📏 2. Sizing and Clearance Requirements
Large-capacity units are tall and heavy—typically 70 inches tall and over 250 lbs empty.
📐 Key Measurements
-
Side Clearance: ≥ 2 inches for air circulation.
-
Rear Clearance: ≥ 0 inches (against wall is usually allowed).
-
Top Clearance: ≥ 12 inches for draft hood and vent connections.
-
Front Access: ≥ 24 inches for maintenance and service.
If the heater is being installed in a finished space, plan for flooring protection and easy access to the T&P valve and drain port.
➡️ Reference: Home Depot – Water Heater Installation Requirements
🧱 3. Venting & Combustion Air Considerations
Because this unit is atmospheric vented, it pulls air from the surrounding room to support combustion.
🔥 Checklist
-
Ensure the room volume meets local code for combustion air (often ≥ 50 cu ft per 1,000 BTU).
-
Verify the flue pipe is metal (Type B vent) and free of corrosion or obstructions.
-
Maintain ¼ inch per foot upward slope toward the chimney or termination.
-
Seal joints with high-temperature foil tape—not duct tape.
➡️ Code Reference: ICC Fuel Gas Code – Vent System Basics
💧 4. Plumbing Connections & Pressure Relief
Proper plumbing ensures safety and efficiency.
-
Install ¾ inch copper or PEX lines for both hot and cold.
-
Add dielectric unions to prevent galvanic corrosion.
-
Position the T&P relief valve discharge pipe within 6 inches of the floor.
-
Use flex connectors if local code allows for easier service.
➡️ Detailed How-To: Family Handyman – Install a Gas Water Heater
⚡ 5. Gas Line and Electrical Preparation
Even though it’s a gas unit, minimal electrical work is required for ignition and lighting.
🔧 Gas Line Checklist
-
Verify ¾ inch minimum line size for a 75,000 BTU load.
-
Check for leaks with a soapy solution after connection.
-
Install a sediment trap and manual shutoff valve within 3 feet of the heater.
💡 Electrical Step
-
Standard 120 V outlet needed if your unit has electronic ignition or an FVIR sensor.
-
Ensure outlet is GFCI protected if located in a basement or garage.
🧯 6. Safety and Code Compliance
Always comply with local building codes and manufacturer specifications.
Permits are often required for gas and vent work.
💬 Samantha’s Tip: “Don’t skip the inspection step. A licensed installer can save you from venting or clearance mistakes that can cost hundreds to fix later.”
💸 7. Installation Timeline and Cost Expectations
⏱️ Typical Timeline
-
Site Prep & Removal: 1–2 hours
-
New Venting & Gas Hookup: 2–3 hours
-
Filling & Testing: 1 hour
➡️ Average Installed Cost: $1,800 – $2,800 (2025 national average)
This includes labor, permit, and basic fittings for a 74-gallon unit.
➡️ Cost Comparison: Forbes – Water Heater Replacement Costs 2025
🧽 8. Post-Installation Startup & Maintenance
Once installed:
-
Fill the tank before lighting the pilot to avoid damage.
-
Set temperature to 120 °F (default safe setting).
-
Check for leaks after 24 hours of operation.
-
Flush the tank every 6 months to remove sediment.
➡️ Maintenance Guide: State Water Heaters – Owner Care & Maintenance
🏁 9. Final Takeaway
Upgrading to a 74-gallon ProLine gas system isn’t just an installation—it’s an investment in long-term comfort and efficiency.
-
Plan ahead for space and vent requirements.
-
Verify gas and combustion air availability.
-
Follow manufacturer clearances and code.
-
Work with a licensed installer to ensure safe, efficient operation.
Once installed, you’ll have a steady supply of hot water that keeps up with your family or multi-unit demand for years to come.


